Teaching primary and secondary colors takes about twenty minutes and a tray of paint. The primary colors are red, yellow and blue. The secondary colors are orange, green and purple, and each one comes from mixing two primaries together.
If you have been searching for how to teach primary and secondary colors to kids without buying a curriculum, the method is short. The part that matters is hands-on. A toddler who squeezes yellow into red and shouts “orange!” remembers the pairing far longer than a child who sat through a color lecture. Here is the setup, the five-step sequence, and the fixes for the mess that always happens at the end.
Table of Contents
- What You Need for a Color Lesson
- Step-by-Step: How to Teach Primary and Secondary Colors
- Step 1: Introduce the Primary Colors
- Step 2: Mix the Secondary Colors
- Step 3: Let Children Practice Color Mixing
- Step 4: Create a Color-Mixing Art Activity
- Step 5: Review and Extend the Lesson
- Common Mistakes and How to Fix Them
- Frequently Asked Questions
- How to teach primary and secondary colors?
- How can I explain the primary colors to my kids?
- How can I explain colors to kids in a simple way?
- How to explain secondary colors to preschoolers?
- At what age should a child learn colors?
- How long does it take a toddler to learn colors?
- Keep Teaching Colors Through Everyday Play
What You Need for a Color Lesson
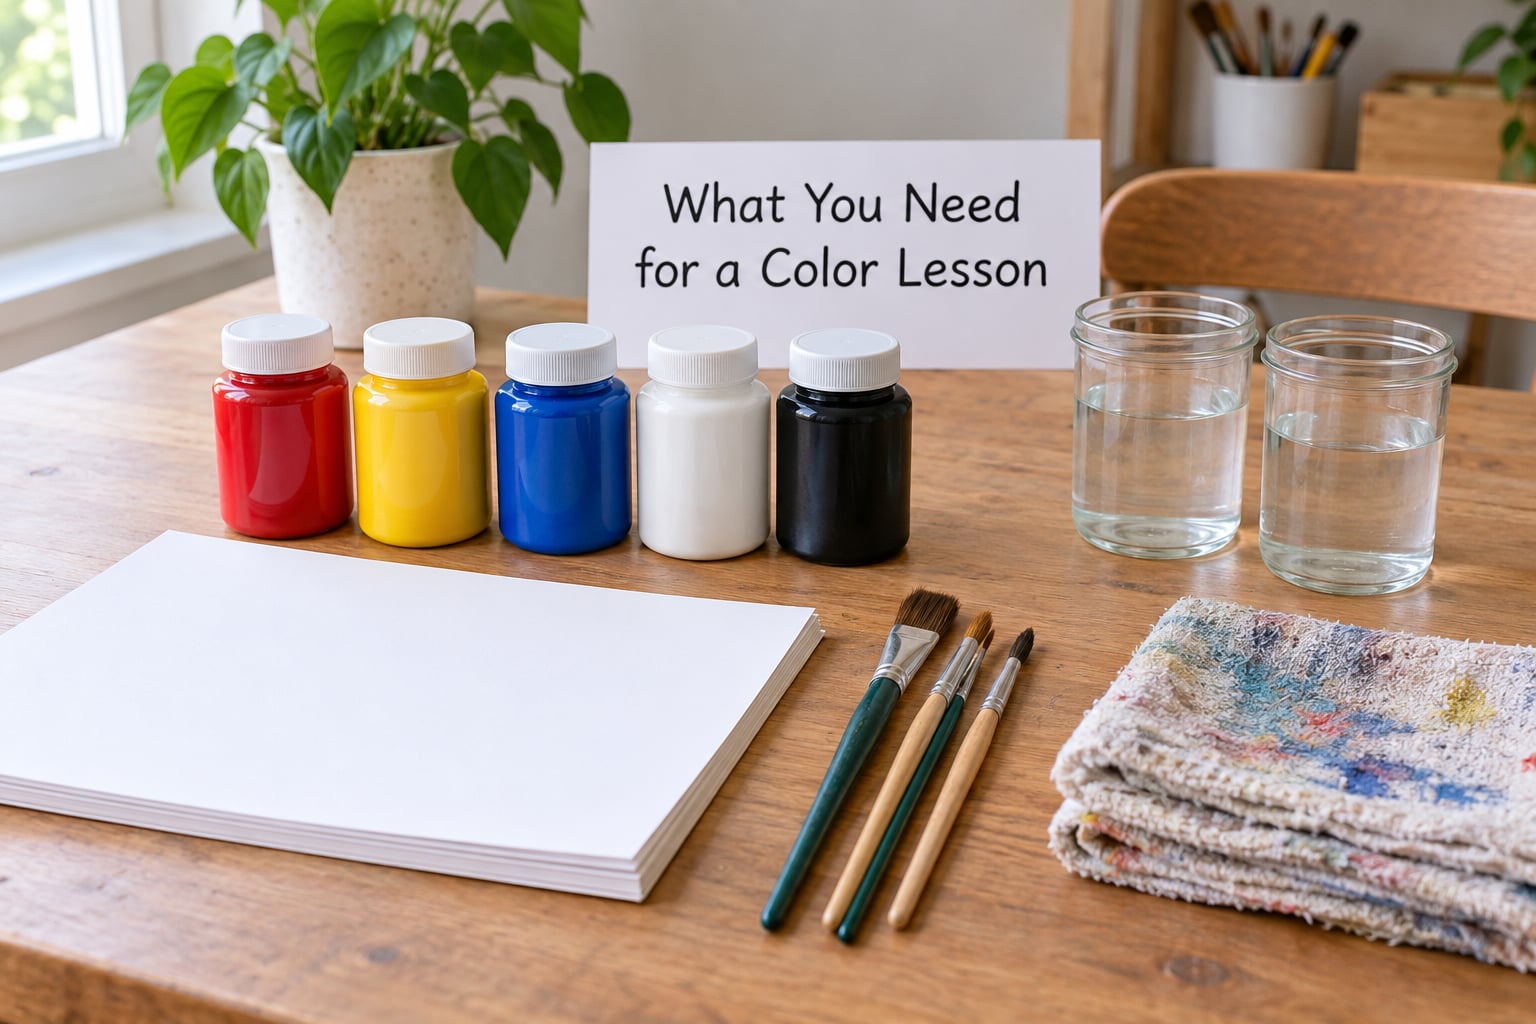
Nothing on this list is specialized. Most of it is already in a kitchen drawer.
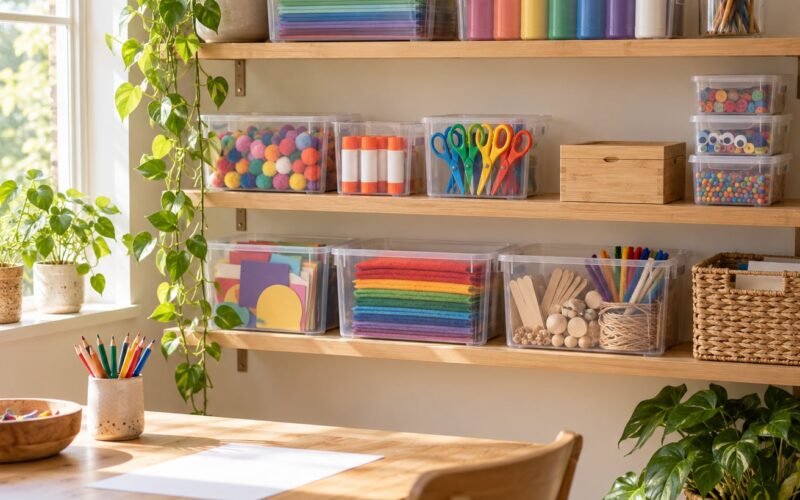
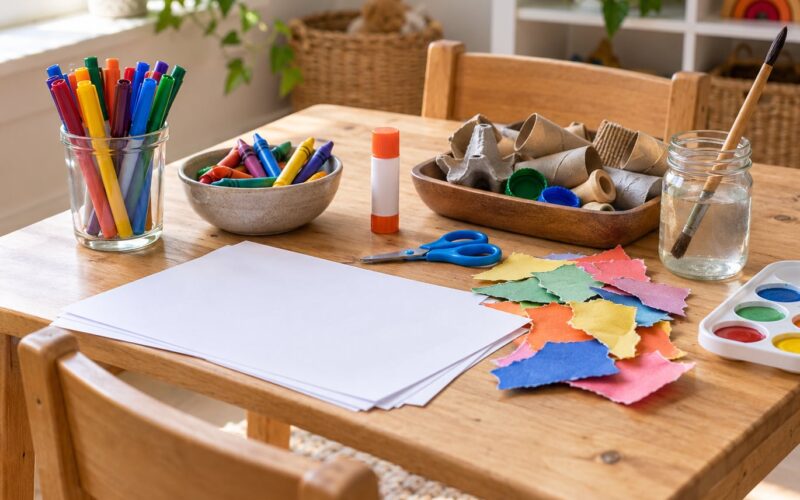
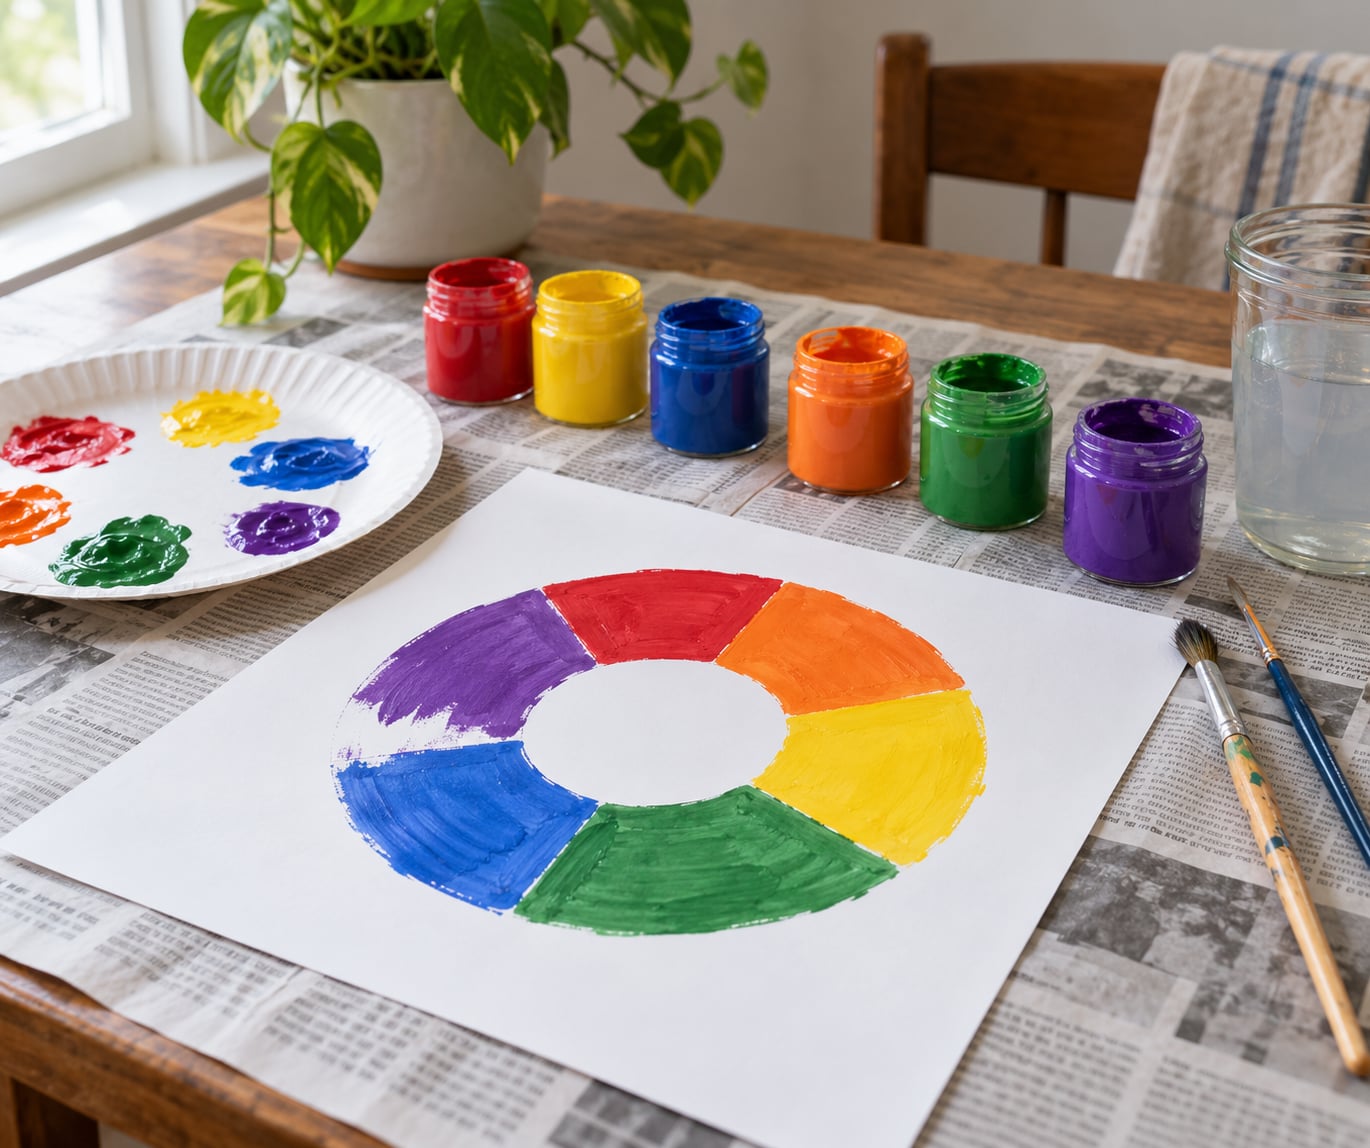
- Washable tempera or finger paint in red, yellow and blue, plus a little white. Small jars or squeeze bottles work better than a shared palette for the first try.
- Six small cups or a plate with wells for the palette. One per color means nobody is dipping into the wrong pot mid-mix.
- Two or three brushes, including one thick one. An old toothbrush is a fine stand-in.
- Thick paper or plain cardstock, cut into squares roughly the size of a postcard.
- Two water cups and a rag or paper towels for brush rinsing.
- A smock, an old shirt or a sheet under the table. Finger paint that dries on skin takes a warm washcloth, not soap.
- Newspaper or a plastic tablecloth over the surface.
Skip the artist-grade paints, the small detail brushes and the palettes with twenty wells. Those are for people who already know what they are doing, and they add cleanup that has nothing to do with color.
For safety, stick to products labeled non-toxic and washable, and check the label rather than the packaging color scheme. Keep the session on the floor or over newspaper if you have a baby in the house. Dried-out brushes are a real choking hazard for a two-year-old, so hand over a chunky sponge or a fingertip instead of a thin handle.
For a child who puts everything in their mouth, plain yogurt tinted with a drop of food coloring works as an edible alternative. It is still a valid mixing lesson, just one that ends with a lick of the brush rather than a stain on the sofa.
Step-by-Step: How to Teach Primary and Secondary Colors
The whole sequence runs 15 to 20 minutes, and most of that is child-led. Keep each step short. Preschool attention spans sit somewhere around two to five minutes, so if the mixing is still going after five, call it a win and stop.
Step 1: Introduce the Primary Colors
Put the three primary colors on the table and name them once, clearly: “This one is red. This one is yellow. This one is blue.” Say each name one time and move on. Repeating it is where lessons stall.
Then connect the paint to the room. Walk to a red apple, a yellow banana, a blue bowl. Point and name, let your child repeat if they want. Parents report that spotting color in daily life sticks better than flashcards, and it costs you nothing.
You can say it to a toddler like this: “Red, yellow, blue. Those are the starter colors. Everything else starts from these three.” With a five-year-old, add that a primary color cannot be made by mixing other colors, which is the actual definition.
Step 2: Mix the Secondary Colors
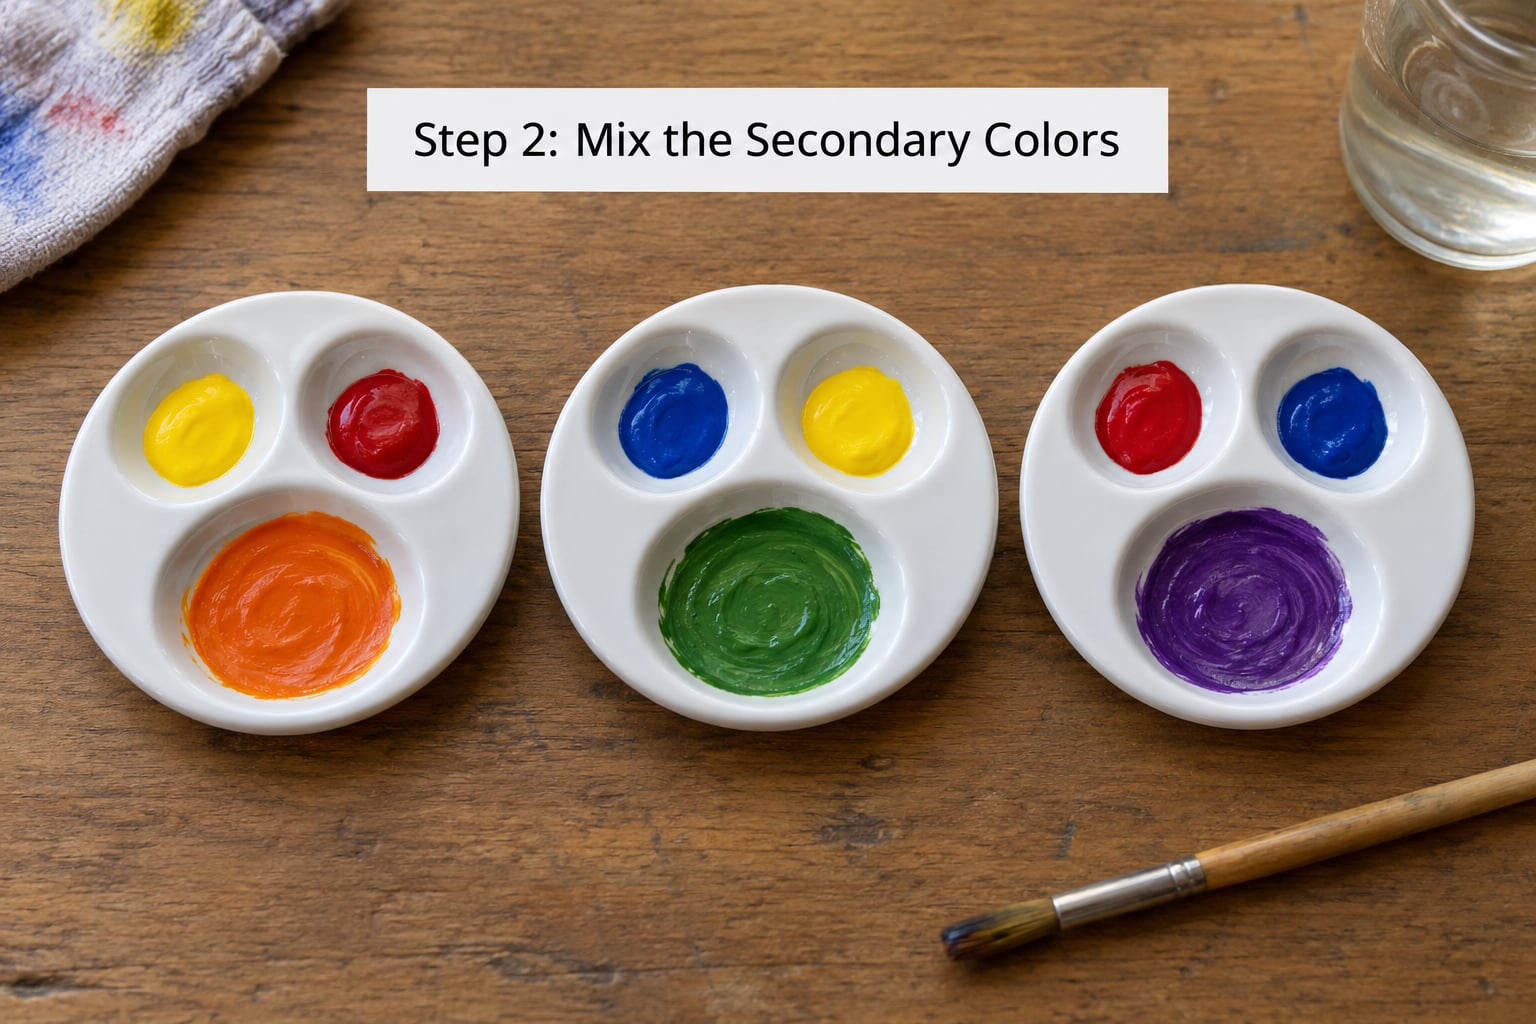
Now squeeze a dab of yellow and a dab of red onto the palette, side by side, and let your child push them together with a finger or brush. Hold your mouth shut and wait. Most children guess orange correctly before an adult ever says the word.
Then repeat for the other two pairs. Write these down somewhere, because parents get asked for this list constantly:
- Red + Yellow = Orange
- Yellow + Blue = Green
- Red + Blue = Purple
Say the phrase out loud as they mix: “Red and yellow make orange.” Name the ingredients and the result in the same breath, every time, so the pairing attaches to a sound and not just a color.
Two primaries mixed together make a secondary color. That is the whole idea, and a three-year-old can absolutely hold it.
Step 3: Let Children Practice Color Mixing
Hand over the brush. This is where the actual learning happens, because the result is not guaranteed. Some mixes land on a bright orange. Some land on a rusty brown, depending on how much of which color went in.
Ask for a prediction first. “What do you think happens if we add blue to the yellow?” Kids love being right, and being wrong is far less damaging when they were the ones who guessed.
Let them keep going. Painting a row of orange dots on their own paper takes another ten minutes without any more instruction from you, which is exactly what you want.
Step 4: Create a Color-Mixing Art Activity
Turn the lesson into something they keep. The easiest version is a six-color chart on one sheet of paper: label the top row red, yellow, blue, and the bottom row orange, green, purple, then let them paint the boxes.
A slightly bigger version is a rolled paper plate color wheel. Cut a circle from cardboard, divide it into six wedges, paint red, yellow and blue on alternating wedges, and then mix on top of a second plate to fill the remaining three.
For toddlers, skip both and go with sponge stamping or finger painting on a large sheet taped to the table. The goal is a surface big enough that mixing feels like play rather than a test.
Step 5: Review and Extend the Lesson
Close by pointing at the finished project and asking what made what. “The orange came from red and yellow, right?” Most five-year-olds can answer that a day later; most three-year-olds can answer it about a week later, which is the normal pace.
From there you have three natural next steps: add white to make tints, add black to make shades, or mix a primary with a secondary to make a tertiary color like red-orange or yellow-green. Most five-year-olds get excited about tints first because it produces something that still looks like the original color.
Common Mistakes and How to Fix Them
Squeezing out too much paint. This is the number one cause of frustration, because every mix ends up muddy. Give each child a coin-sized dab of each color and tell them that is plenty. You can always add more; you cannot subtract paint from the palette.
Expecting a perfect orange. Real paint does not give you a textbook orange. It gives you whatever the ratio was that day, which is usually why the result looks better when yellow outweighs red. Do not correct it. A slightly off orange is still a correct demonstration of the concept.
Mixing all three primaries and getting brown. Every parent hits this one, and almost nobody explains it. Paint mixing is subtractive, which means each color soaks up part of the light instead of bouncing it back. Red paint absorbs most of the blue and green light. Yellow absorbs most blue and red light. Blue absorbs red and green. Stack all three together and there is very little light left to reflect, so what your eye sees is a dull brown-gray. Nothing went wrong. You used up the light.
Fixing it is easy: scrape the muddy spot aside, start fresh with two clean colors, and do not rinse the brush between pairs. Two colors in equal parts give the cleanest result, so a rinse or a wiped brush between every combination keeps the lesson on track.
Correcting color names. Plenty of toddlers call pink “momma” or refer to orange as “bubby.” That is normal naming-in-progress, not a failure. Keep using the real word yourself in ordinary conversation, without a fuss, and skip the flashcard drilling. Invented names mostly fade once a child hears the real one used consistently.
Skipping the hands-on part. Telling a child that red plus yellow makes orange and then moving on is not teaching color. The mixing has to happen in their hands. A paint tray and five minutes beat a worksheet every time, and most parents say so once they try both.
Frequently Asked Questions
How to teach primary and secondary colors?
Set out red, yellow and blue paint, name each one once, then have your child mix each pair with a brush or finger: red plus yellow makes orange, yellow plus blue makes green, red plus blue makes purple. Ask them to predict the result before each mix and say the equation out loud while it happens. Twenty minutes covers the whole lesson.
How can I explain the primary colors to my kids?
Say this: the primary colors are red, yellow and blue, and they are the starter colors because you cannot make them by mixing anything else together. Then point to real objects in the room, like a red apple or a blue bowl, and name each one. The paint plus the everyday objects together is what makes the idea stick.
How can I explain colors to kids in a simple way?
Keep the sentence short and repeat it the same way every time. For a toddler, say starter colors red, yellow and blue, then mixing colors makes new ones like orange and green. For a kindergartner, add that primaries cannot be made from other colors and secondaries come from two primaries. Consistency matters more than cleverness.
How to explain secondary colors to preschoolers?
Secondary colors are the three you make by mixing two primaries: red and yellow make orange, blue and yellow make green, red and blue make purple. Do not start with the word secondary. Put two dabs of paint on the palette, let your preschooler push them together, and name the new color after they find it themselves.
At what age should a child learn colors?
Start pointing out and naming colors from about 18 months, but expect real naming ability closer to two and a half or three. Mixing experiments suit ages three and up, since younger children tend to eat the paint. By five, most children can mix two primaries and name all six colors without help.
How long does it take a toddler to learn colors?
Most children recognize their first few colors between two and three, and have a working grasp of the main ones by four. It is not linear, and new words keep appearing for years. Short daily exposure beats one long lesson, so a two-minute color hunt most days does more than a monthly craft session.
Keep Teaching Colors Through Everyday Play
If you only do one thing from this guide, squeeze three dabs of paint onto a plate and let your child mix them. Everything else in the sequence hangs off that one moment of discovery.
After that, keep the vocabulary alive in low-effort ways. Point out colors during errands, sort the laundry by color, name the color of the sky while you walk. A color-of-the-week habit, where you hunt for one shade together each day, takes about two minutes and does more for retention than a monthly craft.
Drawing, sorting and matching all reinforce the same six names. And keep mixing on the calendar, even after your child can do it without help, because the point of teaching primary and secondary colors is not the test. It is having a reason to look closely at color for years after this.