Observational drawing means drawing an object the way it actually looks from your child’s own viewpoint at that moment, instead of drawing it from memory, from imagination, or by copying someone else’s picture. It is the single most useful drawing skill a child can learn, because every other kind of drawing sits on top of it.
Most parents never have to be told their child is drawing from memory. They watch a six-year-old sketch a dog with a long snout and a collar even though the dog in the room is a squat, spotted mutt asleep under the table. The child is not bad at drawing. The child is doing exactly what they were asked to do, drawing a dog from memory, when what you wanted was for them to draw the one in front of them.
So how do you teach kids to draw from observation without turning art time into a lesson with a right answer? You slow the whole thing down. You pick one object, put it within arm’s reach, and walk through five stages: look slowly, find the shapes, add only the details that are really there, compare the drawing to the object, and then repeat the process with something they love. That method takes about 15 minutes and costs nothing but a pencil and a sheet of paper.
The rest of this guide breaks that method down, gives you seven low-cost activities, and covers what to do when a child says “I can’t draw” or tears up the paper in frustration.
Table of Contents
- What You Need
- Step-by-Step: How to Teach Kids to Draw from Observation
- 1. Help Your Child Look Slowly — Start With Drawing From Observation, Not Memory
- 2. Draw the Basic Shapes First
- 3. Add Details Where You See Them
- 4. Check the Drawing Against the Subject
- 5. Finish with a Personal Drawing
- What to say (and not say) while they draw
- Easy Observation Drawing Activities for Kids
- Draw a family member’s hands
- Draw the view out of a window
- Collect and draw leaves or shells
- Draw a favorite toy
- Draw a pet without touching them
- Set up a simple still life
- Play Draw and Guess
- Blind contour warm-ups
- What to expect by age
- Common Mistakes and Easy Fixes
- Tips for Making Observational Drawing Easier
- Frequently Asked Questions
- What is sight drawing?
- At what age can a child draw realistically?
- How do I practice observational drawing?
- What if my child says they cannot draw?
- How long should a child draw each day?
- Why does my child’s drawing look unrealistic even when they can see it?
- Conclusion
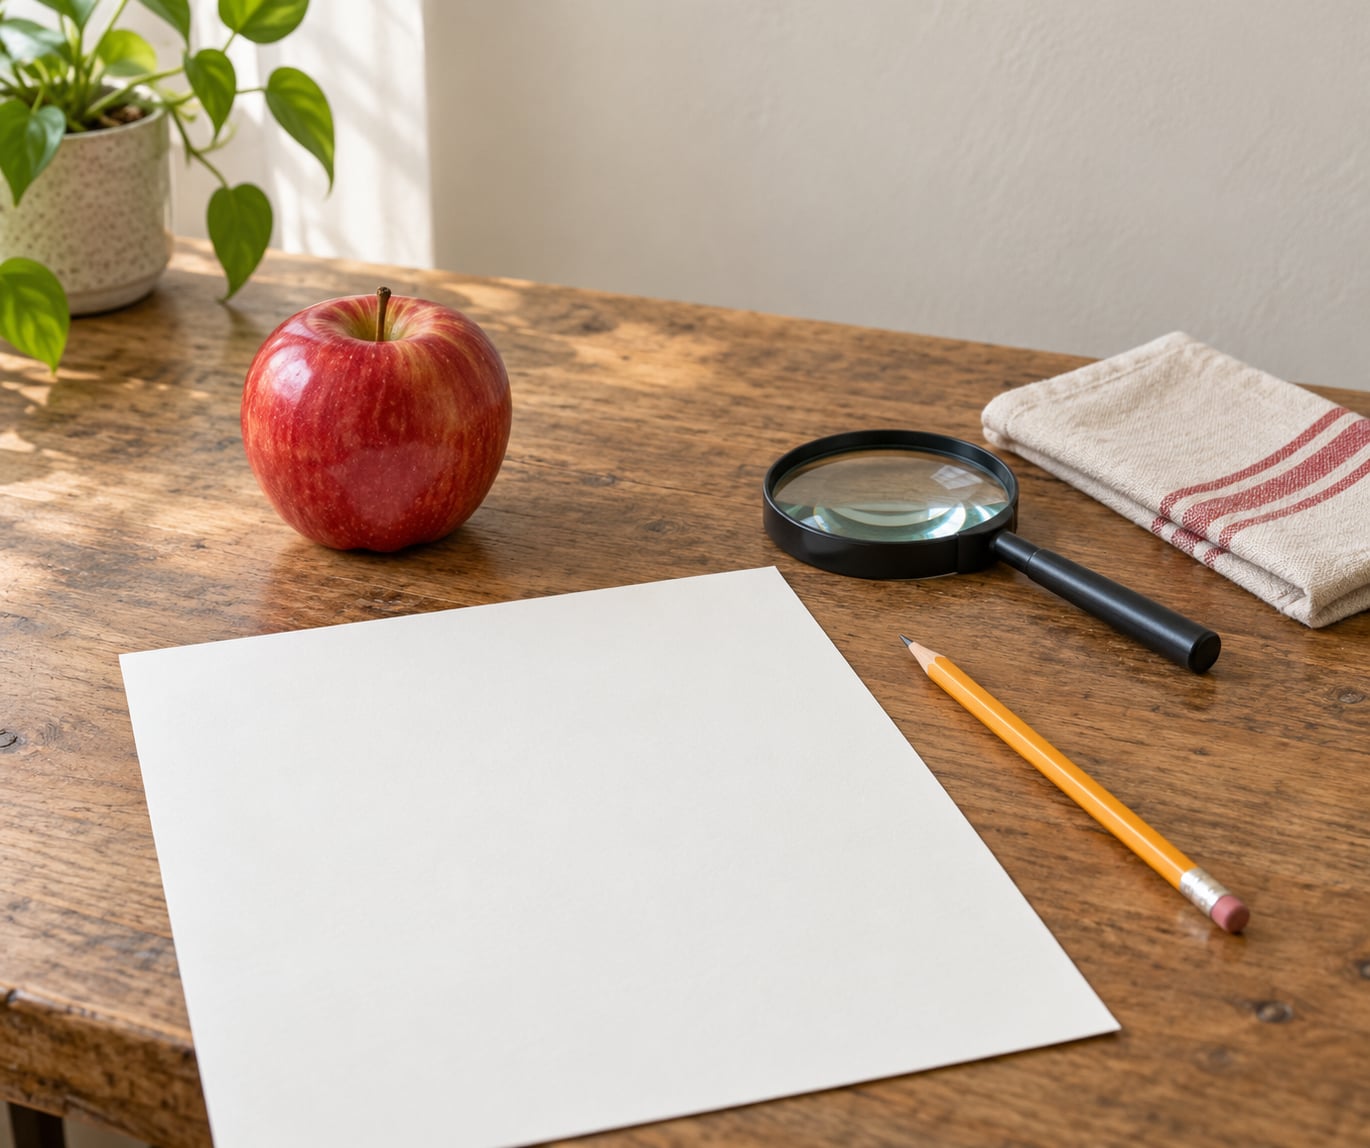
What You Need
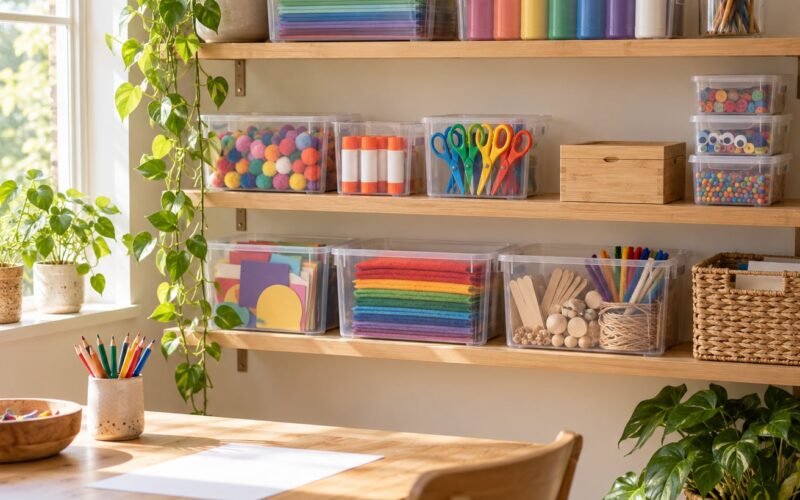
The supply list for observational drawing is short, and that is deliberate. A child with a big box of art supplies will spend more time choosing a marker than looking at the apple.
- Paper. Plain unlined paper, either a single sheet or a small sketchpad. Unlined matters, because lined paper quietly tells a child that straight means good and wobbly means bad.
- A pencil. A regular graphite pencil with good erasers on the end. Two pencils beat one, so the eraser never becomes a reason to stop.
- A kitchen or bathroom crayon set. Skip colored pencils and markers for the first sessions. Coloring takes attention away from looking, which is the thing you are actually teaching.
- Three or four household objects. Fruit, a mug, a salt shaker, a wooden spoon, a folded sock, a houseplant, a toy car. Variety in shape matters more than variety in color.
- A magnifying glass. Optional, and the single cheapest teaching tool in this article. A plastic one from the dollar section does the job.
- A comfortable place to sit. A table near a window beats a floor with a lamp behind it. Directional light creates shadows, and shadows are half of what makes a drawing look real.
One condition matters more than all the rest: the object has to stay in the child’s line of sight for the whole session. The moment it moves to the far side of the room, the child switches back to memory. Set the apple to their left, not behind them.
You also need to decide in advance that the drawing will not be perfect. Say it out loud once. “This is a looking exercise, not a good drawing exercise.” It saves you both a lot of trouble later.
Step-by-Step: How to Teach Kids to Draw from Observation
The method below runs in five stages, and each one has a signal that tells you it is working. Don’t rush a stage because the previous one felt slow. The slowness is the whole lesson.
1. Help Your Child Look Slowly — Start With Drawing From Observation, Not Memory
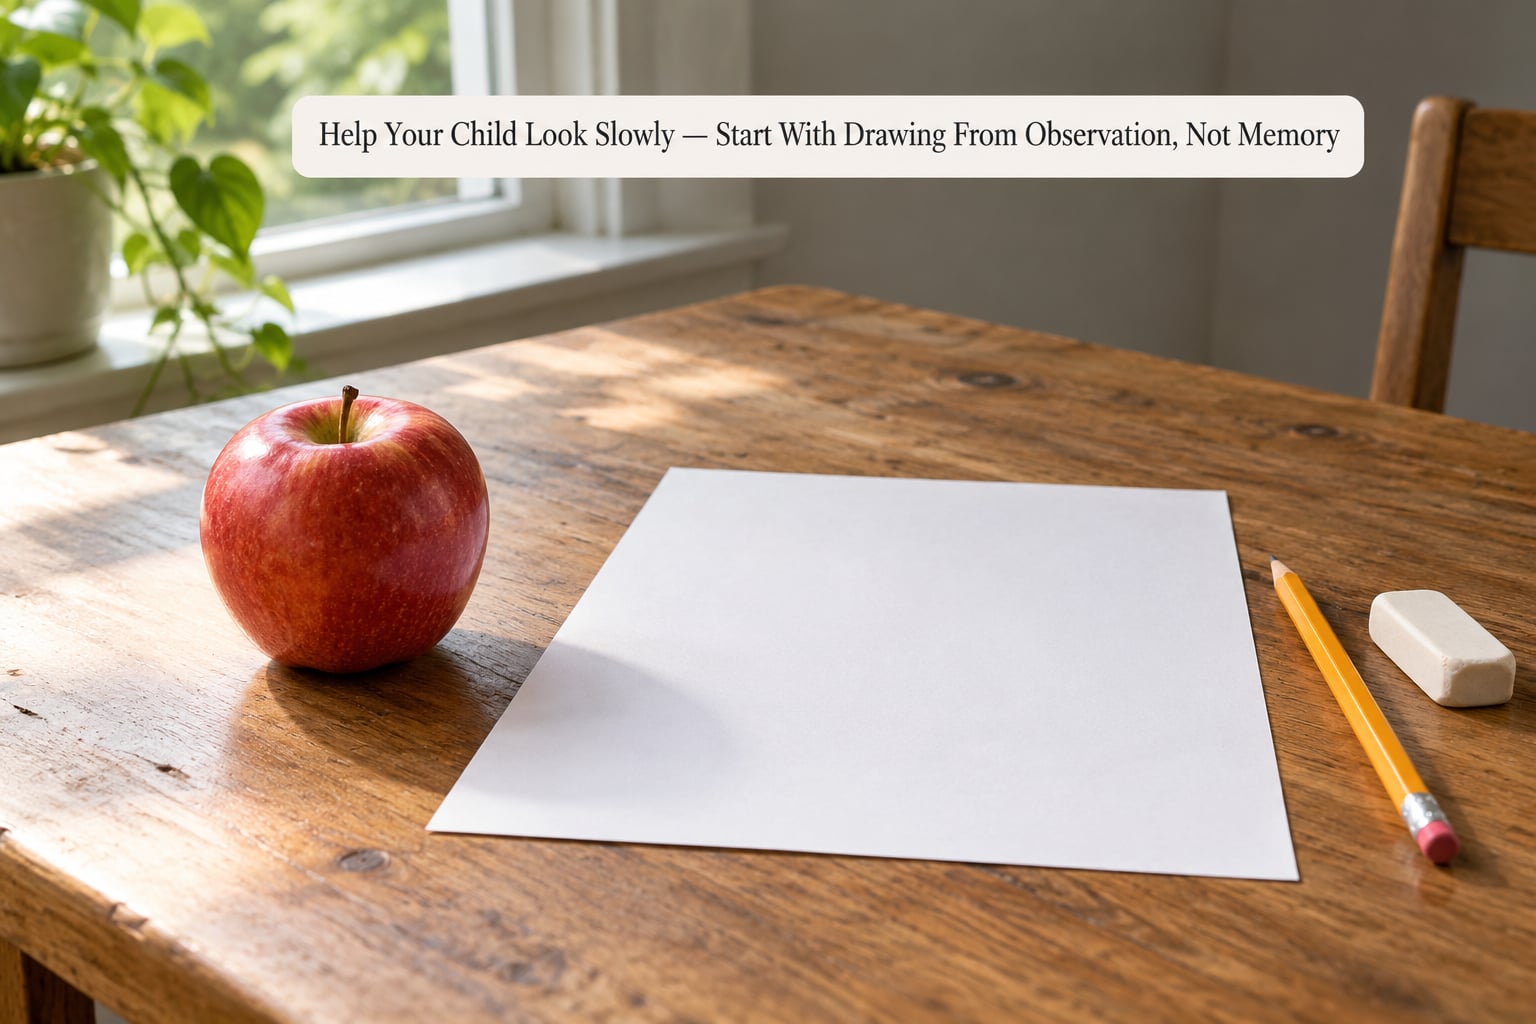
Before any pencil touches the page, spend two full minutes looking. This is the stage most parents skip and the one that does the most work.
Ask questions rather than giving instructions: What shape is the middle of it? Where does the light hit first? How many sides does the stem have? What color is the darkest part? Ask them to trace the object’s outline in the air with one finger before they trace it with the pencil. You are training the eye to travel slowly around an edge, and most children have never had anybody ask them to do that.
Two tricks help here. The squint test: have your child look at the object with their eyes almost closed, which blurs away detail and leaves the big shapes standing out clearly. And the hand-as-frame: hold one hand up like a viewfinder and look at the object through the gap. Children understand both instantly because both are physical rather than verbal.
You will know it is working when the child starts reporting things you did not tell them, like “there’s a dent there” or “the bottom is darker than the top.” That unprompted noticing is the goal of this stage.
2. Draw the Basic Shapes First
Now the pencil comes out, and you ask for shapes rather than for a picture. An apple is a circle. A mug is a rectangle with a curve on one side. A salt shaker is a stack of three cylinders. A houseplant is a bunch of triangles on stalks.
Say this clearly to the child: the shapes are supposed to be wrong. A circle that comes out a bit lopsided is doing its job perfectly, because it matches the lopsided circle they are looking at. If your child draws a flawless geometric circle, they are drawing the idea of a circle rather than this particular apple.
Ask them to draw the biggest shape first and hold the pencil still at the edges, which keeps it from shrinking as they go. One long, slow outline of the whole form, no erasing, no detail. Resist every urge to correct a line here. A slightly wonky outer shape is a far better outcome than a perfect shape that was handed to them.
You will know it is working when the child stops asking what to draw next. The outer shape is the hard part, and once it exists the rest is placement.
3. Add Details Where You See Them
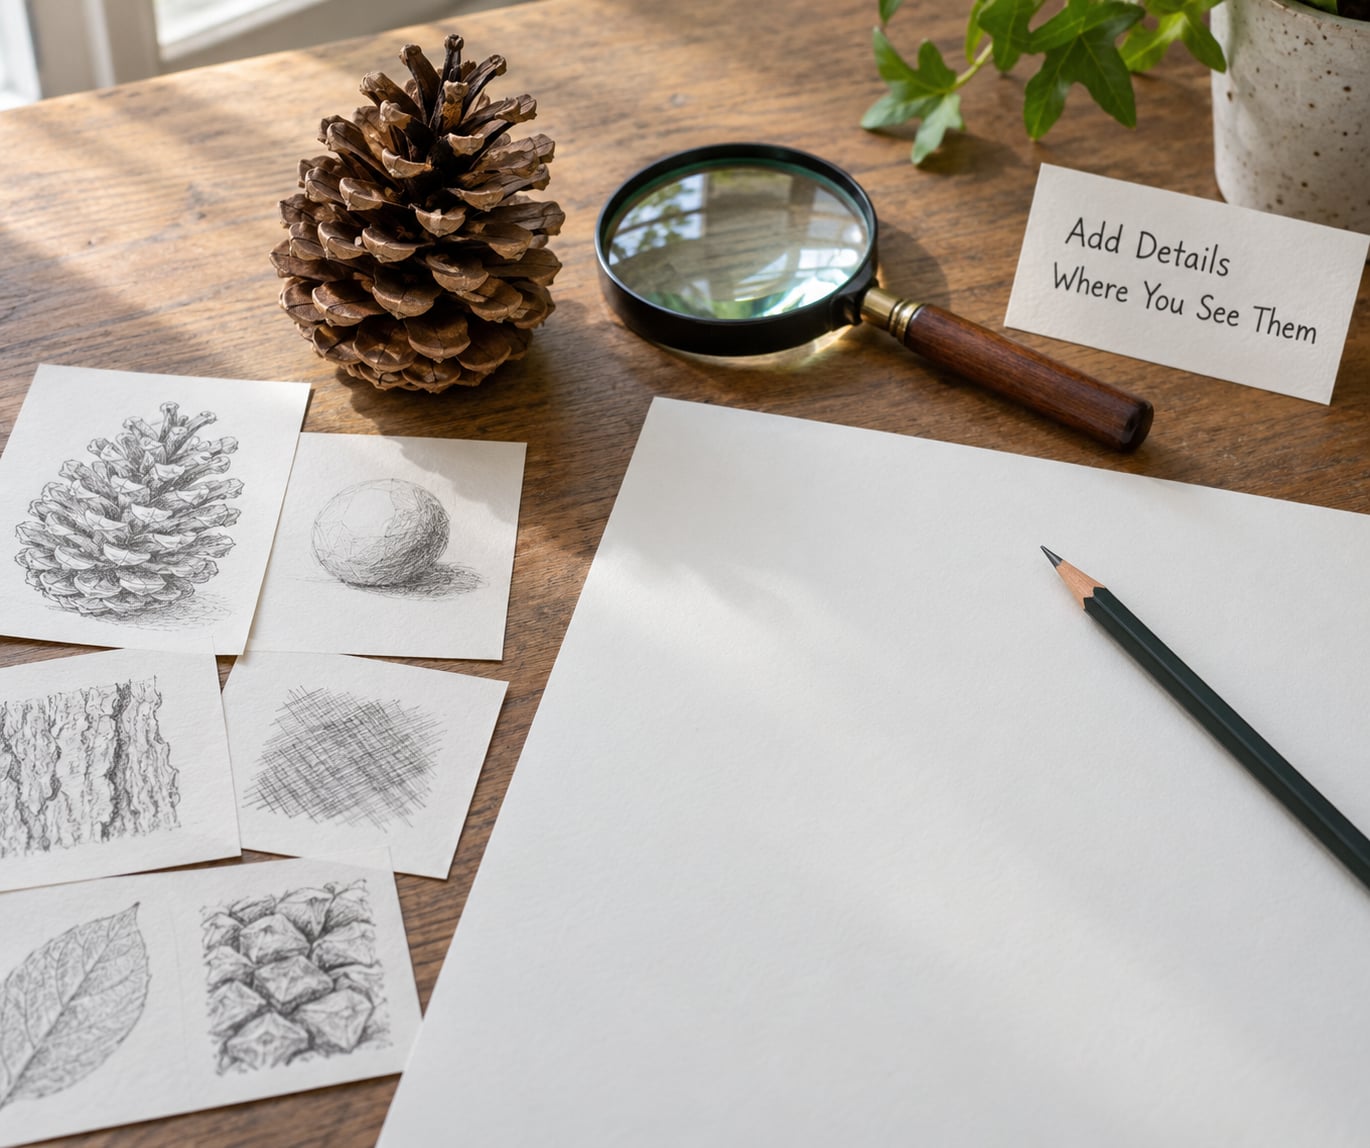
Only now do details come in, and only the ones that are genuinely visible. A stem if there is a stem. The crease where a leaf folds. Three buttons, not twelve. A reflection in the side of the mug, if the light is hitting it.
Pass the magnifying glass over the object and let your child see what is actually there: the pores on a rind, the ridges on a pinecone, the weave of a sock. Children routinely invent detail that a photograph would not contain, because memory fills gaps. Looking close is the correction.
There is a useful habit forming here. After each new detail, your child looks up at the object, then back at the paper, and asks whether the two still match. That three-second check teaches proportion better than any amount of instruction, because they feel the mismatch before they can name it.
Shading can wait until the shape is right, and even then it is optional. If your child wants it, use the side of the pencil for light grey and the tip for dark, and point out where the real object is darkest: the underside, the crease, the spot under the handle.
You will know it is working when your child starts describing what they are about to add before adding it. “The dark bit goes here” means the loop from looking to marking is closed.
4. Check the Drawing Against the Subject
Put the drawing next to the object, side by side, about 20 centimeters apart. Comparison is the only feedback that works here, and it needs both things visible at once.
Ask three questions and no more: Is anything too big or too small? Is anything in the wrong place? What is missing? Then choose one thing to change. One. Not five.
This is where well-meaning adults do the most damage. Correcting lines, adding an outline, or taking the pencil to demonstrate ruins the exercise, because it converts the drawing into a record of your skill rather than their looking. The quiet version is naming the mismatch and letting them decide what to do about it. “The handle looks smaller in your drawing than on the mug” is enough. What they do next is the practice.
Erasing everything and starting over is the other common habit, and it teaches nothing except that drawing can be restarted. A light eraser on a single stubborn line is fine. A fresh sheet ten minutes in is not.
You will know it is working when the child starts doing the comparison without being asked. That is the habit transferring, and once it exists you are no longer the teacher.
5. Finish with a Personal Drawing
End the session with a subject the child chooses and cares about: a pet, a grandparent, a favorite toy, a bicycle, their own hand. Familiarity is what makes a first attempt feel safe enough to risk.
Draw it with the same process, same five stages, even though it is harder. Expect the hand or face to be difficult, because those are the hardest subjects at every level. Drawing a face usually means drawing several separate shapes rather than one whole head, and drawing a hand means knowing that the fingers are different lengths, which most five-year-olds have not thought about yet.
Then ask your child to write one sentence, or dictate it while you write it: “The thing I noticed that you might not have seen is…” That sentence is the real product of the session. Kids remember it later, and some of them keep drawing because of it.
What to say (and not say) while they draw
Your language matters as much as your questions. Keep the prompts open and keep the commentary about process rather than product.
- Say: “Tell me what you see” and wait. Silence does most of the work.
- Say: “Which part were you looking at when you drew that line?”
- Say: “That’s different from how I see it. What do you think that’s about?”
- Don’t say: “That’s not right,” or “Be careful,” or “Make it look real.”
- Don’t say: “That looks like a real dog.” Accuracy praise makes the next attempt feel like a test.
- Don’t compare their drawing to anyone else’s, including a sibling’s or your own.
If you draw alongside them, draw badly on purpose. It takes the pressure off and it gives you a reason to say “wait, that line is going the wrong way” out loud, which is the most useful sentence in the whole session.
Easy Observation Drawing Activities for Kids
Once the five-stage method is familiar, the practice you give it matters less than the fact that you keep giving it. These seven activities all use things already in your house, and each one isolates a different skill.
Draw a family member’s hands
Rest the hand on the table, palm down, fingers spread. No faces, no names, no context. Hands teach proportion and foreshortening in a low-stakes format, and children find them genuinely interesting. Watch for the discovery that fingers are different lengths, which is a real surprise the first time.
Draw the view out of a window
Set a timer for five minutes and have the child draw whatever is outside: rooftops, fences, a tree branch, parked cars. Distance is where perspective lives, so this is where they will first notice that things shrink and overlap. Expect a lot of detail on the nearest object and simple shapes on the far ones. That is correct.
Collect and draw leaves or shells
Go outside, gather five or six, and bring them home. A magnifying glass turns one leaf into a whole afternoon. Children who resist drawing usually don’t resist nature, because the material arrived without instructions attached.
Back indoors, try drawing a single vein and its branches and nothing else, then a whole leaf. This two-step version prevents the common failure of starting with the entire object at full complexity.
Draw a favorite toy
Pick something with recognizable proportions, like a small truck or a rubber duck. Toys are stationary, they hold still, and children are usually attached enough to the object to persist past frustration. Turn it around once mid-session and ask what changed, which surfaces hidden surfaces and perspective without a lecture.
Draw a pet without touching them
Animals move, so work in quick sessions of two or three minutes rather than one long sitting. Draw the head in the first session, the legs in the second, the tail in the third. Sketching something that keeps walking away teaches speed and selection, and finishing a whole animal over three days feels like a much bigger win than a single rushed attempt.
Set up a simple still life
Three objects, a light source from one side, and a sheet of paper propped up so the object and the drawing are at the same height. Arrange the objects so they overlap slightly, since overlap is what tells a viewer which one is in front. A cloth under them stops the ring marks. Keep the setup in place for a week if your child wants to come back to it.
Play Draw and Guess
One person draws, the other guesses, and the guesser is not allowed to ask questions. It is a party game that quietly enforces the habit of communicating with line alone. It also removes all performance pressure, because the goal is a correct guess rather than a good drawing.
Blind contour warm-ups
Two minutes at a time. The child looks at the object, then closes their eyes and draws without peeking. The result is always strange, which is the entire charm of it. Blind contour is very effective at breaking the habit of drawing the idea of an object instead of the object itself, because the eye cannot supervise the hand. Adults who teach art use it as a warm-up for exactly the same reason.
What to expect by age
| Age | What to focus on | Good subjects | Session length |
|---|---|---|---|
| 2 to 3 | Scribbling and mark making, not accuracy | Large crayons on big paper, any subject | 2 to 5 minutes |
| 4 to 5 | Looking slowly, drawing one shape | Fruit, mugs, blocks, one leaf | 5 to 8 minutes |
| 6 to 8 | Outer shape first, then visible details | Still life, toys, pets, windows | 10 to 15 minutes |
| 9 to 12 | Proportion, light, and comparing with the subject | Hands, rooms, short nature walks, portraits | 15 to 25 minutes |
| 13 and up | Accuracy for its own sake, self-directed subjects | Whatever they choose, including people | As long as they stay |
Toddlers do not benefit from being taught to draw anything. They are building fine motor control and mark-making confidence, and that happens with thick crayons and large paper as fast as their hand can move. Introducing observation methods before about age four mostly produces frustration. Watch the wobble in a line at four or five, and start there.
Common Mistakes and Easy Fixes
Almost every problem I see in a child’s observational drawing is a habit rather than a skill deficit. The habits are fixable, and the fixes are quieter than most parents expect.
| What you see | Why it happens | The quiet fix |
|---|---|---|
| The drawing looks like a cartoon of the object, not the object | Drawing from memory or from a remembered style | Move the object into their hands, ask them to look at it for 60 seconds before drawing |
| Cartoon characters or famous paintings are the subject | Copying is easier and feels safer than looking | Keep the practice subject real and in front of them; save characters for free drawing later |
| The subject is too complicated, so they stall after two minutes | Too many objects or too much detail at once | Drop to one simple object, and draw half of it rather than all of it |
| Erasing everything and starting over repeatedly | Perfectionism, often learned from adult criticism of their work | Ban the second sheet; say “keep going” and mean it |
| Every line is very slow and very careful | Trying to make lines smooth | Have them draw with the side of the pencil, or with a crayon, or fast with the elbow |
| Frustration, tearing up the paper, “I can’t draw” | The subject got too hard or the comparison felt like a verdict | End the session, not the relationship. Switch to games or drawing a favorite object instead |
| The child follows your line corrections exactly | You took over, so there is no thinking left to do | Point at the discrepancy and let them fix it. Never take the pencil |
The row about erasing deserves emphasis. A child who starts again twelve times in a session is not being perfectionist out of character. They have learned that a first attempt does not count. The fix is boring and effective: put nine sheets of paper on the table at the start and require them all to be used.
On frustration, the general rule I use is to stop drawing but not stop the relationship. Change the medium, change the subject, or stop entirely and come back tomorrow. A child who concludes that drawing is where they fail is carrying that into maths, handwriting and reading, so treat a torn-up page as a signal to change the activity, not as a lesson.
Tips for Making Observational Drawing Easier
Keep sessions under fifteen minutes for young children. Five focused minutes beats twenty distracted ones, and stopping while they still want more is what builds the habit.
Let the object stay in their hands when possible. Holding something turns it slowly, and rotation teaches perspective in a way that no explanation manages.
Praise the noticing, never the result. “You spotted the dent on that side” is the praise that transfers. “That’s a beautiful drawing” teaches nothing about what to do next.
Let mistakes stand. A line that curves the wrong way is information the child gathered. Covering it up removes the only thing that made it useful.
Draw the same object three days in a row. Repetition is where observation actually gets learned, and the third attempt is always the interesting one.
Scale up gradually. Fruit, then a mug with a handle, then a still life of three overlapping objects, then a pet, then a room, then a person. Rushing up the ladder is what produces the flat frustrated child who says they cannot draw.
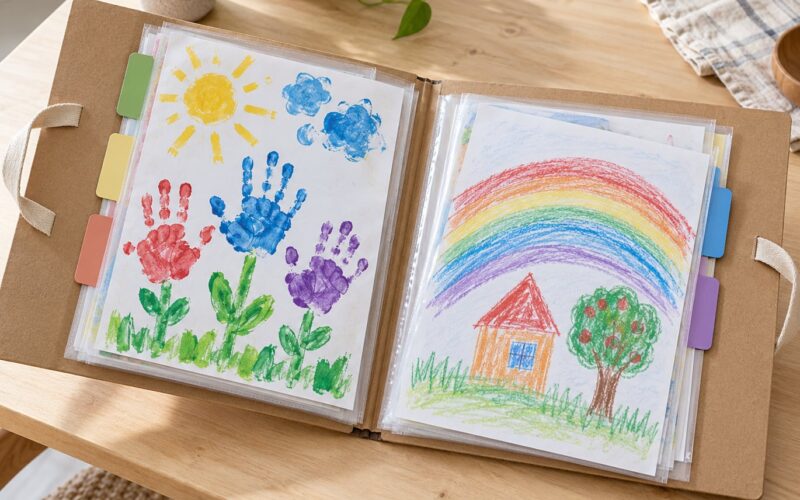
Keep a folder. Draw the same subject again in six months and put them side by side. Nothing motivates a child like their own evidence of progress.
Observation skills travel well beyond art. Sketching a cell, a leaf cross-section, a bird, or a machine part all work the same way: break it into shapes, measure by eye, check against the source. Children who draw well tend to be the ones who found it slow and quiet, not fast and clever.
Frequently Asked Questions
What is sight drawing?
Sight drawing is the same thing as drawing from observation: drawing what you see from your exact position, at that moment, rather than drawing an object from memory or from imagination. It is sometimes called observational drawing. The name comes from art teachers who noticed that students who drew only from memory stayed stuck, while students who drew with the object in sight improved quickly. The whole method is simply slowing down and looking.
At what age can a child draw realistically?
Expect the first clear jump around age six or seven, and only with steady practice. Younger children are usually drawing from memory, which looks like a cartoon version of a real thing rather than an inaccurate version of it. That is a normal developmental stage, not a permanent limit. Between four and six, expect good shapes and one or two details; between nine and twelve, expect proportion and light to start to appear on their own.
How do I practice observational drawing?
Practise in short, repeatable sessions: pick one object, look at it slowly for two minutes, draw the largest shape first, add only the details you can actually see, then place the drawing beside the object and compare. Ten minutes is plenty. Repeating the same object on several days teaches more than drawing six different objects once, because the second attempt is where comparison skills start to develop.
What if my child says they cannot draw?
Take the statement seriously rather than arguing with it, because it usually means a past drawing was judged. Say that nobody can draw yet, including you, and that drawing is a practice rather than a talent you either have or lack. Then make the next attempt trivially easy: one object, one shape, two minutes. Confidence in this age group comes from finishing something small, not from producing something impressive.
How long should a child draw each day?
For ages four to six, five to ten minutes most days is enough, and more than that rarely helps. From six upward, work toward 15 to 20 minutes and let the child stop when the interest goes rather than pushing to a quota. Short daily sessions beat one long weekly one, because observation is a habit of attention and habits need frequency, not length.
Why does my child’s drawing look unrealistic even when they can see it?
Most often the child is drawing from memory rather than from the object, and memory fills in what it expects to see. Other common causes: starting with details instead of the outer shape, holding the object too far away to see detail, and correcting lines that look wrong. Ask them to hold the object closer, draw the biggest shape first, and squint at it before starting to check whether they are looking or remembering.
Conclusion
Teaching kids to draw from observation comes down to one habit: making the child look at the thing instead of remembering it. Slow looking, biggest shape first, only the details that are really there, then compare the drawing to the object and change one thing.
Start today, before you buy anything. Put one familiar object on the table, hand over a pencil and a sheet of unlined paper, and give them five minutes of careful looking before the first mark. One object, five minutes, and a sentence at the end about the thing they noticed that you missed. Repeat it tomorrow with a different object, and by the third week the drawing looks less like a cartoon and more like a thing that was actually there, because now they drew it that way.