The fastest way to organize kids art supplies is to gather everything you own, throw out what no longer works, sort what remains into about a dozen fixed categories, and put each category in one clear labeled bin at your child’s height. Most of the mess I have seen comes from too many categories, not too few.
This system takes an hour the first time and about five minutes a day after that. It assumes you already own most of the supplies you need.
Table of Contents
- What You Need Before You Start Organizing
- Step-by-Step: How to Organize Kids Art Supplies
- Step 1: Gather and Sort Before You Organize Kids Art Supplies
- Step 2: Choose Containers by Category
- Step 3: Group Tools and Materials Together
- Step 4: Label Everything Children Can See
- Step 5: Create a Return System and Test It
- Common Mistakes to Avoid When You Organize Kids Art Supplies
- Frequently Asked Questions
- What is the best way to organize kids art supplies in a small space?
- How can I make art supplies easy for young children to find?
- What should I do with unused, dried-out or broken art supplies?
- How do I organize art supplies when I have limited storage?
- How can I teach children to put art supplies back after they finish?
- Should art supplies be stored in the child’s room or in a shared family craft area?
- Conclusion
What You Need Before You Start Organizing
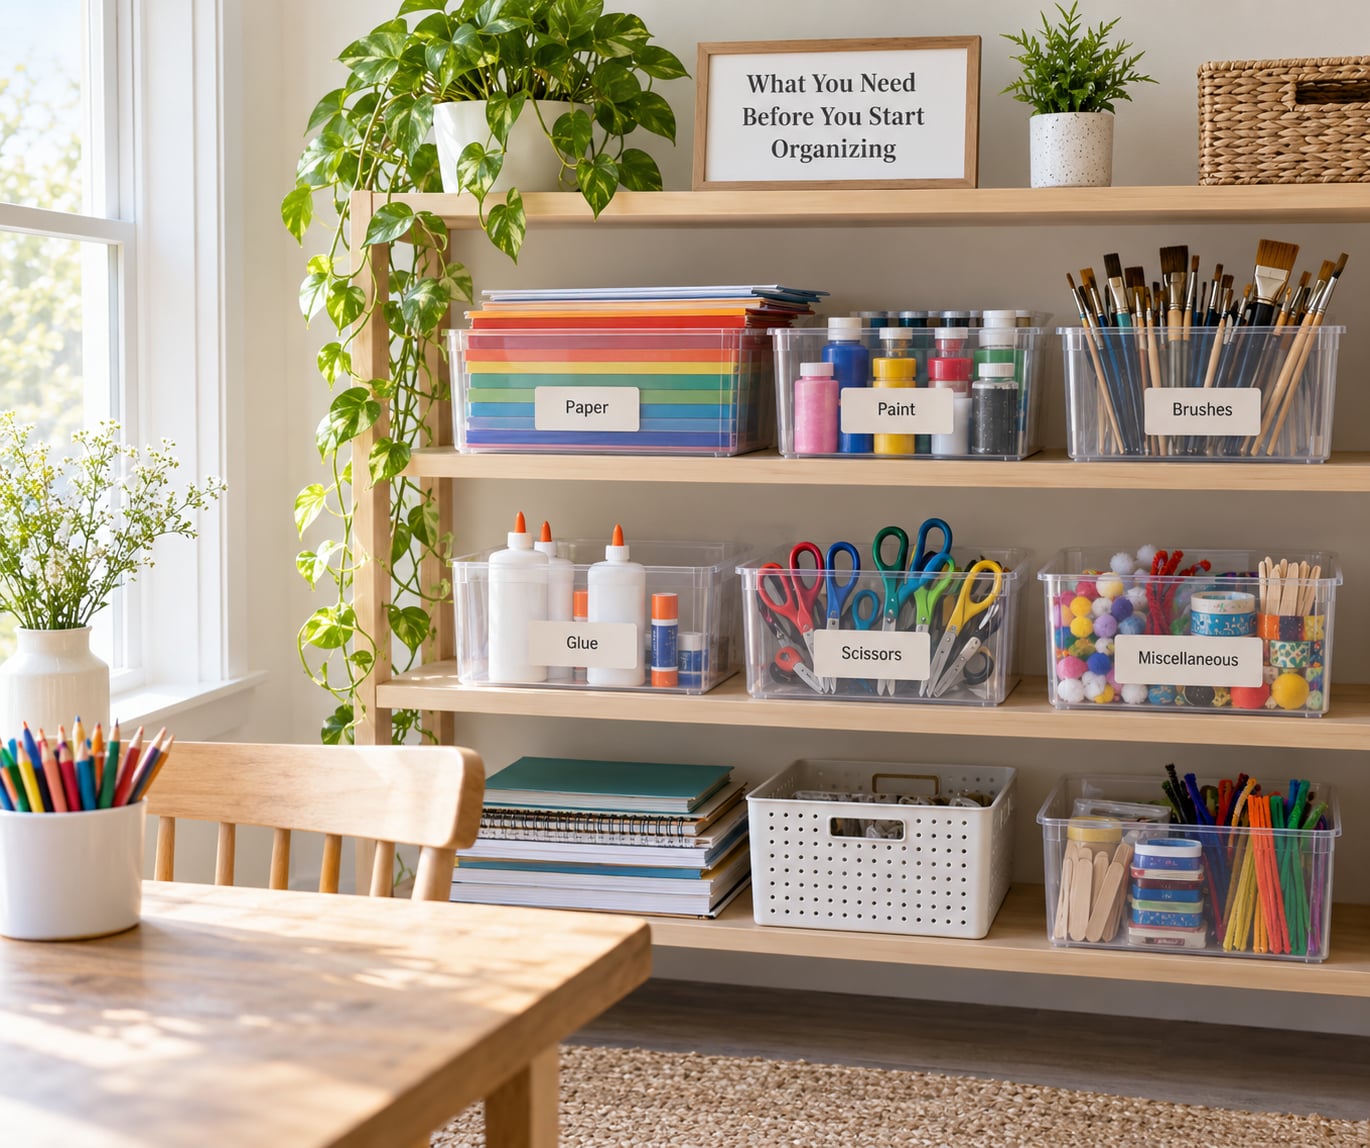
You need less than most organizing guides suggest. Start with a handful of clear plastic bins you already have, or repurpose what is around the house.
- Six to twelve clear bins in roughly the same size, so they stack. Shoe boxes, yogurt tubs and clean peanut butter jars all work if they hold their shape.
- A shallow tray or small caddy for things that get used every session, like glue sticks and washable markers.
- Cardstock or printer paper and tape for labels, plus a marker or pen that will not smear when a kid handles it.
- A dedicated surface. A table, a shelf, even a cleared stretch of floor works. A washable covering such as a shower curtain liner makes spills a wipe instead of a scrub.
- A small discard box for dead markers and broken crayons, so cleanup has somewhere obvious to go.
Skip the matching multi-bin organizer sets until you have lived with this system for a couple of months. Plenty of parents build a perfectly good setup from a dollar store bin here and a cereal box storage solution there.
Step-by-Step: How to Organize Kids Art Supplies
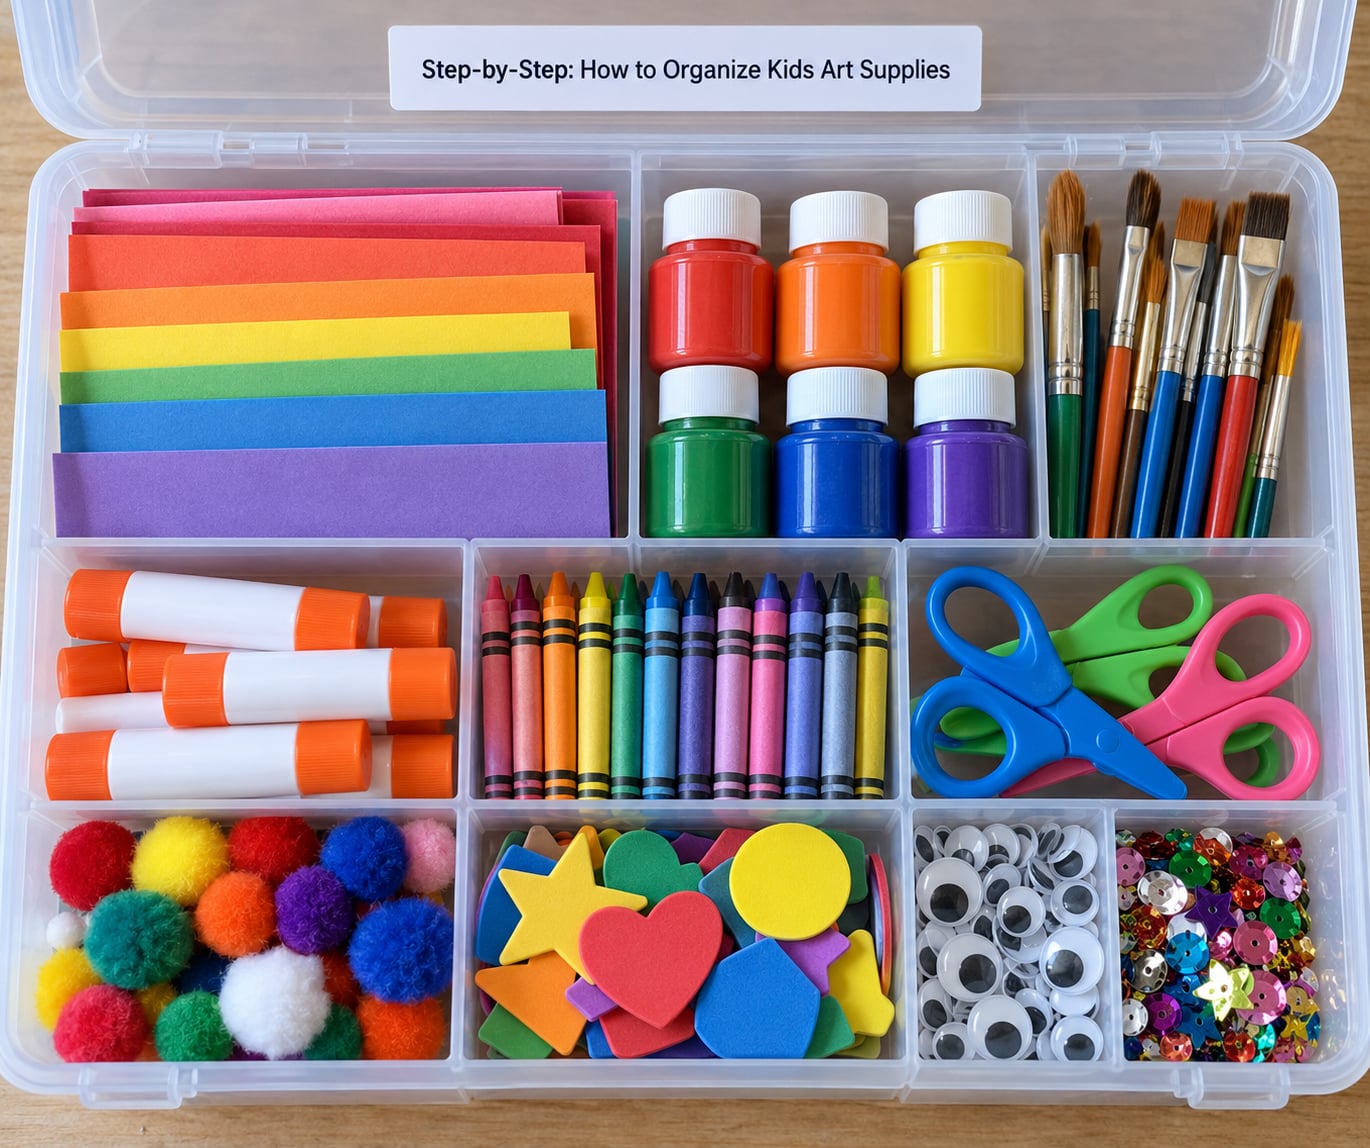
The whole method comes down to five steps: gather and sort, purge what does not work, choose containers by category, group tools with their materials, and label everything your child can see.
Step 1: Gather and Sort Before You Organize Kids Art Supplies
Put every supply you can find in one spot on the floor. Check under couch cushions, the back of the craft closet, and the junk drawer in the kitchen, because that is where the good stuff hides.
Then sort as you go. Most families land on a similar set of categories:
- Drawing: markers, crayons, colored pencils, pens
- Paint: tempera or washable tempera in bottles, plus any brush sets
- Adhesives: glue sticks, liquid glue, tape
- Cutting: child-safe scissors, hole punches
- Paper: construction paper, card stock, printer paper, paper bags
- Messy crafts: playdough, slime supplies, salt dough extras
- Fine motor: beads, pom-poms, pipe cleaners, googly eyes, sequins
- Decorating: stickers, stencils, stamps, glitter, foil
- Tools: rulers, hole punches, cutting mats, brads
- Bottoms: recycled craft material, cardboard tubes, spools
Purging belongs in the same pass, while you are holding the item. Throw out markers that have dried inside the cap, playdough that has turned to powder, glue sticks that will not unroll, paint that has skinned over, and crayon stubs nobody uses. It is less work to discard as you sort than to make a second trip to the trash later.
Step 2: Choose Containers by Category
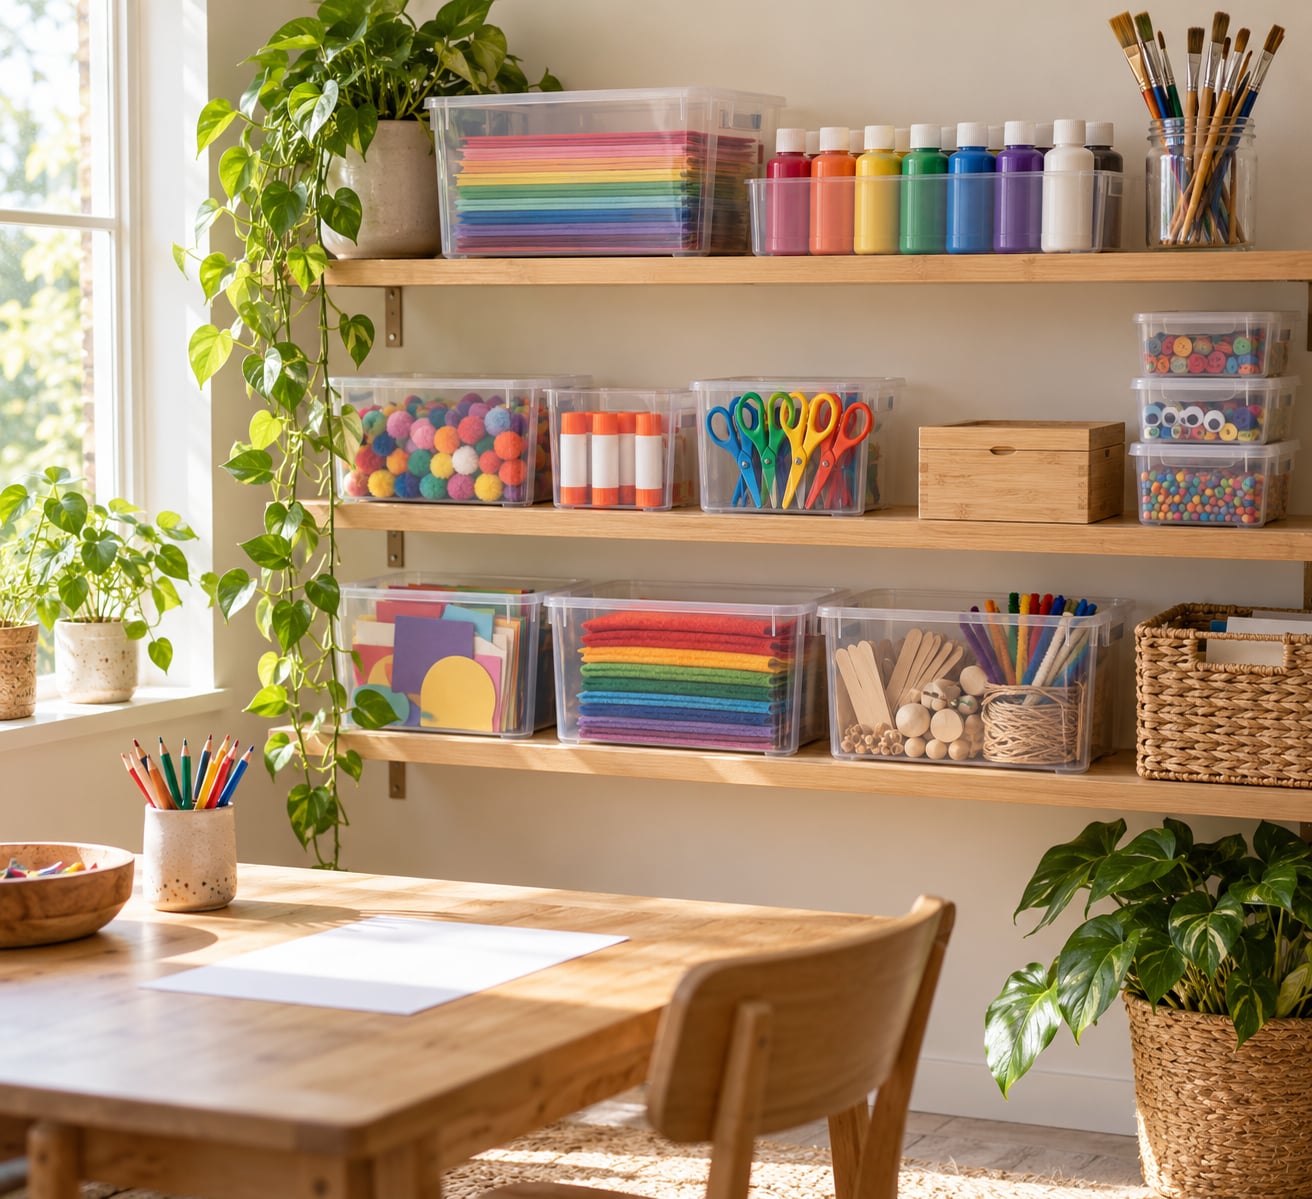
Match the container to how often a supply is used and how big it is. Frequently used, small items go in shallow trays on the surface. Bulky or seasonal items go in larger totes you can stack.
A few containers cover most homes:
- Clear totes for bulky categories such as paper, paint and playdough.
- A shallow caddy or divided tray for the daily-use items, at a level a small child can reach into without help.
- Jars or mugs for brushes and pencils standing upright, which keeps them from rolling into the bottom of a bin.
- A rolling cart if art happens in more than one room, or if the table is also used for something else and needs clearing first.
- A hanging organizer for small supplies when wall or door space is all you have.
If you have very little space, give one shallow box per category a fixed home inside a single large bin, then carry that bin in and out on art days. Consistency of location matters more than the furniture.
A rolling cart is the one upgrade I would pay for before anything else. Set it up with the daily-use supplies on the top tier, bulkier materials like paper and paint in the middle, and playdough or rarely used craft kits on the bottom. Because it rolls, the same storage works in the playroom, at the table, or outside on the patio, and a toddler-free room stops looking like a craft room all day. If you already own a rolling utility cart, convert it rather than buying anything new.
Repurposed containers beat buying a matching set for most families. Clean peanut butter jars and sauce jars are clear, shatterproof and come with screw-top lids that stop a paint spill. A hanging shoe organizer turns a blank wall or the back of a door into a supply rack, and a cereal box inside a bin keeps small items from migrating to the bottom.
Step 3: Group Tools and Materials Together
Brushes live in the paint bin, not on their own in a drawer. Scissors and hole punches live with the paper bin. Glue sticks sit with the paper bin, not the paint bin.
Why bother? Because a child pulling the paint bin gets everything needed to paint. Nothing lives far away enough to need a second trip, and nothing ends up in a “miscellaneous” pile that nobody understands. I cap my bins at about ten, and when a bin needs a “miscellaneous” label I treat that as a sign to split the bin instead.
Some things should not be within reach. Scissors with points, small beads and googly eyes are choking hazards for toddlers, and older children using them should be nearby. Keep those items in the top bin of a cart or on a high shelf and hand them out at the start of the session. Follow your pediatrician’s guidance on what is age-appropriate, and check that markers and paints are labeled non-toxic and washable before a toddler uses them unsupervised.
Step 4: Label Everything Children Can See
Use word and picture labels: the word printed large, with a simple drawing of a brush, a glue stick or a pair of scissors underneath. Pre-readers navigate by the picture, and older kids read the word. That one habit covers both.
Attach labels to the front of the container, not the lid, because lids get flipped and set down wrong. A strip of painter’s tape or a laminated card both work well, and cardstock survives longer than plain paper when small hands handle it.
Keep container placement fixed once you label. A label on a bin that lives on a different shelf each week teaches nothing.
Step 5: Create a Return System and Test It
The system survives or dies on cleanup. Use one rule: whatever comes out goes back before the next thing starts.
Practical habits that hold up:
- Set a small discard box for dead markers and capless items, emptied weekly.
- Adopt one-in, one-out. When you want a new supply, retire one first.
- Photograph your child’s artwork as it happens, then choose a small number to display and file the rest.
- Do a two-minute nightly reset on the surface, not a full re-sort.
Then test the setup. Give your child the paper bin task and see whether they can find glue without being told where it lives. If they cannot, the label or the shelf height is wrong, and no amount of tidying later will fix it.
Common Mistakes to Avoid When You Organize Kids Art Supplies
Using too many tiny containers. Twenty small cups take three times as long to put away as four bins, and children end up dumping them. Fewer, larger containers win.
Storing everything within reach. A toddler-height shelf is great for washable markers and paper and wrong for beads, googly eyes and scissors with points. Keep the small stuff high and hand it out.
Mixing categories in one bin. The moment glue, scissors, stickers and beads share a bin, the glue gets covered in glitter and the bin needs a reset before the next kid uses it.
Labeling lids only. Spend one minute writing on the front face. It is the difference between a child fetching glue and a child asking you to find it.
Buying duplicates. Sorting first shows you the four half-empty glue-stick collections you already own. Buy to fill gaps after, not before.
Photograph every piece on the day it is made, then display a rotating handful and file the rest flat. School-year files, one folder per child, work well, and brown mailing envelopes per child per year cost almost nothing. If you do not want paper copies at all, compile the photos into a printed flip book at the end of the year.
Waiting for the perfect setup. Use what you have this week. A system in a shoebox beats a better system in a storage aisle three months from now.
Skipping the finished art. Loose drawings on the fridge and stacked in a drawer will harden into clutter. Photograph them, display a rotating handful, and file the rest flat in a portfolio or large tote with tabs per child.
Frequently Asked Questions
What is the best way to organize kids art supplies in a small space?
Use vertical space and shallow containers instead of wide shelves. A hanging shoe organizer or pegboard holds small supplies flat against a wall, and a rolling cart gives you storage that can move out of the way. Keep one fixed bin per category so a child can find things without moving anything else first.
How can I make art supplies easy for young children to find?
Put daily-use supplies at their height, in clear containers with word and picture labels on the front. Keep the categories few and fixed, so a child only has to learn where glue and scissors live. Test it by asking them to fetch something without help, and move whatever they cannot reach.
What should I do with unused, dried-out or broken art supplies?
Keep a small discard box next to the art area and let kids toss dead markers and broken crayons in themselves, which keeps the habit going. Empty it weekly. For dried playdough, cracked tempera and capped glue sticks, check whether a school supply list needs them before replacing, then add one new item only as something runs out.
How do I organize art supplies when I have limited storage?
Concentrate one box per category in a single lidded tote, then carry the whole tote to the table when art time starts. A window sill, a wall shelf or the top of a washing machine all work as art stations. The key is that every category always returns to the same place, even if that place is a shelf you clear each time.
How can I teach children to put art supplies back after they finish?
Use the rule that whatever comes out goes back before the next thing starts, and make it one step rather than a lecture. Keep a discard box for dead items so nothing goes in the trash mid-project. Two minutes of nightly resetting on the surface is enough; a full re-sort belongs to the weekend.
Should art supplies be stored in the child’s room or in a shared family craft area?
A shared family craft area usually works better, because one organized setup serves multiple children and different ages. Store large, shared, seasonal supplies together, and let each child keep a small personal kit of markers and paper in their own room. Separate kits reduce the cleanup battles that come from siblings sharing one bin.
Conclusion
Start with one central spot. Spread out what you own, sort it into a handful of broad categories, throw out everything that no longer works, and label a clear container for each one before you buy a single storage product.
Once it is running, keep it running with a two-minute nightly reset and a one-in, one-out rule. A simpler setup that survives the year beats a beautiful one that falls apart in month two.