If you have ever wondered how to make a kids art portfolio that actually survives a full school year, the answer is simpler than it sounds: a folder, case, or book that collects a child’s drawings, paintings, and crafts so they stay protected instead of curling on the fridge until they get thrown away. The fastest route is a three-ring binder with clear archival sleeves, about 20 minutes and nothing more than a hole punch. If you want something that looks like a real portfolio case, a cereal box and a strip of duct tape will get you there in half an hour.
Either way, the project is easy, and I’ve made a few of them over the years, usually at 9pm with whatever was already in the kitchen drawer. This guide covers five formats, what each one handles best, and how to keep the thing going for years. Updated for 2026.
Table of Contents
- What You Need
- How to Make a Kids Art Portfolio: Step by Step
- How to Choose a Portfolio Binder or Folder
- Sort and Prepare the Artwork
- How to Make a Kids Art Portfolio You Can Keep Adding To
- Create Labels and Captions
- Protect the Finished Kids Art Portfolio
- Display and Update the Portfolio
- Common Mistakes
- Frequently Asked Questions
- What should an art portfolio include?
- What not to put in an art portfolio?
- What is the best way to store my child’s artwork?
- How can I make a DIY art portfolio without sewing?
- How do I store 3D or oversized projects?
- How old should a child be to make their own art portfolio?
- Conclusion
What You Need
Everything on the core list costs almost nothing because it is either free or already in a drawer somewhere.
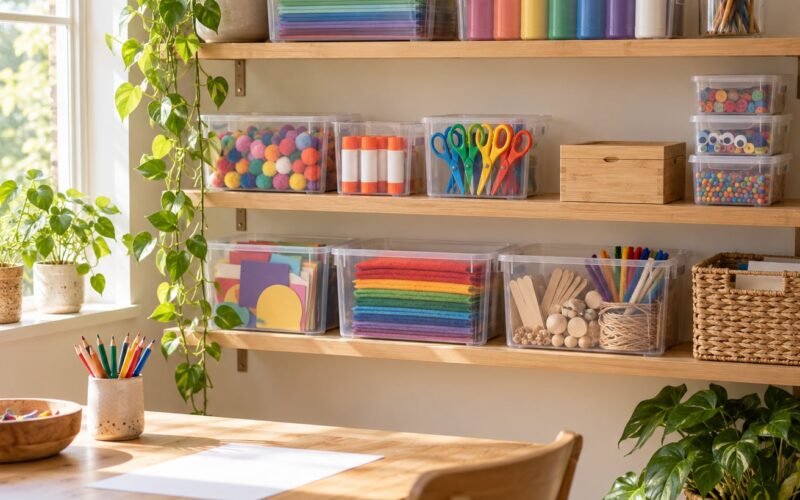
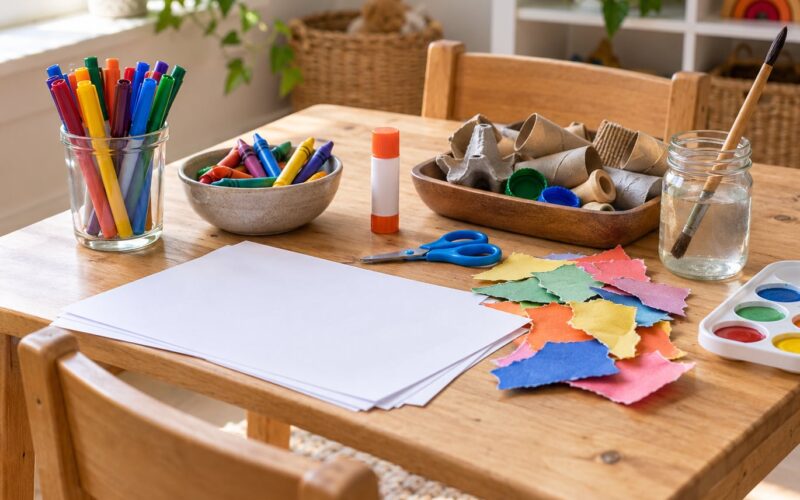
- A backing: a 1.5 to 2 inch three-ring binder, a presentation folder with pockets, two pieces of foam board or corrugated cardboard, or a scrapbook.
- Sleeves: clear plastic page protectors work for flat paper. For anything bulky, use an oversized clear vinyl pocket or a repurposed zip-top baggie trimmed to size.
- Mounting: glue dots, double-sided tape, or a glue stick. Avoid anything that bleeds through, and skip tape on painted surfaces that are still tacky.
- Labels: index tabs, masking tape strips, or small pieces of cardstock with the year written on them.
- Optional: ribbon for a handle, a hole punch, a ruler, markers or paint for the cover, and acid-free interleaving sheets.
Substitutions are the whole trick. No foam board? Two pieces of cereal-box cardboard taped together are stiff enough. No ribbon? A strip of fabric cut from an old shirt works as a handle. No acid-free sheets? Plain printer paper is fine for short-term storage; it only matters for pieces you want to keep for decades.
Pick the format based on how much art you are dealing with. A binder holds flat drawings beautifully and expands as your child grows. A presentation folder is faster but has a fixed capacity. A cardboard case stores more and travels better to grandparent houses. A scrapbook suits a child old enough to help, because the pockets and decorations are part of the fun.
One more thing worth deciding now: where it will live. Portfolios stacked on a closet shelf get forgotten. A portfolio that sits inside a bookshelf next to where homework gets signed finds a home and gets opened.
How to Make a Kids Art Portfolio: Step by Step
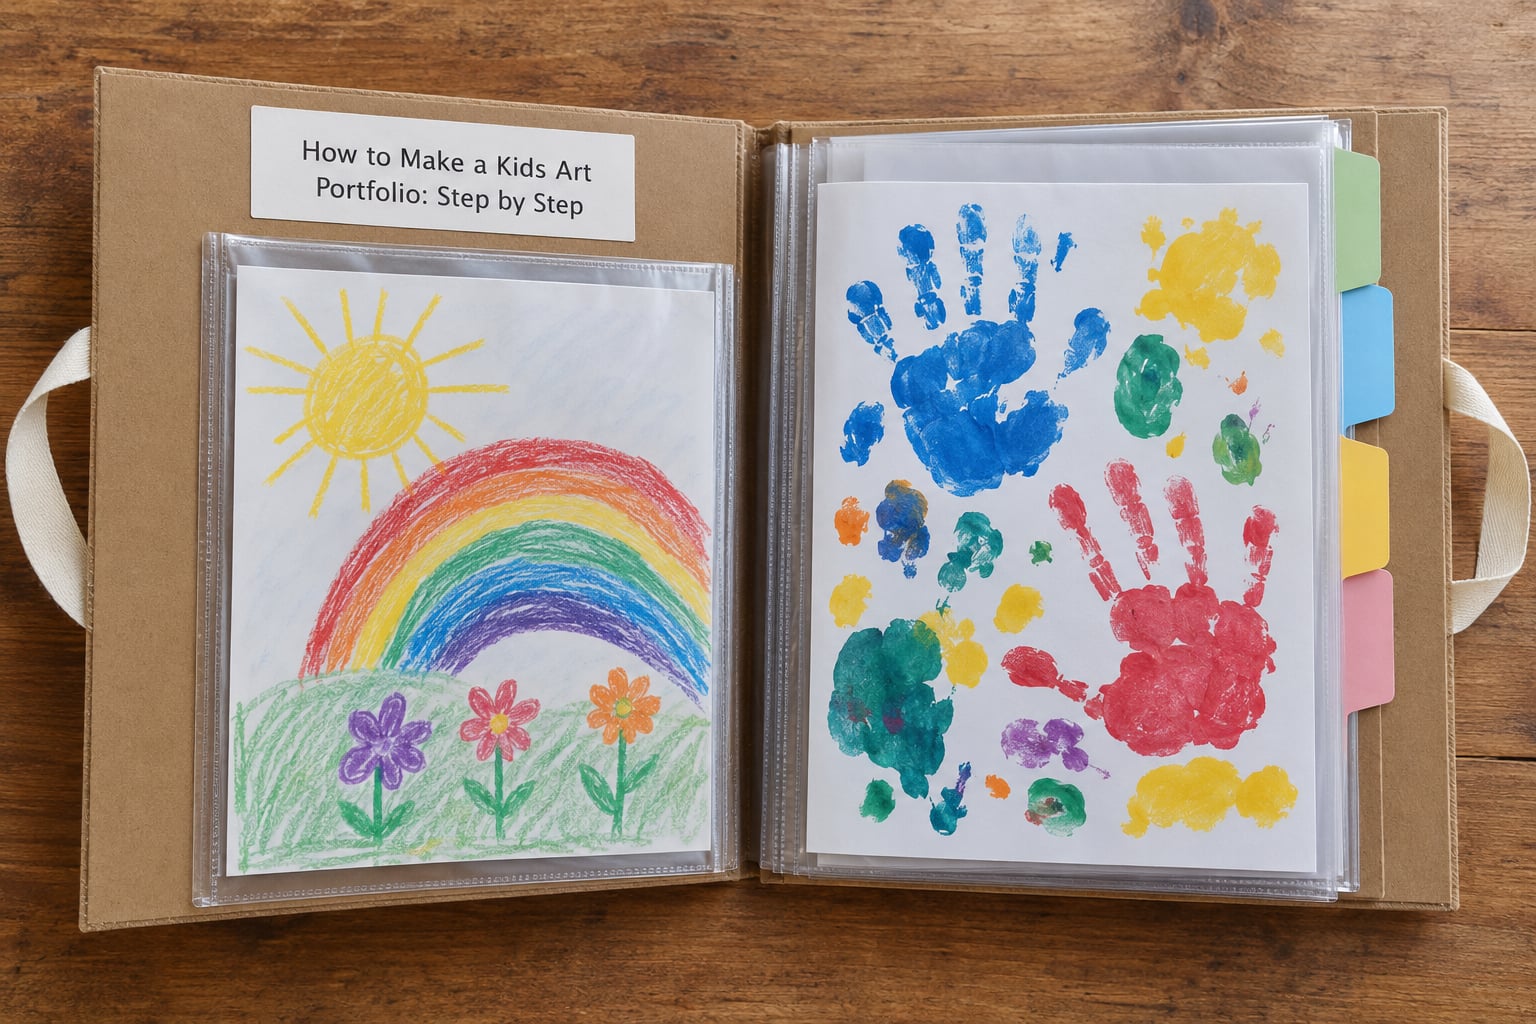
How to Choose a Portfolio Binder or Folder
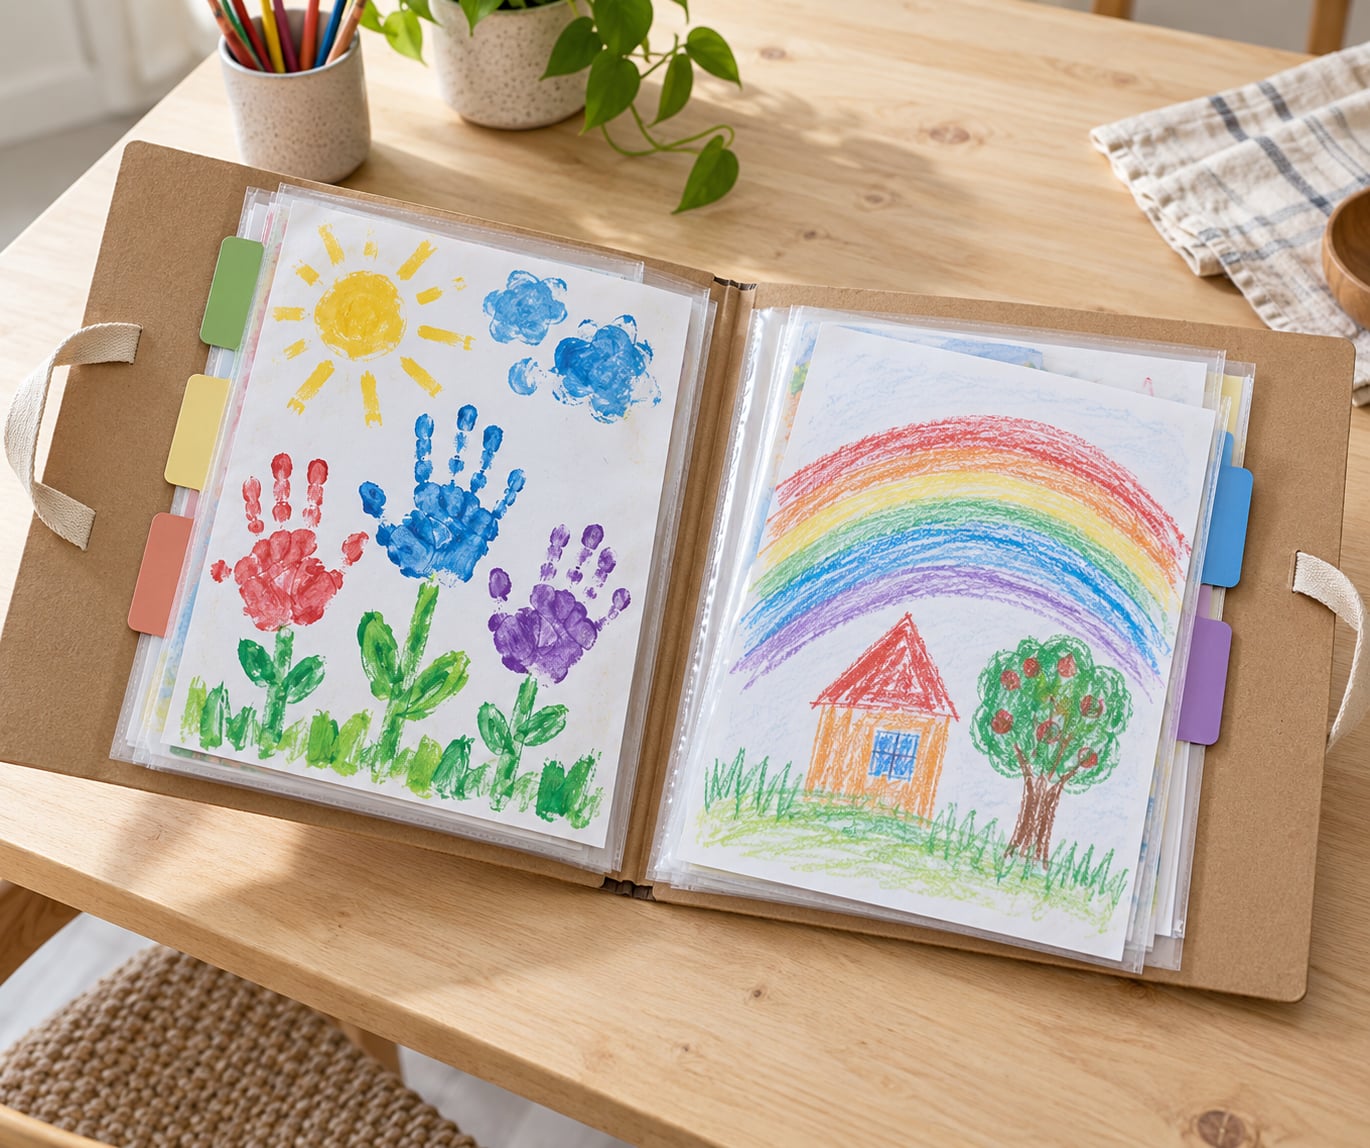
A three-ring binder is the default for a reason: the rings expand, so next year’s artwork slots in without rearranging anything. A 1.5 inch binder holds roughly 40 to 50 art pages in sleeves, which is about one school term of weekly work. Go bigger if your child brings home something daily.
A presentation folder is the one-afternoon option. Two pockets, no hardware, and it takes about five minutes to assemble. The trade-off is that it fits maybe 20 pieces and stops there, which is fine for a semester or a gift.
A cardboard or foam board case looks the most like a store-bought portfolio and takes the roughest treatment from a four-year-old. Two foam boards or cereal boxes cut to about 18 by 24 inches, hinged with duct tape down the long side, give you a folder that stands up on its own. A scrapbook with page pockets is the most child-friendly: they mount their own work, which makes the project feel like making rather than filing.
Sort and Prepare the Artwork
Work in batches of ten or fifteen, not the whole closet at once. Pull everything out, then push most of it back into the box. A portfolio with 15 great pieces beats one with 200 that nobody can flip through.
For each piece you keep: date it on the back in pencil, flatten any curl under a clean sheet of plain paper, and let wet paint dry fully before it goes anywhere near a sleeve. Paint that feels cool or tacky will stick to the plastic and take the colour with it when it peels.
Handle the awkward piles. Loose glitter, glued-on macaroni, clay, and cardboard sculptures get photographed instead. Take two shots, one straight on and one at an angle, print them to fit a standard page, and slip the print into the portfolio in place of the object. Parents describe exactly this pile, clay plus a robot built from red plastic cups and spoons, and the photo trick is the only honest answer to it.
Damaged or torn pieces are still worth keeping. Trim the ragged edge rather than throwing the drawing away, or slide it into a larger sleeve so the tear stops spreading.
How to Make a Kids Art Portfolio You Can Keep Adding To
Build the cardboard case in about six steps. First, cut two identical panels from foam board or flattened cereal boxes, each roughly 18 by 24 inches for standard letter art, or 24 by 36 for poster-size work. Second, lay the artwork flat and use a pencil to mark where each corner should sit so you have a visible border on all sides. Third, hinge the two panels along one long edge with duct tape, folding the tape over the crease so it flexes. Fourth, add pockets for loose sheets by taping a 3 inch strip up from the bottom edge of the inside panel, or staple an envelope to it. Fifth, add a handle: punch two holes 3 inches apart near the top of each panel, thread ribbon or twine through, and knot inside. Sixth, decorate the front cover with markers, paint, or a strip of washi tape, and write the child’s name and the year on it.
If you prefer no cutting, the binder route takes three steps. Punch three holes in the corner of each artwork page, set a sleeve on each one, and drop them all on the rings in date order. Add a cardstock index tab per school term so the sections stay separated as the stack grows.
The no-sew, no-glue route uses pocket pages. Cut cardstock squares in half, glue or tape on an envelope pocket, punch the corner, and thread it onto binder rings. Crayons and markers fit in the pockets, stickers collect on cardstock pages, and nothing needs to be flattened or mounted.
Whatever the format, leave room. Leave two or three empty sleeves at the back and keep an empty page in the front pocket for the newest piece, so a five-year-old can add their own work without asking.
Create Labels and Captions
Labels keep the portfolio usable years later, when “that blue one” is no longer helpful. Write the child’s name, the year, and the grade on the cover. Use index tabs for Age 4, Kindergarten, Grade 1, and so on.
Captions should sound like your child. If they said it was a spaceship with a broken wing, write that. Skip anything the child did not say, and skip writing a caption for every single piece, since nobody reads 200 of them. A short line on the best ten works fine, and the rest can stand on their date alone.
For school-required portfolios, check the requirement before you sort. Ask for the list of required pieces or the number of works, because a school’s answer is usually stricter than what looks good to you. Photograph any work too large to submit and note the original’s size on the back of the print.
Protect the Finished Kids Art Portfolio
Artwork fades, curls, and sticks together faster than most people expect. A few habits fix nearly all of it.
- Store flat, in a cool dry room, away from direct sun and dampness.
- Use acid-free interleaving sheets between artworks so ink and paint don’t transfer.
- Wash and dry your hands before turning pages; skin oil is the fastest way to dull a crayon drawing.
- Keep glue sticks, wet clay, and anything damp out of the folder entirely until it is fully dry.
- Set a page-turning habit: look through it together once a month, take out the newest piece, and put the old one back.
If paper has already curled, sandwich it between two sheets of clean paper and leave it under a heavy book for a week. That flattens most light waves and costs nothing.
Display and Update the Portfolio
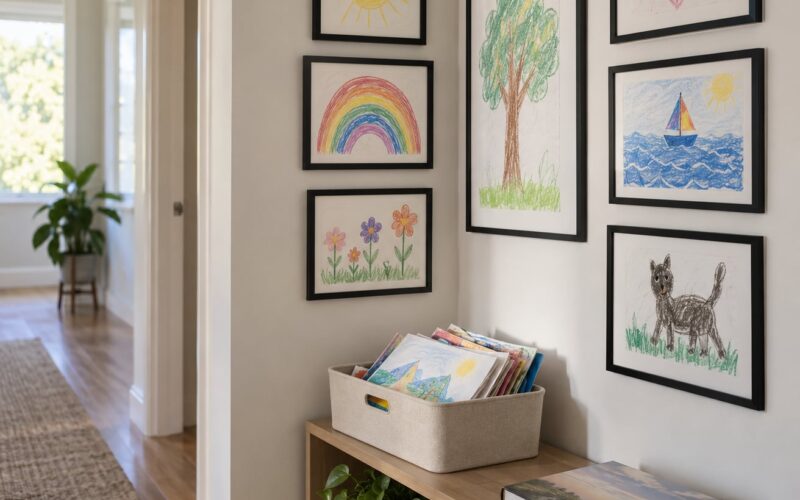
A portfolio that is never opened is just a box. Hang the current favourite on the wall, clip the best piece to a magnetic frame on the fridge, or set the case on a shelf within your child’s reach with a note that says this is yours.
Set a yearly rhythm instead of trying to file weekly. Once a year, open the portfolio, keep the ten strongest pieces from the year, put those in a fresh section or a new binder, and photograph the rest before recycling. Grandparents and relatives get a reprint or a photo link, and your child gets a portfolio that keeps changing instead of one that stops at age five.
Common Mistakes
Overfilling the pages. One large piece per side, with a border of about an inch around it. Crowding makes the artwork look like wallpaper, and nothing can be removed without risking the neighbours.
Using tape on paint or paper that matters. Masking tape pulls colour off textured paper and dries out surface paint in a year. Use glue dots in the corners or archival photo corners instead.
Putting wet or tacky work into a sleeve. It sticks, smears, and can grow something you’d rather not describe. Wait a full day for thin paint, longer for thick or glossy media.
Labelling everything in long detail. Dates and section tabs are enough. Long paragraphs of captions turn a portfolio into homework.
Storing damp work in a closed case. Trapped moisture causes a musty smell and mould spots that show up years later. Air things out first.
Making it too precious for the child to touch. If a five-year-old can’t open it, add a page, and put a drawing in it without permission, it is doing its job as a keepsake and failing as a portfolio. Fix that first.
Three habits keep the whole thing cheap and repeatable. Build one portfolio per year rather than one giant one. Photograph the big stuff the same day so you never lose a project you can’t fit. And keep every supply in one box, because a build that takes twenty minutes is a build you’ll actually finish.
Frequently Asked Questions
What should an art portfolio include?
Include a mix of dated work: a few favourite drawings, paintings or crafts from each month, and anything the child talks about. Add section tabs labelled by year or school term, a short caption on the strongest pieces in the child’s own words, and photos of work too large or too fragile to file. Skip duplicates and leave two or three empty sleeves so new art can be added later.
What not to put in an art portfolio?
Leave out wet or tacky paint, glue sticks, and clay that has not fully dried, since they stick to sleeves and damage everything they touch. Skip duplicate copies of the same drawing and anything your child clearly did not want to keep. Do not file originals that a school requires, and do not fill every page, since empty space keeps the portfolio readable years later.
What is the best way to store my child’s artwork?
Flat, cool, dry, and out of direct sunlight, in acid-free sleeves or interleaving sheets between pieces. Keep plastic away from anything that is not fully dry, and separate ink or paint from other work so nothing transfers. Store the portfolio somewhere the child can reach it, and review it once a month rather than filing everything the day it arrives.
How can I make a DIY art portfolio without sewing?
Use a three-ring binder with clear page protectors: punch three holes in the corner of each artwork page, slide it into a sleeve, and file it in date order. Cardstock pocket pages also work with no sewing. Punch them and thread them onto binder rings, then let the child tuck stickers and drawings into the pockets. You need a hole punch, clear sleeves, and about twenty minutes.
How do I store 3D or oversized projects?
Photograph them rather than trying to file them. Stand the piece on plain paper, shoot it straight on and again at an angle in good daylight, then print or save the image and put it in a sleeve where the original belongs. Note the size and materials on the back of the print. Parents describe mixed-media piles, clay and glued-on craft, as the piece most folders simply cannot hold.
How old should a child be to make their own art portfolio?
Ages four and up can usually handle it with an adult nearby. At that stage they can decorate the cover, choose pieces to keep, and mount work in pocket pages using glue dots. Younger children join in by decorating the cover and picking favourites while a parent does the sorting and mounting. Teenagers tend to prefer a photo book or digital backup over a physical folder.
Conclusion
Start with the smallest version: a binder, a box of clear sleeves, and ten pieces your child actually points at when you ask. Sort those, date the backs, label the year, and put it somewhere they’ll reach. Everything else, cardboard cases, sewing, digitizing, can wait until the collection outgrows the binder.