The honest answer to what to do with all your kids artwork is that you split the pile four ways: display a rotating selection, digitize and preserve the memory, turn the strongest pieces into keepsakes and gifts, and recycle or repurpose the rest without guilt. Kids make art faster than any home can absorb it, so a system beats a purge every time.
I have tried the keep-everything approach and it does not end well. The counter fills, the paper gets folded to fit, and two years later you are storing a half-eaten smoothie and a drawing from a kid who no longer recognizes that color. What actually works is a simple routine you repeat twice a year, at the end of each school term, plus a five-minute weekly habit of swapping what is on the wall.
Below is the whole system: what to do with all your kids artwork, ten ways, ordered from the thing that solves the problem fastest to the thing that makes the leftovers feel good. Every method here uses materials you already have or ones that cost very little.
Table of Contents
- What to Do With All Your Kids Artwork at a Glance
- 1. Scan and Digitize the Artwork
- How to scan instead of photograph
- 2. Rotate Artwork on an Easy Display Wall
- A safety note for homes with toddlers
- 3. Make a Family Photo Book
- 4. Create an Annual Art Calendar
- 5. Turn Artwork Into Cards and Gifts
- Services that turn artwork into printed products
- 6. Build a Gallery Wall or Collage
- 7. Store It Flat in Labeled Portfolio Bins
- 8. Assemble a School or Homeschool Portfolio
- 9. Send Digital Copies to Family
- 10. Donate, Recycle or Reuse Older Pieces
- Frequently Asked Questions
- How should I organize a large amount of kids artwork?
- What is the best way to display artwork without using lots of wall space?
- Should I keep every piece of art my child makes?
- How do I scan artwork so the colors and details are preserved?
- What materials are safe for storing artwork long term?
- How can I share kids’ art with family members?
- Start With One Favorite Piece
What to Do With All Your Kids Artwork at a Glance
| Option | Best for | Cost tier | Space used | Keeps the original? |
|---|---|---|---|---|
| Scan or photograph it | Preserving the memory cheaply | Free to low | None | No |
| Rotating display wall | Stopping the counter pile | Low | One wall, rotating | Yes |
| Family photo book | A coffee table keepsake | Moderate | One shelf | No |
| Annual art calendar | Small art, big impact | Moderate | None | No |
| Cards and gifts | Using art you would recycle | Low | Drawer space | Yes |
| Gallery wall or collage print | Grouping many small pieces | Low to moderate | One wall, fixed | Varies |
| Labeled portfolio bins | Long-term archiving | Low | Closet shelf per child | Yes |
| School or homeschool portfolio | Showing growth over time | Low | One binder per child | Yes |
| Digital sharing with family | Relatives who live far off | Free | None | No |
| Donate, recycle, repaint | The duplicates and wobbly ones | Free | None | No |
The cost tiers are rough categories rather than quotes, since prices move around and every service and supply company prices differently. What matters is that seven of these ten options are free or cost nothing but an hour of your time.
1. Scan and Digitize the Artwork
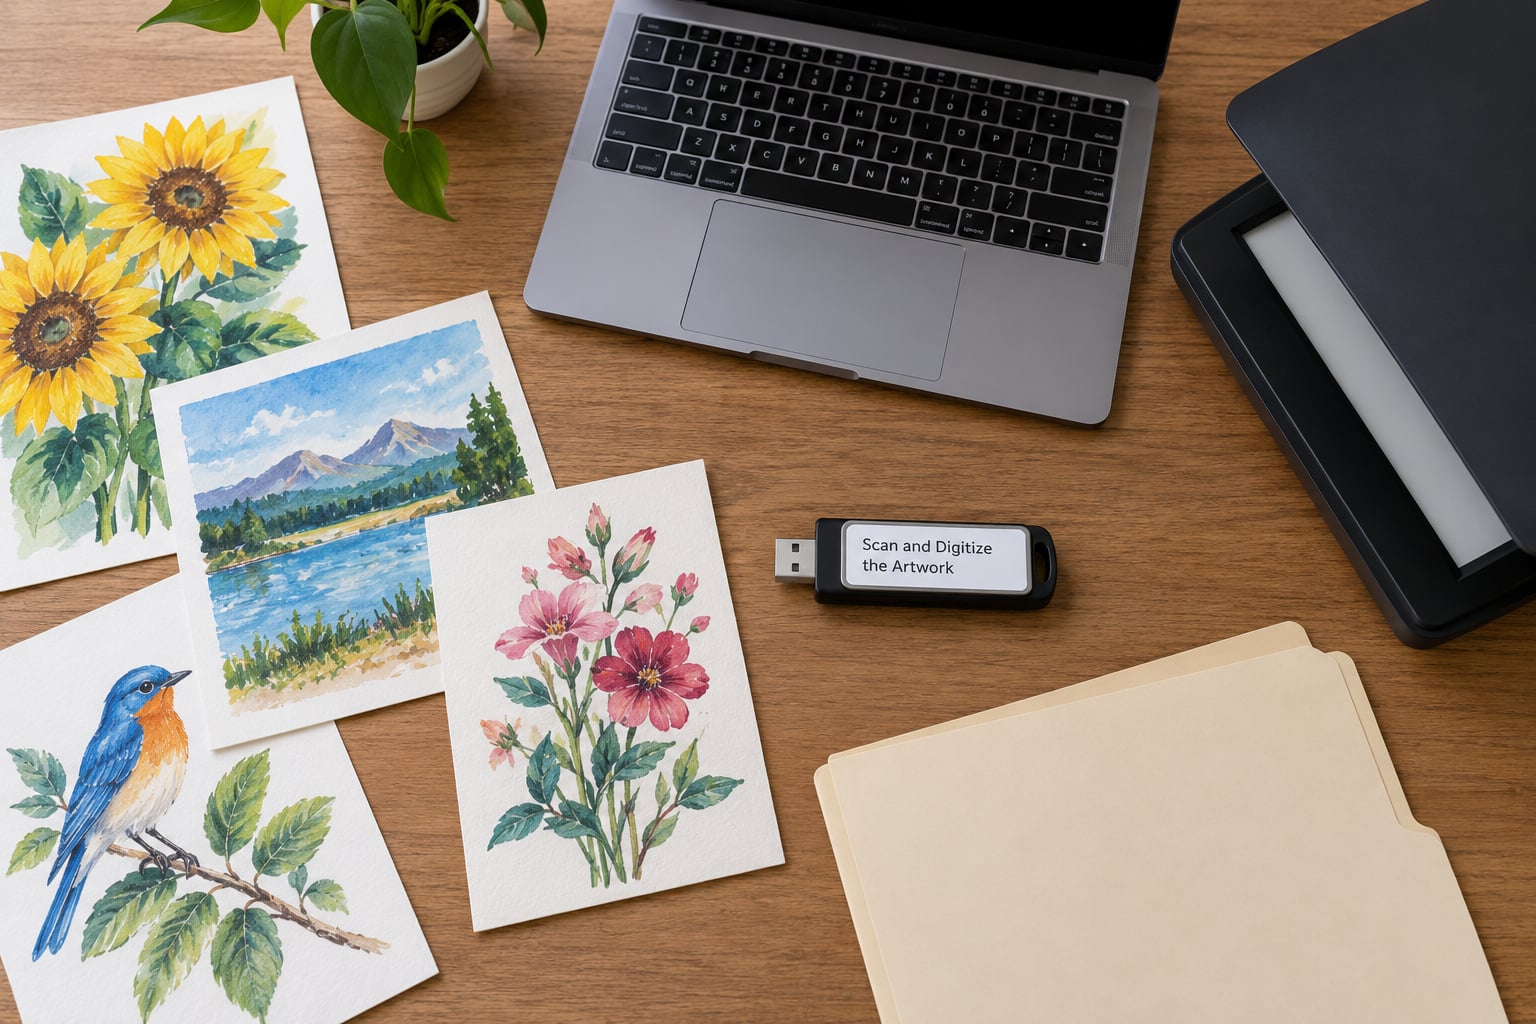
Everything else in this list depends on having a clean digital copy first, so do this before you sort anything. Photographing works fine for most families; a flatbed scanner earns its keep only if your child makes very large or very detailed work.
My routine takes about ten minutes for a stack of twenty pieces. Lay the paper flat on the floor or a table near a window, shoot from directly overhead with no flash, and put something white behind it. Shadows from your hand are what ruin most photos, so brace the phone on a stack of books instead of holding it.
Then name files before you forget the context: last name, child, school year, project. Ava-2024-preschool-self-portrait.jpg is a filename you will still understand in a decade. Save to a cloud folder and one drive, not just the phone that took it.
How to scan instead of photograph
If you do scan, set the resolution to 300 dpi, which holds up when you print the file at roughly the original paper size. Turn off any automatic color correction so the crayon pressure and pencil grain survive. Most scanning software lets you save as PDF, and PDF keeps the colors and the file size more predictable than a JPEG.
2. Rotate Artwork on an Easy Display Wall
A display that never changes becomes background art nobody sees again, so build one you can update in under a minute. A wire grid with clips, a clip rail with clothespins, or a length of ribbon and wooden pegs all cost very little and hold real paper instead of stretching it.
Hang it at your kid’s eye level, not yours. That detail matters more than people expect: a four-year-old will re-hang their own art every morning if the clips are within reach, which turns the display into their job and keeps the papers off the kitchen counter.
Set a hard limit. Twelve pieces is plenty for a hallway or bedroom. When the twelfth arrives, the twelfth-oldest goes into the portfolio bin with the rest of that school year.
A safety note for homes with toddlers
Wire and clip systems hang low, and that is exactly where a toddler pulls. If you have a walker, mount the display above reach or use tension-mounted tape that releases under pressure. Framed pieces hung on a nail above a crib also need to be screwed into a stud rather than drywall anchors.
3. Make a Family Photo Book
A photo book condenses a whole year of paper into one object that fits on a coffee table and survives a move. Most online photo-book services let you lay out pages yourself, and several of them let you size the book to something close to 12 by 12 inches so it sits properly on a table rather than looking like a catalog.
The part that makes it worth doing is the captions. Writing “age 5, the week she learned to spell her name in cursive” takes thirty seconds per page and turns a stack of paper into something you will actually reread. Put the child’s age and the date on the cover so a box in the closet stays findable.
One parent on a parenting forum put the time cost at about eight hours a year to photograph new work and swap it into the layout. That is accurate if you batch it twice a year rather than trying to keep the book current weekly.
4. Create an Annual Art Calendar
A calendar is the right destination for smaller work: strips of paper, postcards, handprints, anything that looks right at postcard size. Twelve months means twelve chances to show art you would otherwise recycle, and it makes a genuinely useful thing rather than another object taking up shelf space.
Choose one piece per month and let the calendar run across a school year, so the calendar you pull out next December shows you what your child was into last winter. Add a caption under each month with the date and one line about the project.
If you make your own at home, a print shop can print a single page per month on card stock, then you punch the holes and bind it with a ring or a dowel rod. It will not survive a dishwasher, but neither will most calendar art.
5. Turn Artwork Into Cards and Gifts
This is the section that resolves the guilt about the throwaway pile. A drawing that becomes a birthday card, gift tag or wrapping paper was not wasted. It was used, which is the best possible outcome for a piece nobody wants to keep in a bin.
Blank cards are the easiest route. Fold a piece of heavier card, mount the drawing with a glue stick, and write the message on the back. A handprint print makes a great card for a grandparent, especially paired with a photo of your child making it.
Wrapping paper is the underrated one. Tape one large sheet or a few small ones face down onto the table, cover with a second sheet of plain paper, and roll the drawing over. Kids rarely notice the seams and grandparents always notice the paper.
Services that turn artwork into printed products
- Online print shops handle calendars, posters, mugs and canvas panels from uploaded files.
- Greeting card and stationery companies print cards from your own scans.
- A handful of art-to-book services, including Artkive and scribble.art, mail you a kit, you send the original art back, and they return a printed book. Some of these keep an archive of the art digitally so you get a copy even after the original is gone.
- Big box print kiosks and local copy shops will print a collage poster of many small pieces if you bring the files.
These sit at the top of the cost tier in the table above, and the digital route is consistently the priciest. The trade is honest: you are paying for convenience and a bound object, not for better preservation than a folder of scans gives you.
6. Build a Gallery Wall or Collage
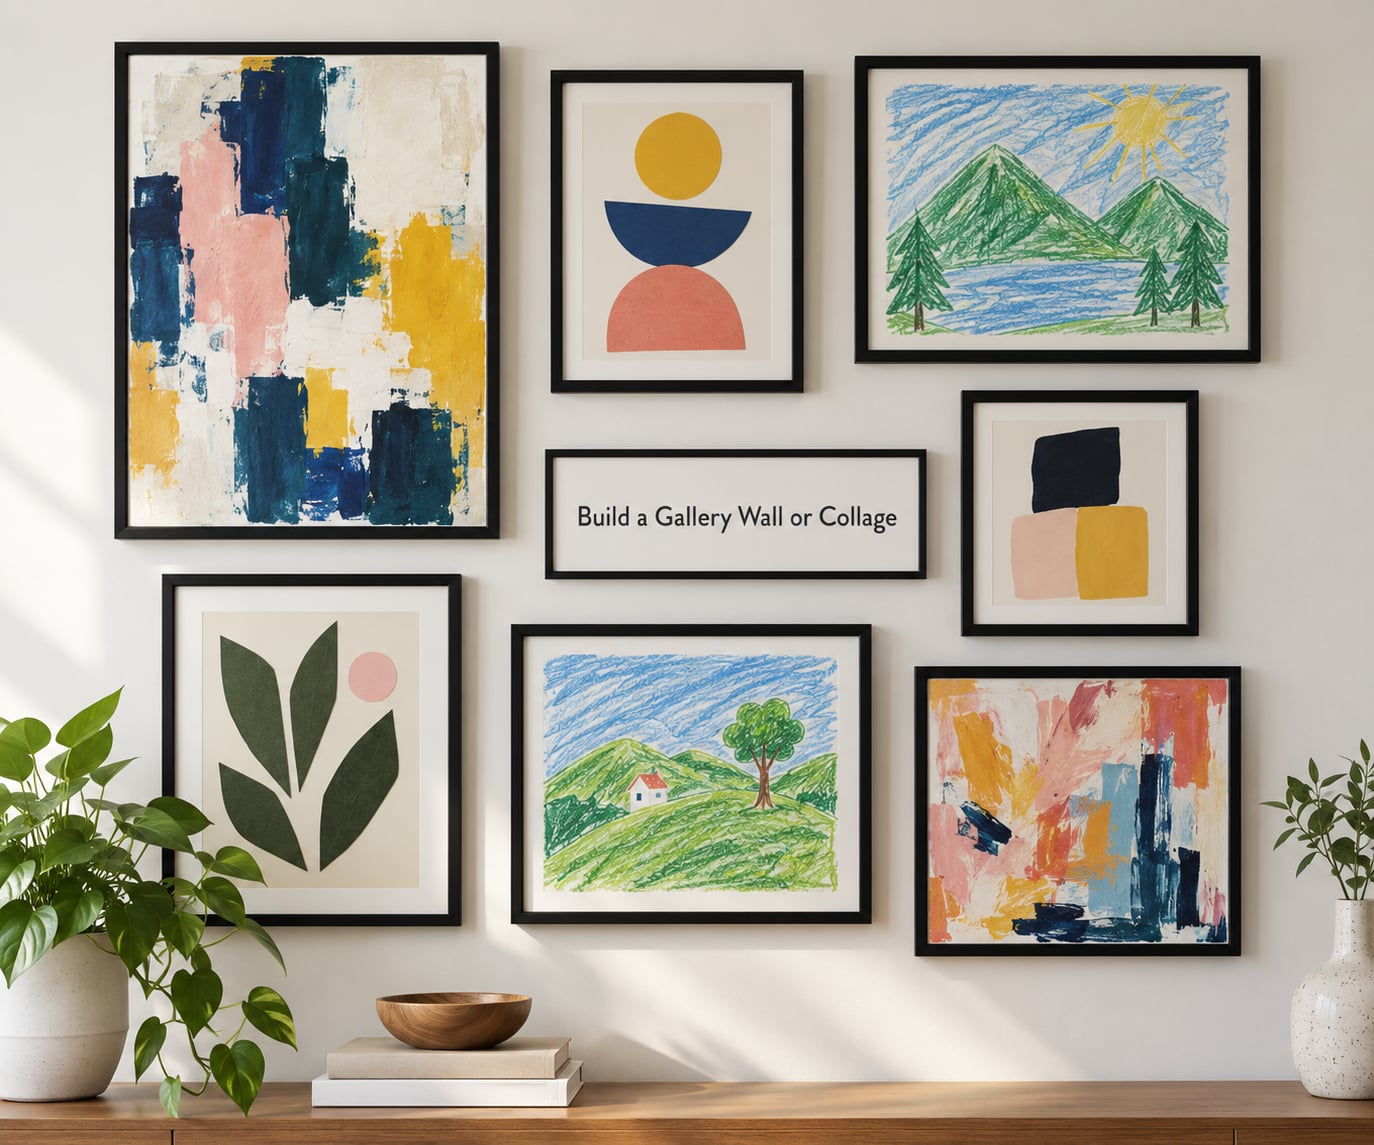
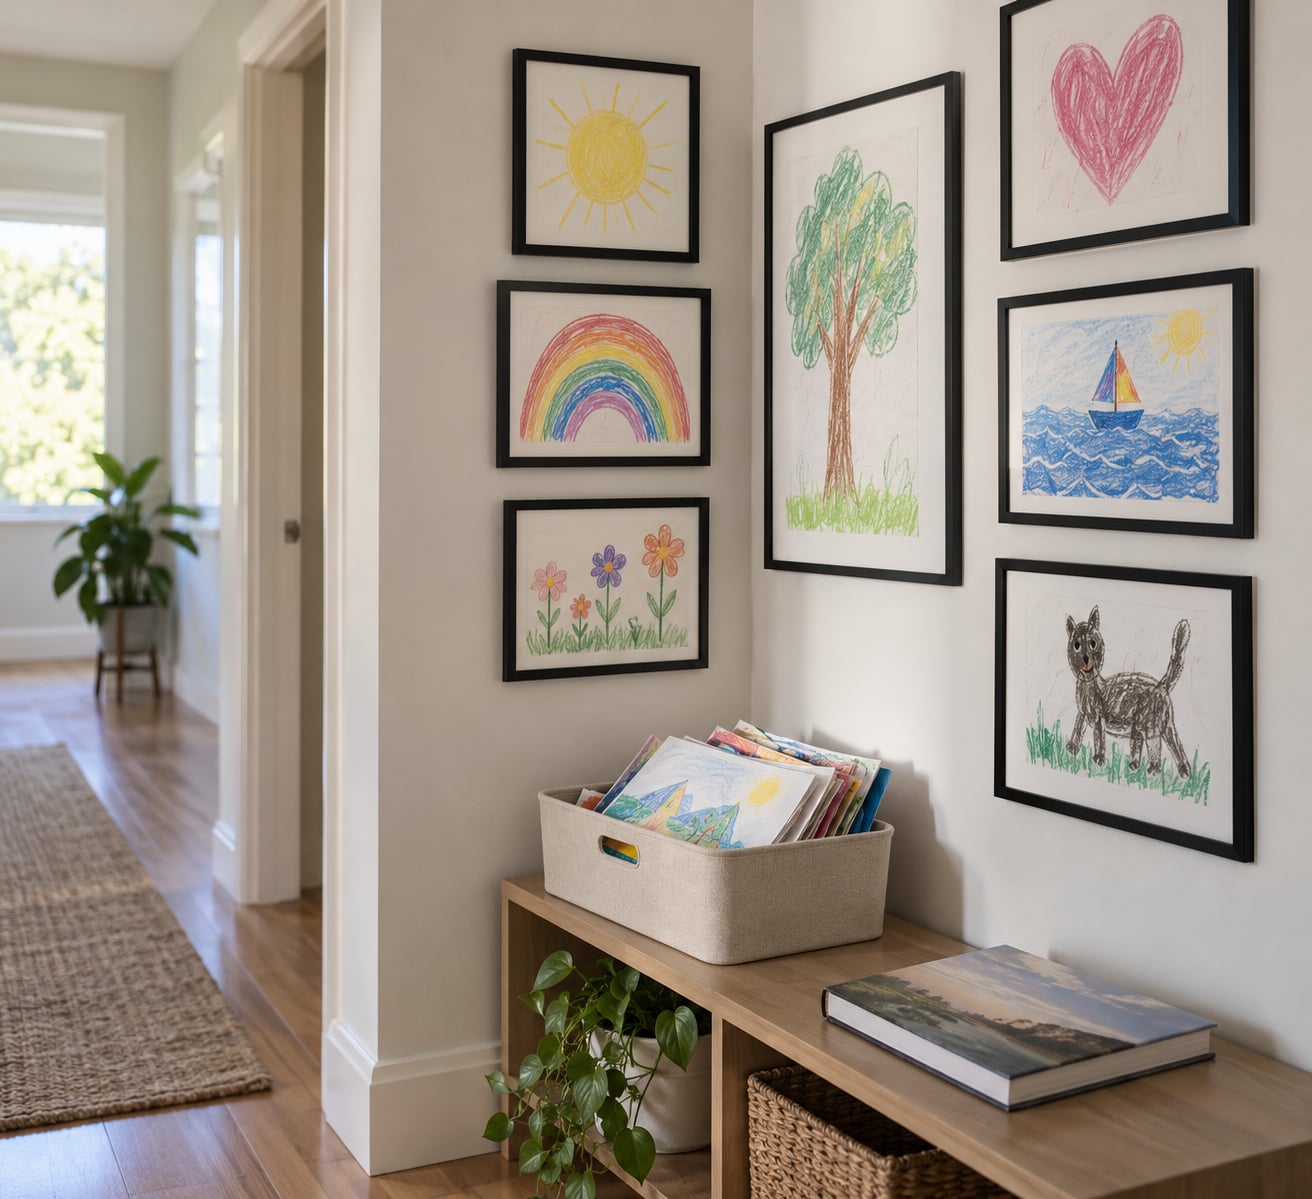
A gallery wall solves the problem of small pieces: thirty little drawings read as clutter on their own and as a collection when they share a wall. The trick is cohesion rather than perfection. Pick one frame style and one mat color, and let the art supply the variety.
Mix sizes and orientations on purpose. A tall painting next to three small landscapes in a row looks deliberate. Rows aligned at the top edge look like a classroom; a loose grid with even gaps looks like a home. Measure before you hang anything and lay the frames on the floor first.
A collage print does the same job with one frame. Upload twelve small drawings to a poster service, pick a layout and a background, and you have a single 18 by 24 inch piece instead of a dozen rectangles competing for attention. Some families keep one favorite original and print the rest.
7. Store It Flat in Labeled Portfolio Bins
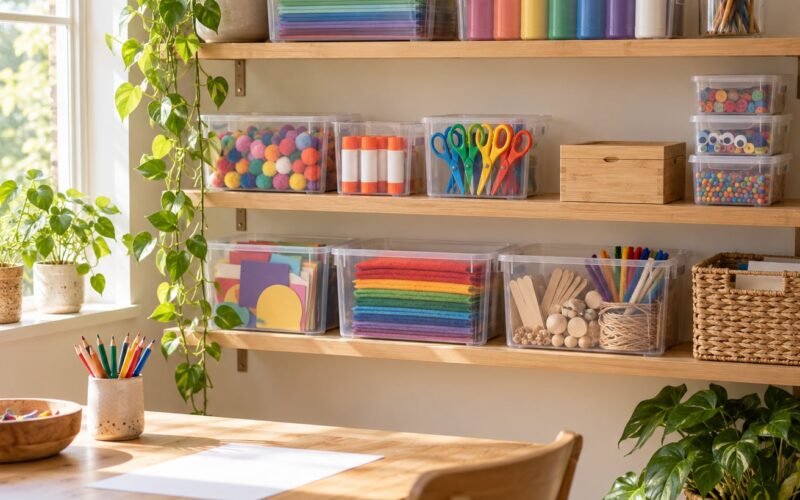
Paper stored upright in a folder eventually gets bent at the corner, and paper stored loose gets forgotten. Shallow bins with each piece lying flat, labeled by child and school year, are the setup that most people report actually keeping years later.
Three things matter. Use acid-free paper or plain unbuffered board between pieces, not newspaper and not foam. Keep the bins shallow enough that the top layer is visible without digging. Label the front edge with the child’s name, the school year, and a range of months, so a bin labeled only “art” never happens.
For a single child, one bin per school year works well and holds roughly a year’s worth. With multiple children, one bin per child per year gets out of hand fast. Try one bin per child with a labeled divider folder per year inside instead, and one shared bin for 3D crafts.
8. Assemble a School or Homeschool Portfolio
If your child is in school or homeschooled, a chronological binder is the most useful of all ten options because it does something storage alone cannot: it shows growth. Parents flip back through three years in an afternoon and see handwriting, cutting skills and subject matter develop in a way no bin communicates.
Put the strongest three to five pieces from each month or unit into a three-ring binder with sheet protector sleeves, one child per binder. Label each page in the corner with the date and the topic. Trim oversized work to fit the sleeve, or photograph it and print it reduced, and note the original size on the label.
Three-ring binders with sheet protectors are the exact system parents keep coming back to, and they cost less than one dinner out. Buy acid-free sleeves if you want the pages to stay bright, and refill the binder each summer rather than replacing it.
9. Send Digital Copies to Family
Relatives do not need the paper, and the largest pile by volume is usually work nobody in the house wants. Send the digital copies instead: a shared album, a monthly email, or a printed card with the photo on the front.
Getting permission is the part people skip. A child is not a data set. Before you post a photo of your child to a shared family album, ask them in plain language what they are comfortable with, and honor a no without negotiating. Many families set the rule once when the child is old enough to have an opinion, then stop asking about each individual photo.
Group the sends. A monthly batch of five photos takes two minutes. Ad-hoc sends every time grandma visits are what turns sharing into a chore.
10. Donate, Recycle or Reuse Older Pieces
Not every piece deserves a bin, and that is fine. Classrooms, community centers, scout groups and nurseries are often glad of work from older children for their walls, so long as the art is unlabeled with a full name and address on the front. Send the name on the back instead.
Clean paper goes into your regular paper recycling. Work on thicker card, canvas and painted foam usually does not, so check your local program’s rules rather than assuming. Painting on the back of old grocery bags or onto a spare sheet of canvas turns a rejected piece into a repainting surface for the next kid, which is usually the most satisfying ending of all.
Letting go is not betrayal. Your child does not remember every piece, and the ones they do remember will live in a scan, a binder, or a wall. A ten-minute purge twice a year is cheaper than a decade of guilt over a closet you cannot close.
Frequently Asked Questions
How should I organize a large amount of kids artwork?
Sort everything into four buckets: display, digitize, transform and release. Photograph every piece flat in natural light, then file the paper into a portfolio bin, a binder page, a gift project or the recycling box. Batch the work twice a year, at the end of each school term, and give yourself a set time so it does not become a week-long project.
What is the best way to display artwork without using lots of wall space?
Use one rotating display rather than a permanent gallery: a clip rail, wire grid or ribbon with pegs, capped at about twelve pieces. When the limit is reached, the oldest piece moves into the archive bin. A front-opening frame or a magnetic frame also works because it stores finished pieces behind the one on show.
Should I keep every piece of art my child makes?
No. Most families keep far more paper than they ever look at again. Photograph everything so the memory survives, then keep only what has meaning: firsts, milestones, work your child is proud of, and a few favorites per year. Everything else can become a gift, a collage panel or a donation. Your child will not remember the pieces you recycled.
How do I scan artwork so the colors and details are preserved?
Use a flatbed scanner at 300 dpi for paper up to about 12 inches wide, switch off automatic color correction so the colors stay true, and save as PDF. Photograph anything larger: lay it flat near a window, shoot from directly overhead with no flash, place white paper behind it and brace the camera on books so your shadow does not fall across the page.
What materials are safe for storing artwork long term?
Store pieces flat in shallow bins or three-ring binders with acid-free sheet protector sleeves. Interleave with plain buffered or unbuffered board rather than newspaper or foam, which can yellow and off-gas onto paper. Keep bins away from direct sun and damp rooms, and label the front with the child name and school year so the contents stay findable.
How can I share kids’ art with family members?
Send scans rather than paper. A shared private album, a monthly email of five to ten images, or a printed greeting card with the art on the front all work. Ask your child first about photos that show their face, and honor a no. Keep names and addresses off the front of anything you donate, since school displays are public.
Start With One Favorite Piece
Do one thing today: pick the piece you would actually be sad to lose, scan or photograph it, and write the date and the story on the back. That gives you a digital copy of the thing that matters, and it takes two minutes.
Then pick exactly one system from this list based on the space you have: a clip rail if you have a wall, a binder per child if you care about growth over time, a shallow bin per child if you want the paper safe. Answering what to do with all your kids artwork stops being a chore once the rest has a destination, even if that destination is the recycling bin.