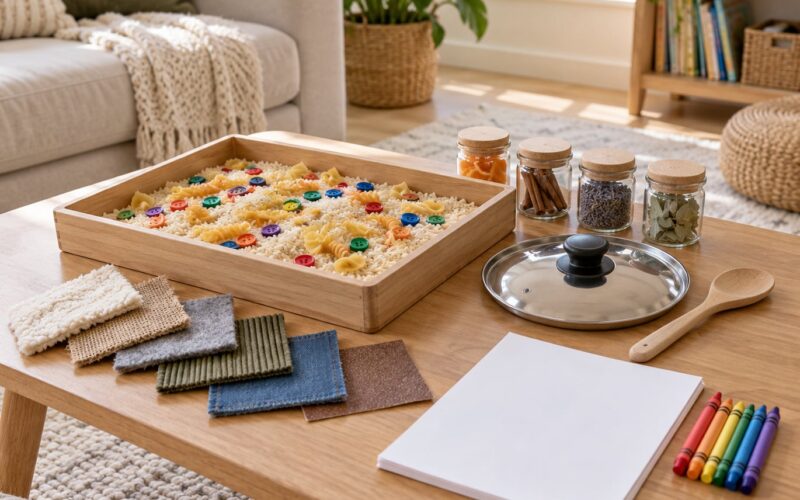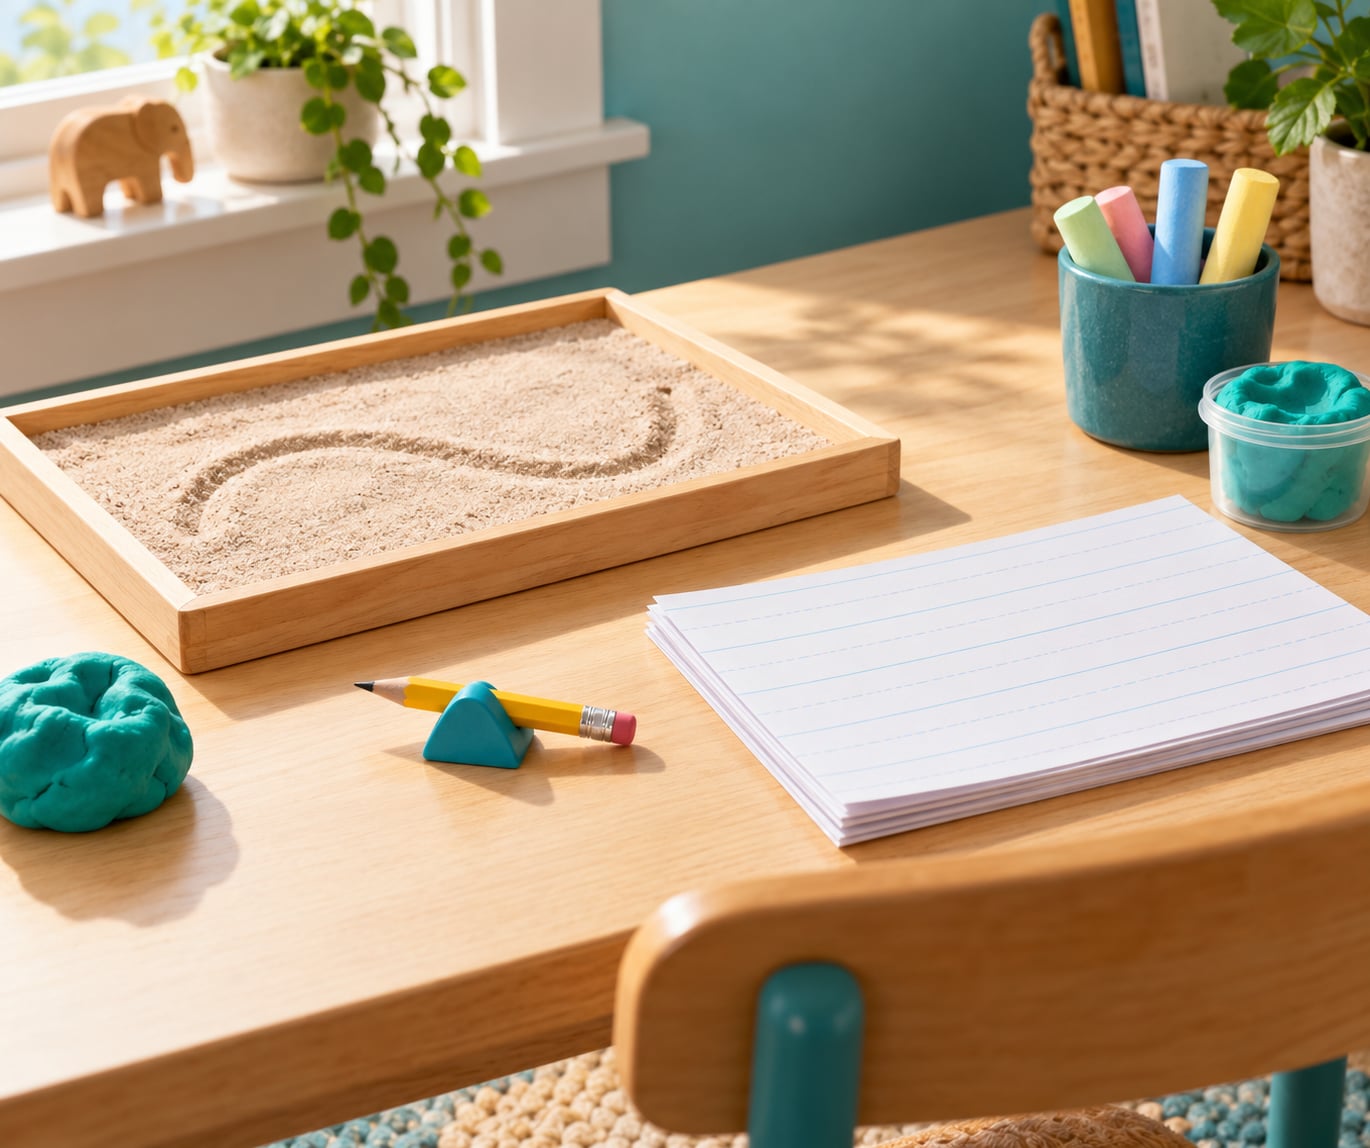
Teaching handwriting to a kindergartener works best when you treat it as a short daily habit, not a lesson. Ten minutes of tracing, sand writing and name practice a few days a week builds the pencil control a five year old needs far better than a stack of worksheets.
If you are learning how to teach handwriting to kindergarteners, the order matters more than the amount. Strengthen the hand with play, set up a comfortable seat and a relaxed grip, practise pre-writing strokes, then teach letters starting with your child’s own name. Here is how to do that without turning writing time into a battle.
Table of Contents
- What You Need
- Step-by-Step
- Step 1: Check Readiness and Set Up a Comfortable Routine
- Step 2: Teach a Relaxed, Functional Pencil Grip
- Step 3: Practice Letter Formation and Placement
- Step 4: Practice Tricky Letter Pairs and Sight Words
- Step 5: Move From Letters to Words and Sentences
- Step 6: Celebrate Progress and Keep Practice Enjoyable
- Common Mistakes
- Frequently Asked Questions
- How long should a kindergartener practice handwriting each day?
- How do I know if my kindergartener is ready to write letters?
- What is the best pencil grip for kindergarten handwriting?
- How can I teach a left-handed child to write correctly?
- How many sight words should a kindergartener know?
- When should I ask a teacher or specialist for handwriting help?
- Conclusion
What You Need
You do not need a handwriting curriculum to start. Most of what helps is already in a kitchen drawer.
- Paper: lined kindergarten paper with a baseline, a midline and a top line. Large grids work too, because they stop a child from running out of room mid-letter.
- Pencils: short, unbranded wooden pencils with a small diameter. A short pencil forces the hand closer to the point and cuts down on the fist grip most kindergartners default to.
- Crayons and a whiteboard: for the warm-up phase, before pencil ever touches paper.
- A shallow tray and sand, salt or flour: a finger tray for the earliest strokes. The resistance helps hand strength without any pressure to get it right.
- Playdough or a soft ball of dough: for rolling lines and pinching shapes.
- A small table and chair, or a lap desk: feet need to reach the floor.
- Sidewalk chalk: the single most-used tool in our house. Big arm movements on concrete beat any pencil.
Set up one spot in the house where writing happens, with the supplies already in a basket. Every trip to find a pencil is a reason to stop. This is the single biggest change I made when practice started sticking.
Then pick a routine. Five to ten minutes, three to five days a week, ending while your child is still enjoying it.
Step-by-Step
Step 1: Check Readiness and Set Up a Comfortable Routine
Not every five year old is ready to write letters on paper, and pushing ahead of readiness shows up as frustration rather than progress. Before you start, check for these signs: your child can hold a crayon with a rough pincer grasp, draws a decent circle, builds a tower of six or seven blocks, cuts paper with child-safe scissors in one continuous motion, and shows interest in marks on paper.
If two or three of those are missing, spend a few weeks on pre-writing play first. Nothing is lost, and you will avoid a bad first experience with a pencil.
Next, fix the seat. Feet flat on the floor or a footrest, knees near ninety degrees, back supported, elbows resting on the table so the shoulders can relax. Paper should sit slightly to the right of centre for a right-handed writer and slightly to the left for a left-handed one, angled about thirty degrees to the desk edge.
How to tell it worked: your child can write for the full ten minutes without complaining about their arm or shifting position three times.
Step 2: Teach a Relaxed, Functional Pencil Grip
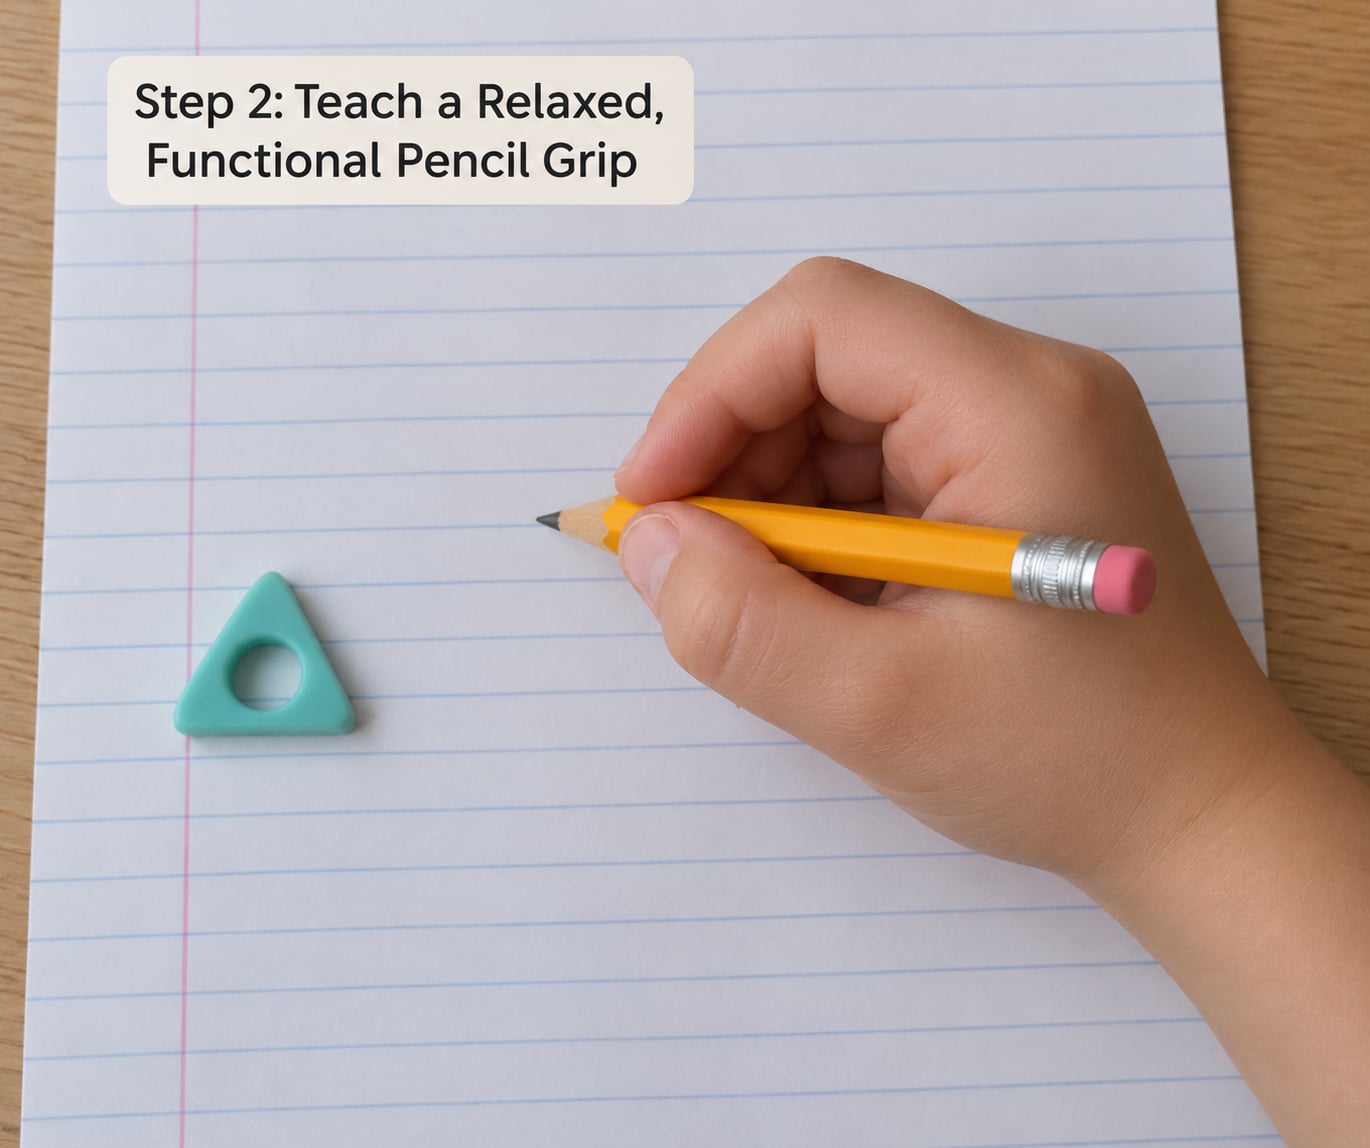
Handwriting is a fine motor skill: it depends on the small muscles of the hand and fingers plus hand-eye coordination. At age five, a mature three-point hold is not the goal. A workable grip is.
Show the position once, then let it go. The dynamic tripod grip means the pencil rests on the pads of the thumb and index finger, cradled by the middle finger, with the thumb doing most of the pushing. A pencil that feels like it is being pinched too hard is the signal to stop.
Two other grips are worth a pause. A full fist grip squeezes the pencil in the palm and usually tires the hand quickly, so gently building up those small hand muscles helps. A four-finger grip, with the pencil resting on the ring finger, is a real alternative that many left-handed children settle into. Neither is a problem you need to solve this week.
To build hand strength without a pencil, try these. Squeeze a small ball or putty ten times. Roll a pen or a short dowel between both palms. Pinch and lift paper with a clothespin. Push playdough into small balls, then flatten them back out. Thread dry pasta through a paper-towel tube.
How to tell it worked: your child writes for ten minutes without hand cramps, rubbing their fingers afterwards, or losing the pencil mid-sentence.
Step 3: Practice Letter Formation and Placement
Letter formation comes down to three things: where the letter starts, which direction the stroke travels, and where it sits on the line. Teach those three and the rest is repetition.
Before individual letters, practise the pre-writing strokes that most letters are built from. Lines straight down, lines straight across, a circle, a cross, a triangle and a zigzag. Move through three media in order: air first, then crayon or chalk, then pencil. Air writing lets a child feel the movement with no mark to judge.
Group letters by the stroke they use, which is what most classroom handwriting programs do. Letters made of just straight lines come first: A, E, F, H, I, K, L, M, N, T, V, W, X, Y, Z. Then letters made of curves: C, O, S, U. Then letters with both: B, D, G, J, P, Q, R. Letters that add a short stroke to a circle come later: A, G, Q, and lowercase versions of many letters.
Say the start point out loud each time. “Big A starts at the top, down to the bottom line, back up and across.” If a child learns a letter from the wrong starting point or the wrong direction, the habit is harder to unlearn in first grade, which is why this part is worth doing slowly.
Watch size and placement too. Letters belong between the baseline and the midline for most lowercase letters, sitting on the baseline without dipping below it. Give a plain sheet first, then lined paper, then grid paper with a start dot and an arrow showing direction.
How to tell it worked: your child writes a letter without hunting for where to start, and it lands on the line instead of drifting above or below it.
Step 4: Practice Tricky Letter Pairs and Sight Words
Some letter pairs cause most of the frustration parents write about. Lowercase b and d are mirror images, as are p and q. A child usually has the shape right and the orientation wrong, which looks like carelessness but is a processing detail that sorts itself out with practice.
Two approaches help. First, say the phrase out loud while forming the letter: b has the stick first, d has the circle first. Second, pair them in one word so the contrast is visible, like bed or dad, rather than drilling one letter on its own for ten minutes.
Sight words are the high-frequency words a child should recognise instantly, such as the, and, you, said, come, some, was, for. Start with your child’s name, then family names, then a handful of these. Two new sight words a week is plenty, taught as words you write for them so they see the letters used together.
Resist the urge to correct every stroke. Say what went well, correct one thing, and move on. A child who is corrected on every letter stops trusting the pencil.
How to tell it worked: your child writes a two-word phrase and the b and d are not reversed, even once.
Step 5: Move From Letters to Words and Sentences
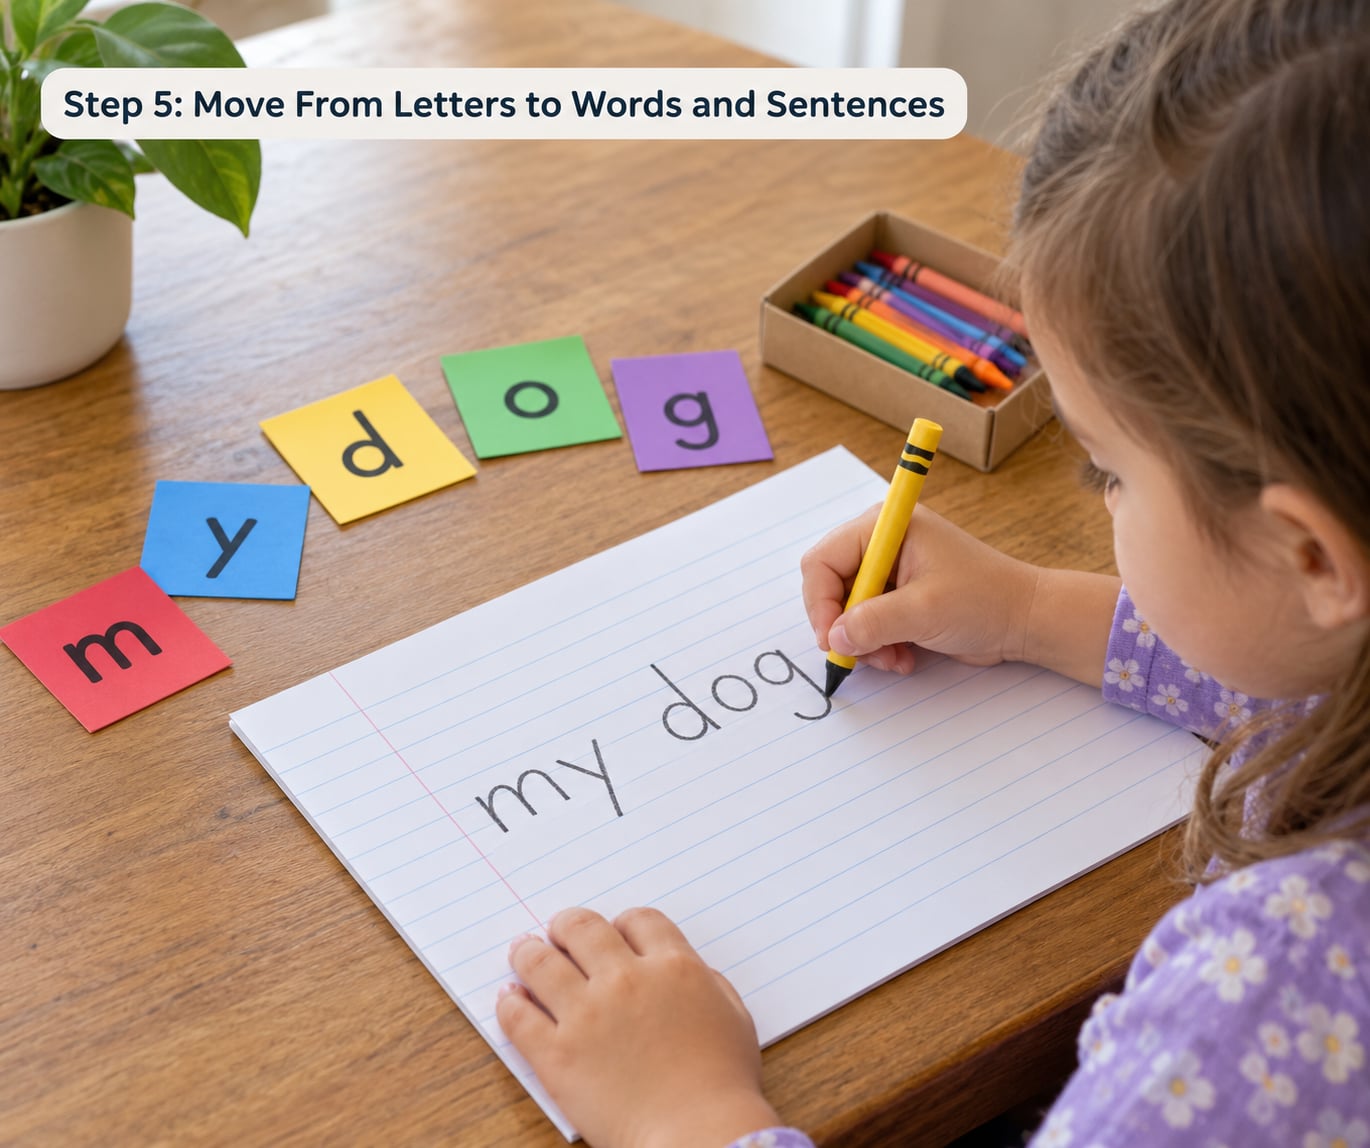
Writing your own name is the highest-motivation starting point in early writing, and early-writing research makes the same point: children learn best when letters are used for something that already matters to them. Names, pets, siblings and favourite foods beat isolated letter drills every time.
From names, move to short words and then simple sentences. Dictation works well. You say “my dog,” your child writes it, then you compare. Labeling is even better because it has a purpose: label the pantry shelf, name each family photo, mark the seed packets.
Try a few writing-with-a-reason games. Give your child a short list and have them write a shopping list. Draw a simple house and have them label the rooms. Ask for a note to grandma. Keep each one to a single line and let the result stay messy.
How to tell it worked: your child writes a phrase you did not dictate, because they wanted to.
Step 6: Celebrate Progress and Keep Practice Enjoyable
Kindergarten handwriting is messy, oversized and uneven. That is normal. Letters run off the top of the page, spacing collapses halfway across a line, and reversals continue well past age five.
| Normal at age 5 | Worth raising with the teacher |
|---|---|
| Big, uneven letters that shrink mid-word | Avoiding writing entirely despite clear readiness signs |
| Occasional b and d or p and q reversals | Reversals that persist with no improvement over a term |
| Letters landing above or below the baseline | Visible signs of pain, fatigue or tears when writing starts |
| Slow, careful writing that takes a long time | Writing that has not improved at all since the start of kindergarten |
| A fist grip on longer writing tasks | Grip that causes numbness or a rash after a few minutes |
Assess progress the easy way. Once a week, have your child write their name on a small sheet, date it, and tuck it in a folder. Flip back through five or six of those and the improvement is obvious, even when daily output looked flat.
Praise the specific thing. “You sat your letters on the line this time” teaches more than “good job.” Then keep one playful challenge in the mix, like a race to write the whole alphabet in chalk before the sun goes down, and let practice end early while your child is still smiling.
If your child actively resists writing, drop the paper. Return to sand trays, sidewalk chalk, whiteboard work and sticker labels on jars. The resistance is often about the paper and the pressure, not about letters.
One last decision to make early: print, handwriting, or cursive? Most kindergarten classrooms in the US teach print and introduce cursive in the second half of the year or in first grade. Ask your child’s teacher which program they use, then match your home practice to it. Practising a formation the classroom does not teach creates extra work for your child.
Common Mistakes
Starting before the child is ready. Push comes back as refusal and as a fist grip that never loosens. Wait for the readiness signs, spend a few weeks on pre-writing play, then start.
Forcing a perfect tripod grip. Demanding one exact hold creates tension in the hand and bleeds into the writing. Model the position once per session at most, and let the grip evolve.
Drilling reversals. Isolating b and d for ten minutes makes them worse. Practise them inside real words, in a game, and expect reversals to fade on their own.
Correcting every letter. Pick one thing to fix per session. Constant correction slows learning and ends in tears or a slammed pencil.
Expecting neat handwriting by winter. Legibility at age five comes from a thousand small repetitions over a year. Aim for control and confidence first; neatness follows.
Filling the page. A short daily session beats a long weekly one. Ten focused minutes most days will get further than an hour of copying on Saturday.
Frequently Asked Questions
How long should a kindergartener practice handwriting each day?
Five to ten focused minutes, three to five days a week, is enough for most kindergarteners. Keep the session short enough that your child is still enjoying it when it ends. Lengthy sessions build avoidance rather than skill, and it is better to do a little daily than a long weekly drill. Hold off on increasing the time until the current session feels easy.
How do I know if my kindergartener is ready to write letters?
Look for a rough pincer grasp on a crayon, drawing a decent circle, cutting paper in one continuous motion, stacking six or seven blocks, and interest in marks. Pre-writing skills come before letter formation. If several of those are missing, spend a few weeks on sand trays, chalk and playdough before touching lined paper.
What is the best pencil grip for kindergarten handwriting?
The dynamic tripod grip is the usual goal: the pencil rests on the pads of the thumb and index finger and is cradled by the middle finger, with light pressure. At age five, a four-finger grip or a partial fist is common and not harmful on its own. A short pencil and stronger hand muscles help more than forcing a new hold.
How can I teach a left-handed child to write correctly?
Place the paper slightly to the left of centre so the writing hand does not cover the work, and angle it about thirty degrees to the table edge. Left-handed children often prefer a four-finger grip, which is acceptable. For letters that are hard to close, nudge the hand further under the writing so the child can see what they are shaping.
How many sight words should a kindergartener know?
Around twenty by the end of kindergarten is a reasonable target, covering words like the, and, you, said, come, some, was and for. Introduce two a week and write them for your child so the letters appear together in a real word. Recognising them on sight matters more than spelling them unprompted at this age.
When should I ask a teacher or specialist for handwriting help?
Ask the teacher first if writing has barely improved since September, if your child avoids writing tasks, or if they show visible fatigue or distress. Ask about an occupational therapy evaluation when problems persist despite consistent practice, or when handwriting is far behind speaking and listening skills. A screening is not a diagnosis; it tells you what support helps.
Conclusion
Start with one thing tomorrow: put a short pencil, some lined paper and a sandbox in a basket, then spend ten minutes on your child’s name. Once that feels routine, add pre-writing strokes in chalk, then letters one group at a time.
Small and often beats long and hard. If you are learning how to teach handwriting to kindergarteners, the goal for 2026 is a child who picks up a pencil without being asked, who sits their letters on the line more often than not, and who thinks writing is something people do.