To build hand strength in young children, you add short, playful sessions that ask the hands to squeeze, pinch, roll, tear and twist, then let ordinary play do most of the work. Nothing needs to be bought: play dough, sponge pieces, tongs, clothespins and a spray bottle cover nearly every skill a young hand needs. Most families get better results by aiming for two or three calm minutes a day than by trying to run a practice session.
Hand strength is simply the muscular power and endurance in the hands and fingers. That strength is what makes writing, buttoning a shirt, cutting paper, eating with a fork and opening a jar possible. Weak or untired hands show up as a wobbly pencil grasp, a short writing session followed by rubbing tired fingers, or a child who avoids puzzles and drawing in favour of anything that does not need fingers.
What trips up most parents: hand strength grows through play, not practice. Nobody sits a two-year-old down for hand strengthening exercises. The children who develop strong, capable hands are the ones whose days are full of digging, building, cooking, drawing and pouring. Your job is to make sure those things happen often enough and safely enough, then get out of the way.
Table of Contents
- What You Need
- Step-by-Step: How to Build Hand Strength in Young Children
- Step 1: Confirm the activity is developmentally appropriate
- Step 2: Add short squeezing and releasing games
- Step 3: Practice pincer grips with everyday materials
- Step 4: Build strength through hand and finger crafts
- Step 5: Include bilateral coordination and wrist movement
- Step 6: Repeat gradually and watch for signs of comfort
- Common Mistakes
- Frequently Asked Questions
- At what age should young children work on hand strength?
- Are soft squeeze toys good for building hand strength?
- How often should a young child practice hand-strengthening activities?
- What are signs that a child is using their hands comfortably and effectively?
- When should a parent ask a doctor or occupational therapist about hand development?
- Start With One Playful Activity
What You Need
You need almost nothing special. Everything below comes from a craft box, a kitchen drawer or the laundry room, and each item has a free substitute that works just as well.
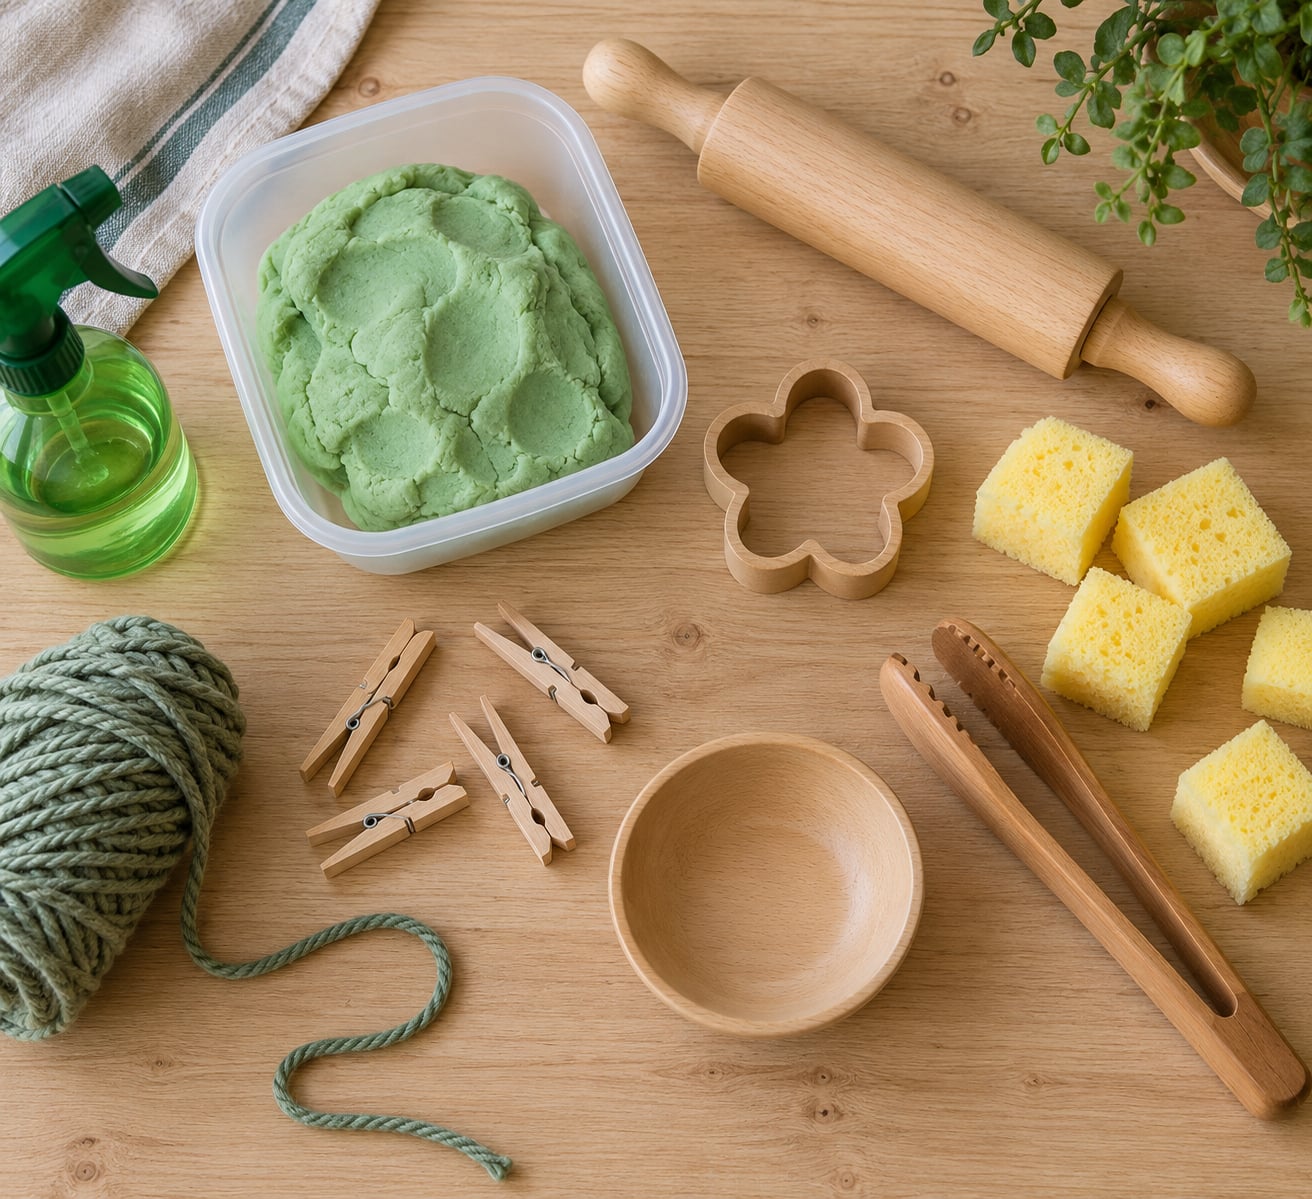
- Play dough or a soft putty. Flour, salt and water cooked in a pan makes a batch that lasts a week in a sealed tub. No substitute needed here.
- A spray or squirt bottle. A clean, empty kitchen spray bottle filled with water is the tool. A plastic watering can with a narrow spout does the same job.
- Tongs and large tongs. Wooden salad tongs or a pair of plastic kitchen tongs. Skip the metal BBQ tongs, they pinch hard and get tiring.
- Clothespins. The wooden spring kind. Wide craft clothespins work well for smaller hands because the grip is easier to hold open.
- Sponges and soft balls. A clean kitchen sponge cut into large cubes, and any soft ball that fits comfortably in a child’s palm.
- Chunky sorting pieces. Large wooden blocks, big pom-poms, and chunky shape sorters for the under-three crowd. Pom-poms under three years old should be large ones you supervise closely.
- Paper and chunky tools. Construction paper, a wide crayon, chunky scissors for over-fives, and thick yarn or pipe cleaners for threading.
A few safety rules matter more than any piece of equipment. Skip anything small enough to swallow, especially under three years old. Keep scissors, craft knives and staplers within arm’s reach the whole time you are using them. And never turn a session into repetitions, a target score or a test the child has to win. A hand that works best when it is relaxed is a hand that will show you everything it can do.
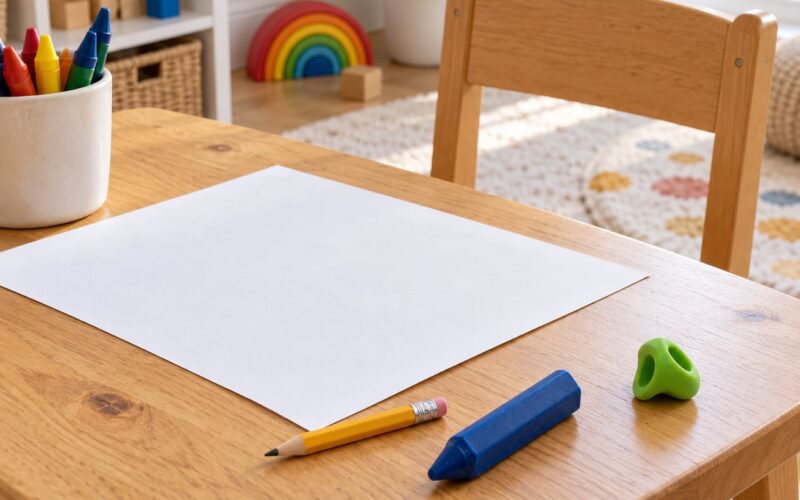
One more precaution: choose a table and chair where the feet can rest on the floor. Wrist stability depends on a stable body underneath it, and a dangling pair of legs makes every hand task harder than it needs to be.
Step-by-Step: How to Build Hand Strength in Young Children
This six-part routine works because it starts small and stays playful. Move through the steps at whatever pace your child sets, and stop the moment the fun runs out. The goal is comfortable, varied movement, never a maximum grip or a fast repeat count.
Step 1: Confirm the activity is developmentally appropriate
Pick an activity that matches what your child already enjoys doing. If they can hold a chunky block but cannot yet let go of things reliably, start there rather than at threading beads. Comparing your child against a milestone chart tends to make play feel like a test, and a test is the fastest way to end a session early.
Watch for a week before you add anything new, and simply notice which materials your child reaches for on their own. That list is your curriculum. If a skill is well past what they can manage, it is not strengthening, it is frustrating. If it is far below what they find interesting, you are wasting a good session.
Talk to your pediatrician or a pediatric occupational therapist before starting when you have specific concerns, such as a child who consistently avoids using one hand, seems to lose strength quickly, or is not managing age-appropriate self-care such as holding a cup. Ask your child’s school team too if they have already flagged fine motor concerns.
Step 2: Add short squeezing and releasing games
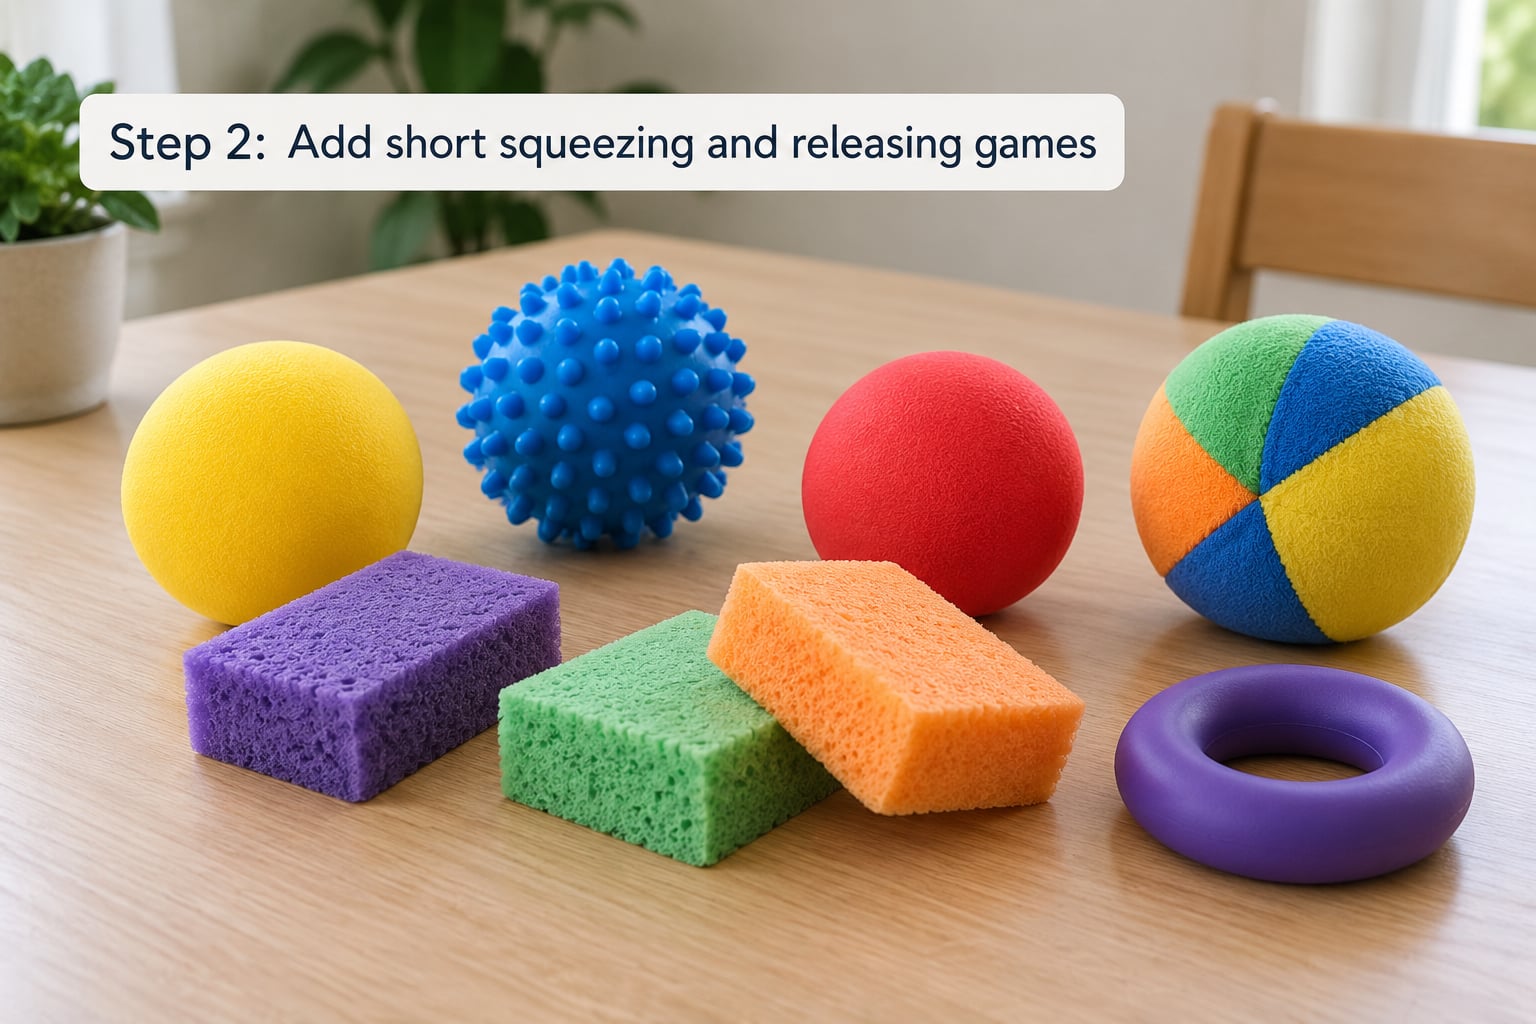
Squeezing is the most direct hand strengthening exercise there is, and children enjoy it because it gives immediate feedback. Give your child a sponge cube and a small bowl, then squeeze the sponge over the bowl so water squirts out. That squeeze, release and reset cycle is the whole exercise. Repeat it ten times and call it done.
Soft balls work the same way. Sit on the floor and roll a soft ball back and forth while your child squeezes it on arrival, or play a game where the ball has to be crushed between palm and lap before it is passed back. The lap squeeze works muscles the hand squeeze does not.
A wadded-up sock, a stress ball or even a rolled-up dish sponge all fit the bill. What you are watching for is not a number of squeezes but a relaxed hand afterwards. Cramped fingers and a tight face mean the object is too small or the effort is too high. Swap to something chunkier.
Step 3: Practice pincer grips with everyday materials
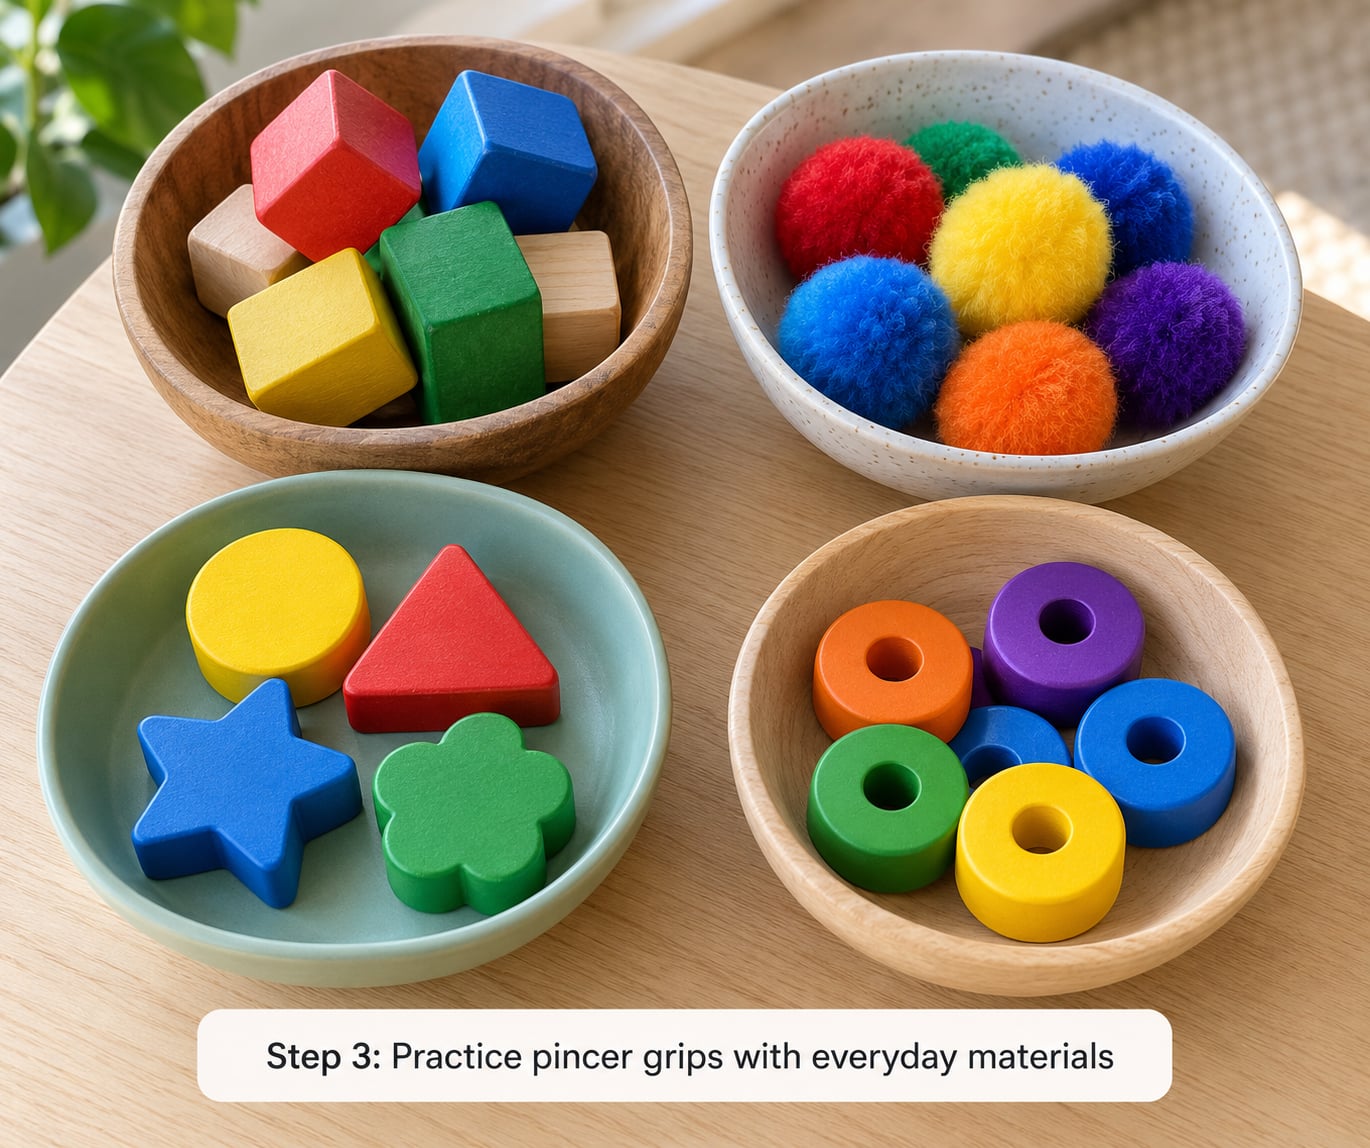
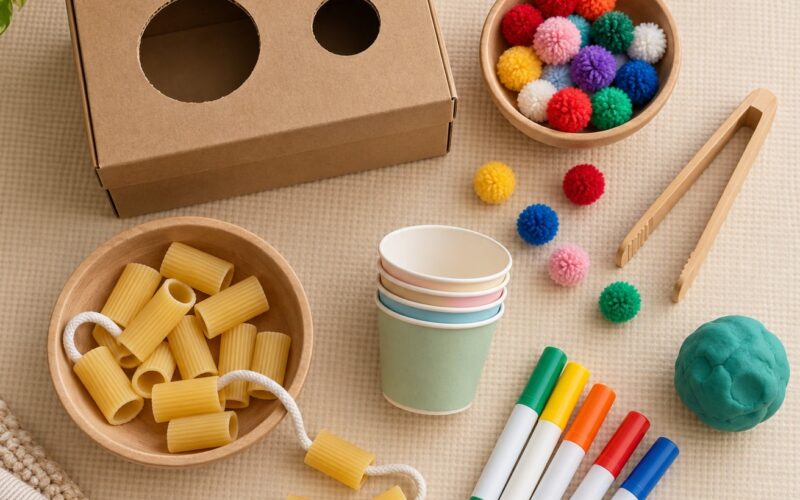
The pincer grasp, where the thumb and index finger pick up something small, is a key pre-writing skill. You practise it with large objects rather than tiny beads. Large pom-poms, chunky wooden blocks, big pasta pieces and thick cut-up craft foam all give the fingers something to close around without risking a swallow.
Sorting into containers is the easiest version. Put large pieces and a shallow bowl out and let your child move them across the table one at a time. Add tongs once plain picking feels easy. Kitchen tongs turn a pincer into a full arm movement, which is exactly the next step up.
One tip comes up more than any other here: keep the fingers loose. Children who are asked to grip hard often lock their whole hand and tire within a minute. A calmer instruction is to pick it up and put it over there, with no mention of squeezing at all. Fingers stay relaxed, and the strength still builds.
Step 4: Build strength through hand and finger crafts
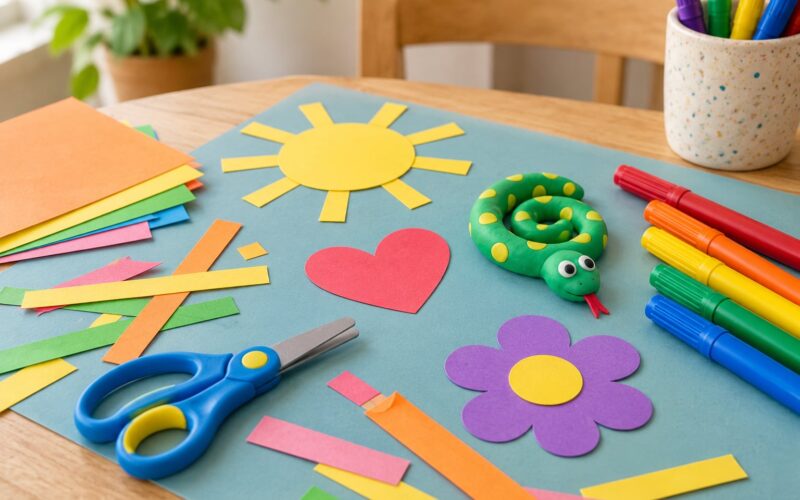
Crafts are the easiest place to hide hand work in plain sight. Tearing paper into strips uses the fingers to pull against resistance, which is one of the strongest small-muscle actions available. Start with a child tearing along a line you drew, then let them tear shapes freehand.
Rolling and pressing with play dough covers squeezing, twisting and wrist movement at once. Roll it flat with a rolling pin, cut it with a cookie cutter, or press a thumbprint into it. Poking holes with a thick straw or a plastic marker gives the fingers a precise, controlled push. Make balls, snakes, and pretend pretzels, and add a little more salt than usual if you want resistance.
Threading teaches hand-eye coordination along with a steady grip. Pipe cleaners are stiffer than string and hold their shape, which makes them much easier for younger children than yarn or cord. Punch a hole at the end of a thick cardboard shape, then thread large beads, pasta or cut cardboard tubes onto the cleaner. Keep a firm hold at the top end so the child can pull it through without fighting the thread.
For children over five with good control, chunky safety scissors and a thick pad of paper open a whole category of scissor skills: snipping, cutting curves, then straight lines. Watching a child cut a wiggly line that turns into a zigzag, a snake, a person is genuinely fun, and it needs a steady wrist and controlled fingers to pull off.
Step 5: Include bilateral coordination and wrist movement
Bilateral coordination simply means using both hands at once, and it is one of the most useful things to practise at home. Many everyday jobs need it: one hand stabilises the paper while the other draws, one hand holds the cup while the other pours, one hand opens the lid while the other twists.
Cooking together is the easiest bilateral practice in most homes. Kneading dough, rolling a rolling pin with both hands, stirring a mixture that resists, and pouring water between cups all load the hands without feeling like therapy. Let your child crack an egg under your hands, or hand-squeeze a wet sponge over a bowl while the other hand holds it steady.
For wrist movement, try opening and closing jars and containers, twisting lids that are just tight enough, and wringing out a cloth. Crushing a garlic clove or a small lime with the whole hand is a surprisingly good grip workout for older children. Draw at a table with paper taped down, or stand at a wall or easel to draw, so the shoulder takes the work instead of the wrist.
Gross motor work feeds the same system. Animal walks, bear crawls, climbing, digging and swinging build the core and postural stability that let the hands work without the rest of the body holding on for dear life. Worth saying plainly: outdoor play is the best hand strength tool most families already own.
Step 6: Repeat gradually and watch for signs of comfort
Turn these activities into a short routine rather than a workout. Two or three minutes, a few times a week, with a squeeze game on one day and a craft on the next, gives the muscles more useful practice than a long session that ends in tears. Repetitions belong to sport, not to a two-year-old’s playtime.
Increase difficulty only when the current version has become easy. That means a bigger object first, then a lighter one. Then a narrower gap, then a smaller piece. Moving from a sponge cube to a small sponge, or from finger-picking pom-poms to tongs, keeps progress in the right order.
There are clear stopping cues: pain, wincing, a hand that starts shaking, repeated dropping, a red face, or a child who asks to stop more than once in a session. Slow down, shrink the object, or end the day. Strength built through pain is not built strength.
Track progress the easy way, by simply noting what your child can do now that they could not do a month ago. Did they start holding the crayon without a tripod grip? Do they keep hold of a chunky tool for a full minute? Do they hold one hand open while the other works? Those notes tell you far more than any grip measurement would, and they take ten seconds a week.
Common Mistakes
Forcing repetitions. Counting out loud, asking for ten more, or praising how hard the child is squeezing all turn play into a test. Fix it by dropping the count entirely and ending on the child’s high note instead, while they are still asking for more.
Expecting a fixed timeline. There is no schedule by which a child should have a strong grip. Development follows its own pace, and rushing toward an age target mostly produces stress. Fix it by comparing this month only with last month.
Using objects that are too small. Tiny beads, small puzzles and short crayons exhaust a hand before the muscles have worked. Fix it by going up a size and staying there until the task feels easy and relaxed.
Rewarding only performance. Praise that lands on finished products and perfect sheets teaches the child that hands are for producing good results. Fix it by noticing the process: the firm squeeze, the careful pincer, the steady going back for more.
Ignoring the non-dominant hand. Adults often hand things to a child in the same direction every time, and children often default to one side. Fix it by letting your child use either hand freely, and by offering tongs and tools that are easy to use with both.
Making sessions too long. Fifteen minutes of mandated fine motor work ends with the child hiding the tongs. Fix it by stopping at three or four minutes while it is still going well, and putting the activity away so it stays a treat.
Three general tips tie it together. Let a child who refuses fine motor work build alongside you rather than being handed the tools, since modelling beats coaxing almost every time. For a child who dislikes a texture, swap materials rather than pushing: dry rice, sand, or a wrapped cube of play dough can replace the dough they reject. And keep a basket of ready activities, so choosing is a decision your child makes instead of a decision you make for them.
Frequently Asked Questions
At what age should young children work on hand strength?
Hand strengthening play suits any age, but the tasks should change. From about 18 months, offer large soft objects to squeeze and chunky pieces to pick up. From around three, add tongs, play dough rolling and threading onto pipe cleaners. From five, children are usually ready for scissors, smaller beads and drawing tools. Children vary widely, so follow what your child enjoys rather than a fixed age.
Are soft squeeze toys good for building hand strength?
Yes, soft squeeze toys are one of the simplest ways to build hand strength, and they work best in short bursts rather than long sessions. Squeeze the toy, release it, and reset. A soft ball, a sponge and a rolled-up sock all work. Choose an object that fits comfortably in a whole hand, and watch for tight fingers or a strained face, which mean the toy is too small or the effort too high.
How often should a young child practice hand-strengthening activities?
Little and often beats long and rarely. Two or three minutes of playful squeezing, sorting or crafting, a few times a week, is plenty for most children, and ordinary play counts toward it. Keep the sessions voluntary and stop while the child is still engaged. Repetition drills and long scheduled sessions tend to produce resistance rather than strength.
What are signs that a child is using their hands comfortably and effectively?
Comfortable hand use looks like a relaxed grip, an open hand between tasks, and steady going rather than sudden dropping. You should see fingers opening and closing easily, both hands working together, and a child who returns to the activity on their own. Gripping with a tight, white-knuckled fist, shaking hands, quick fatigue or repeated dropping are all signs to reduce the difficulty.
When should a parent ask a doctor or occupational therapist about hand development?
Raise it with your pediatrician if your child consistently avoids using one hand, loses grip strength quickly, struggles with age-appropriate self-care such as holding a cup or feeding themselves, or if teachers have flagged fine motor concerns. A pediatric occupational therapist can assess grip, coordination and development, and suggest specific activities. Your pediatrician can also rule out medical causes before therapy begins.
Start With One Playful Activity
Pick the one thing your child already reaches for and let that become the first session. A play dough kitchen, a bowl of water and a few sponges, or ten minutes of digging outside will teach more than any printed routine. Two or three comfortable minutes, a few times a week, watching for a relaxed hand rather than a strong-looking one.
Keep a short note of what was hard last month, and look at it again later. If the hands stay floppy, tires quickly, or consistently avoid one side, talk with your pediatrician about a referral to a pediatric occupational therapist. They can tell you which movements matter next for your child, which is far more useful than guessing.