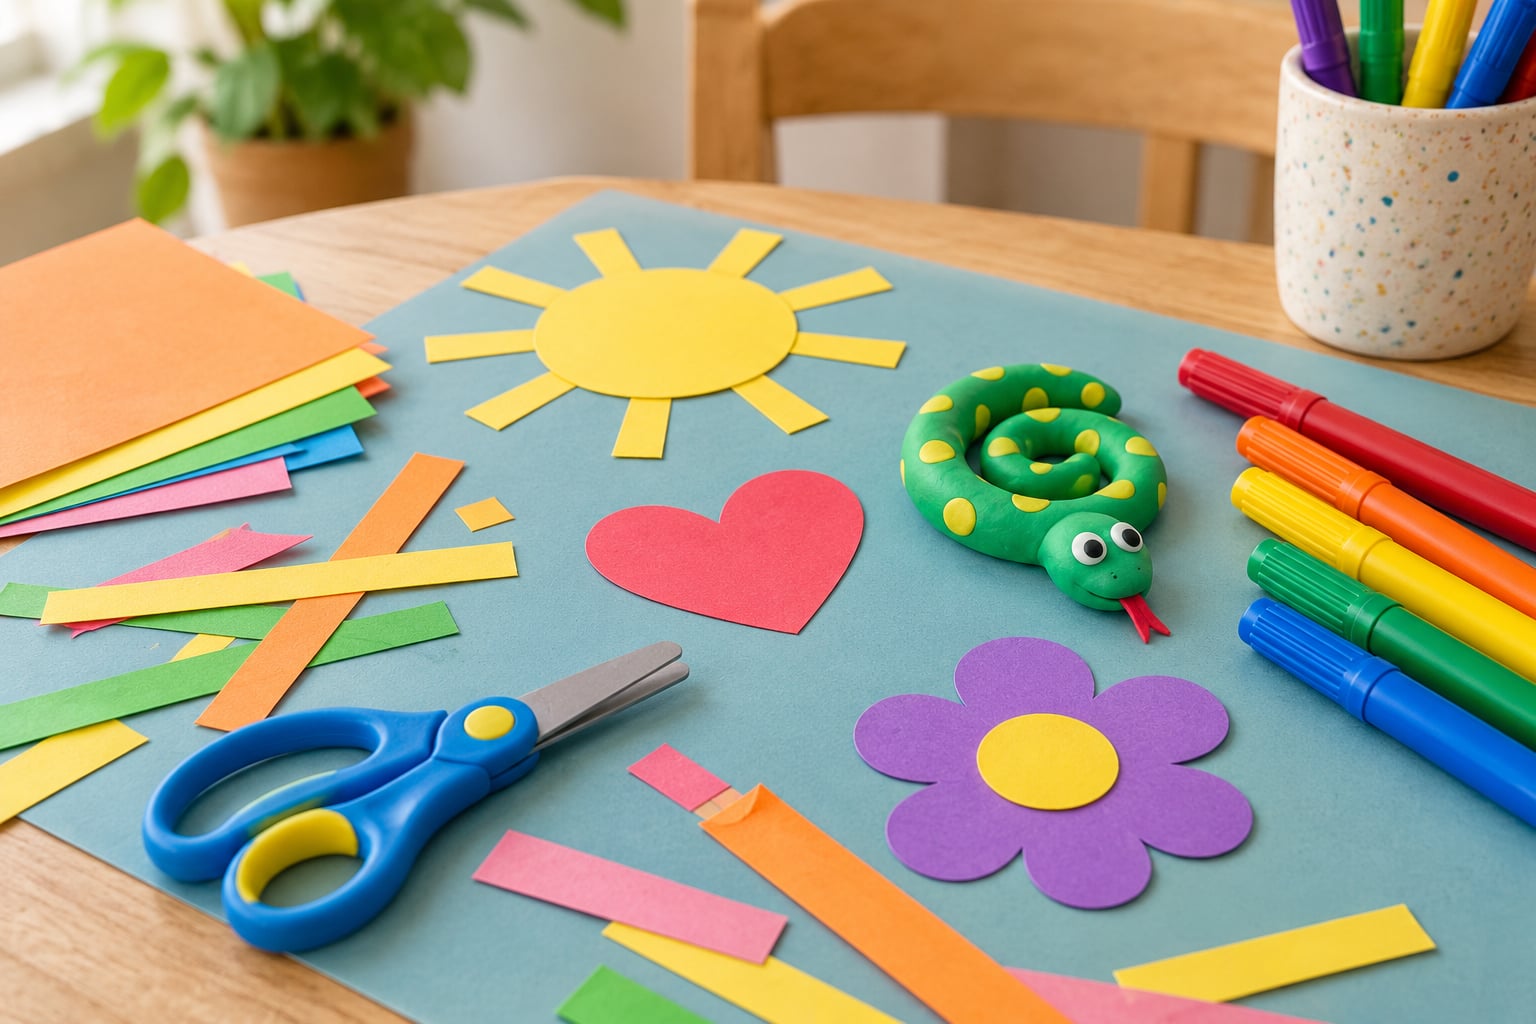
To teach a child to cut with scissors, work in three stages: build the hand strength to open and close the blades, teach the thumbs-up grip, then practice on forgiving materials like play dough before moving to paper. Most children need a few short sessions a week over several months, not one lesson. The whole process takes about 20 minutes of practice, spread over weeks, and a five-year-old who can cut a wobbly square has exactly what kindergarten expects.
One thing to say up front, because it calms half the worry behind the question: the ages below are averages, not deadlines. Plenty of perfectly normal four-year-olds cannot cut a straight line yet, and plenty start early. What matters is steady hand strength and a controlled open-and-close motion, not a birthday.
Table of Contents
- What You Need
- Step-by-Step: How to Teach a Child to Cut with Scissors
- Show the Correct Scissor Grip and Open-and-Close Motion
- Practice Cutting Thick Paper Strips First
- Move from Straight Lines to Wavy and Curved Lines
- Cut Basic Shapes with a Child
- Add a Fun Scissor-Skills Activity
- Troubleshoot Frustration and Uneven Cuts
- When Is a Child Ready for Regular Scissors?
- Common Mistakes
- Frequently Asked Questions
- What age should a child start using scissors?
- Why can’t my child cut a straight line yet?
- What is scissor use for?
- Does a left-handed child need special scissors?
- Is there a song that helps kids remember the grip?
What You Need
The list is short and most of it costs nothing. Blunt-tip scissors with loops big enough for small hands are the one thing worth spending on.
- Blunt-tip child-safe scissors. Round tips, and loops the child can actually get fingers into. Look for a pair sized for the hand, not one stamped “ages 3+” that a two-year-old will fight.
- Play dough or modeling clay. The most forgiving first material there is.
- Construction paper and paper strips. Scissor practice strips are just long strips of printer or construction paper cut into narrow ribbons.
- Cardstock and an old cereal box. Flimsy paper tears instead of cutting, which teaches the wrong habit.
- A hole punch, kitchen tongs, and clothespins. For hand-strength games in the weeks before you hand over scissors.
- Markers, a pencil, and a sticky note or two of tape. For the grip cue.
- A clear table and a scrap surface. Small pieces of paper on the floor are how you lose your grip.
Spring or bounce-back scissors, which push themselves open after each snip, suit beginners who have no strength of their own yet. Dough scissors have a wide, blunt, spoon-shaped blade and are made for clay and play dough. Either is a reasonable first pair, and neither has to be the last pair.
Safety rules at home are simpler than the classroom versions you will find online: sit down to cut, carry the scissors with the blades closed and pointing down, cut only paper, put them back in the same spot every time, and keep them out of reach when nobody is using them. Hair and loose sleeves are the injuries that actually happen, and both are avoidable with one rule about where the scissors go.
Your child’s school may have its own list, so match it if they give you one.
Step-by-Step: How to Teach a Child to Cut with Scissors
The order matters more than the effort. Skipping to paper before the hand can open and close on its own is the most common reason a child decides scissors are frustrating.
Show the Correct Scissor Grip and Open-and-Close Motion
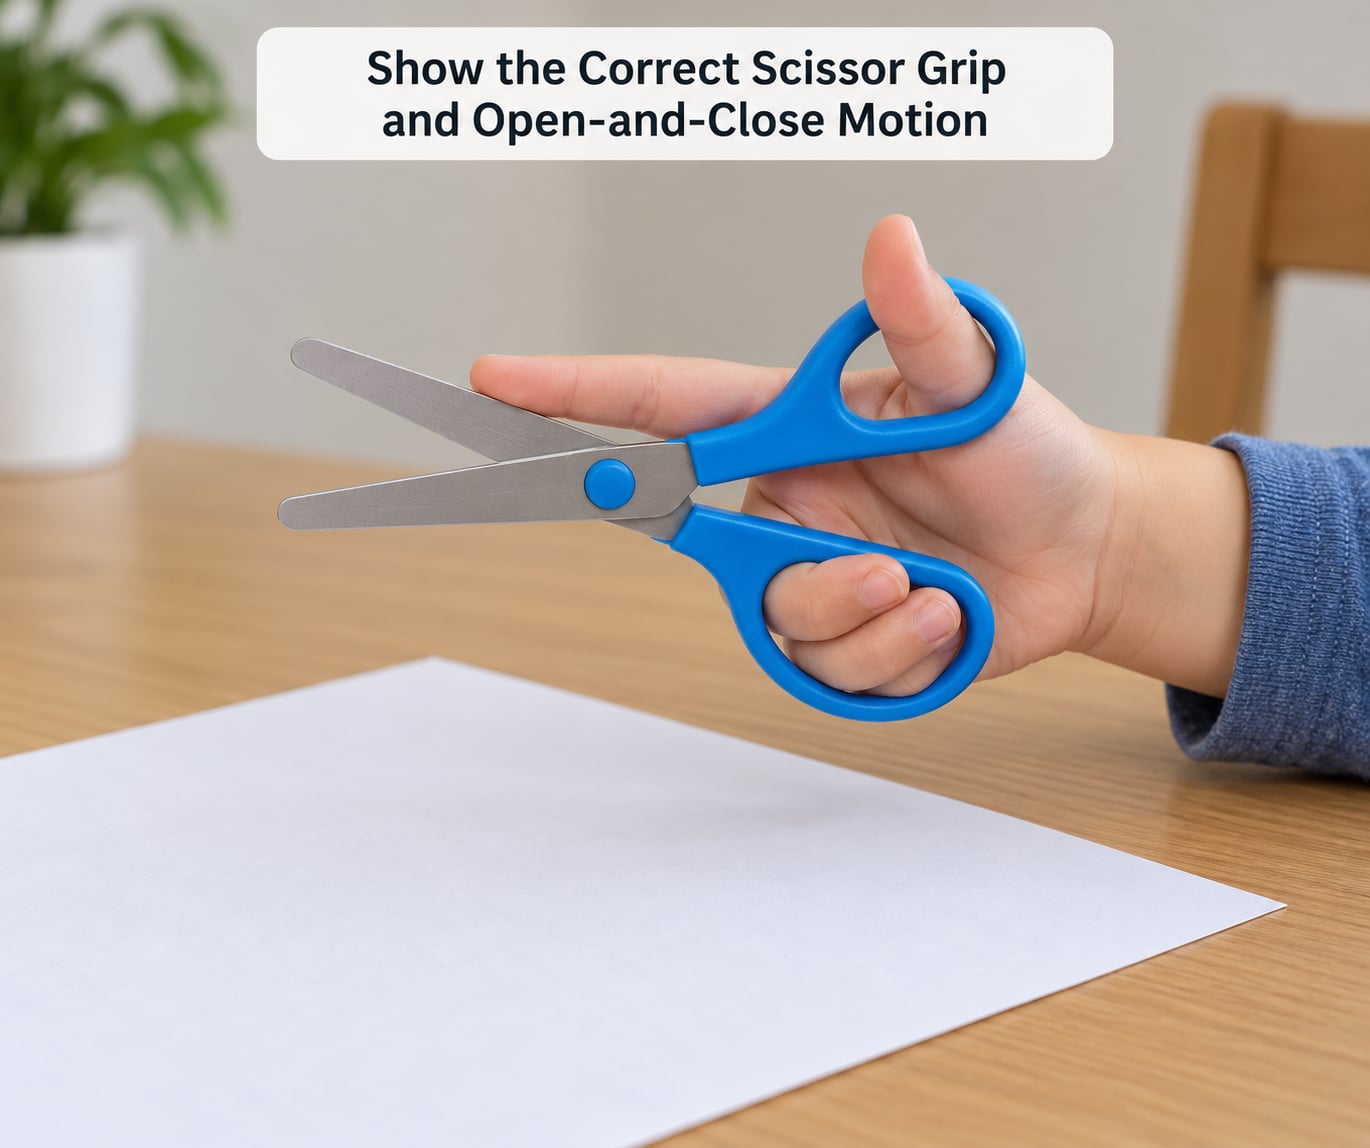
The grip is called the thumbs-up position because it looks exactly like giving a thumbs up. The thumb goes in the small upper loop, the index finger wraps around the lower loop, and the middle, ring, and little fingers settle in the large loop. The thumb points upward, the blades point down toward the paper.
Demonstrate it on your own hand first, then put your fingers over your child’s to set the position, then let go and let them find it. A mark on the top of the thumb hole with a permanent marker, or a wrap of colored tape, gives them a visual cue to check against without you saying anything.
Next, practice the motion on nothing. Hold the scissors over the table, open and close the blades slowly and evenly a dozen times. This isolates the finger muscles and is the skill the rest of the sequence hangs on. A child who has to use both hands to squeeze the blades shut does not have this yet.
A rhythm helps some kids. “Scissor snips, scissor snips, open and close, open and close,” said slowly while they snip, gives the grip a memory hook. You can find the same chant in the FAQ answers below.
Practice Cutting Thick Paper Strips First
Once the blades open and close without looking, hand over a narrow paper strip about two fingers wide. Snipping across a short strip is the most achievable first win in the whole sequence, and it is where most children get their first bit of momentum.
Ask for several clean snips, not a full cut. Snip, snip, snip, and open the scissors between cuts. Rushing into one long cut produces a bent, chewed edge and usually tears.
Rotate the paper rather than forcing the wrist to turn. The cutting hand stays still; the helper hand turns the paper so the blades always face the direction of travel. Keeping the elbow soft and the wrist relaxed is what separates a clean cut from a jam.
Praise the movement, not the result. “Those snips were slow and even” teaches something; “that looks lovely” teaches nothing they can repeat.
Move from Straight Lines to Wavy and Curved Lines
Draw a straight line with a thick marker on cardstock and let them follow it. Snip a short distance, pause, advance, repeat. Expect the cut to wander, and expect them to wander further.
Accuracy at this age is measured in inches, not millimeters. Staying within about half an inch of the line is a strong result for a three-year-old and within a quarter inch is realistic by four. Parents read a wandering cut as failure; it is actually the normal accuracy range for the age.
Once a straight line stays roughly on track, draw a wavy line and a curve. Curved lines are harder because the hand has to turn without the wrist twisting, so practice with the paper being rotated. Cutting a full circle is the step most children reach around their fifth birthday.
Cut Basic Shapes with a Child
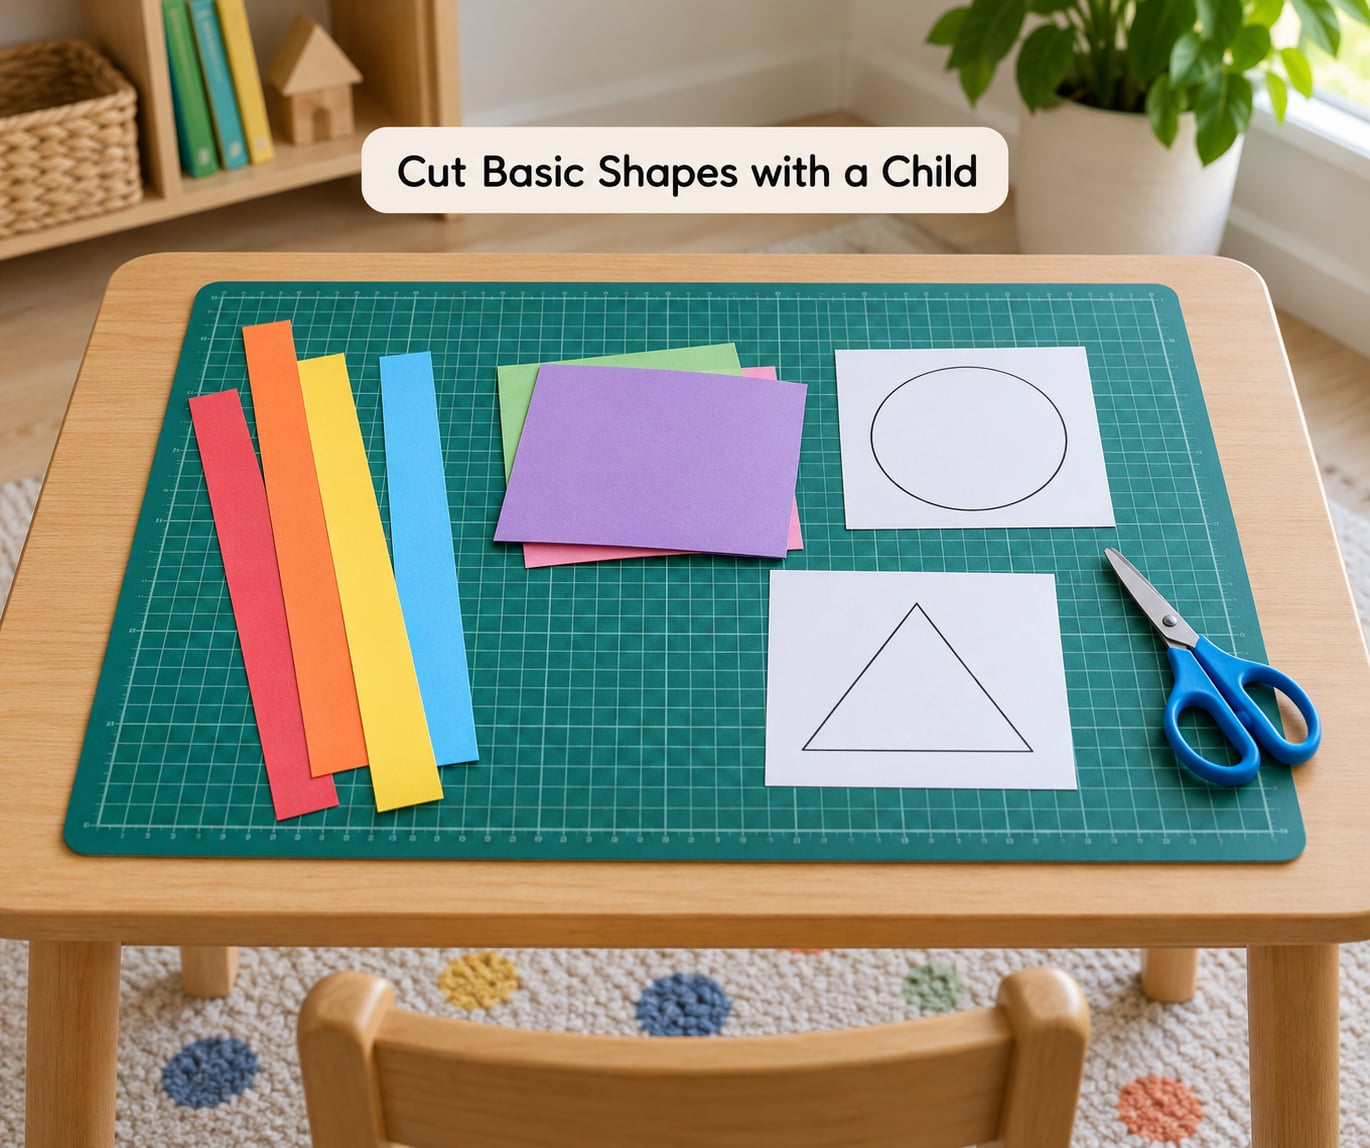
Trace a large shape on paper and cut around it, then turn tracing into a game. Draw a circle, a triangle, and a rectangle, cut them out, and sort them onto a tray. The sorting is what makes it stick.
Cutting a square teaches the hardest early skill: stopping and turning a corner at ninety degrees. Cut one corner at a time and let the child see you pivot the paper at the corner rather than turn the wrist. Most lost corners are wrist trouble, not scissor trouble.
For a table of what is typical at each stage:
| Age | What to expect | Accuracy |
|---|---|---|
| 2 to 2.5 years | Opens and closes the blades, snips paper in place | Snips do not travel yet |
| 3 years | Snips forward across a strip, begins using the helper hand | Cuts a strip, not a line |
| 3.5 to 4 years | Cuts a straight line, begins a curve | Within about half an inch |
| 4 to 4.5 years | Cuts a curved line and a circle | Within about a quarter inch |
| 4.5 to 5 years | Cuts a square, holds corners | Roughly on the line |
| 5 to 6 years | Cuts complex shapes and does simple craft projects | Confident and independent |
Left-handed children need the same grip taught with the hand positions mirrored, and a pair of scissors shaped for a left hand, or simply the same scissors held with the hand on top. Nothing about the technique changes, but forcing a left-hander onto right-handed scissors is a genuine problem worth avoiding.
Add a Fun Scissor-Skills Activity
Somewhere around here, cutting stops being a worksheet and becomes a craft, and the skill takes over on its own.
- Fringe paper. Cut long parallel snips along one edge of a strip to make a fringe for a collage.
- Snake chains. Cut a spiral from the outside of a paper circle, one continuous turn, no stopping. Big wins on accuracy because the shape guides the hand.
- Play dough snakes. Roll clay into ropes, then snip them into pieces. Play dough pushes back gently, so it builds hand strength without tearing.
- Punch and cut. Use a hole punch for the round shapes a beginner cannot cut yet, and let the scissors do the strips and borders.
- Paper plate borders. Cut fringe around a plate edge for a mask or a sun catcher.
- Scissor walks. Cut a wide zigzag path that snakes across a full sheet, giving them a long continuous cut to stay on.
Short sessions of five to ten minutes, several days a week, beat one long lesson. The skill consolidates between sessions, and frustration climbs sharply the moment a child gets bored.
Troubleshoot Frustration and Uneven Cuts
Nearly every problem parents describe has a simple fix. Most are about the material, the paper position, or the length of the session rather than about the child.
| Symptom | Why it happens | What to change |
|---|---|---|
| Cuts on the wrong side of the line | The helper hand is not turning the paperMake the helper hand the rule: the cutting hand never turns | |
| Both hands on the scissors | Not enough hand strength yetGo back to play dough and tongs for a week | |
| Paper tears or bends instead of cutting | Paper too thin, scissors too dullMove up to cardstock and use sharper blades | |
| Corners get cut off | Turning with the wristRotate the paper at the corner instead | |
| Crying after two minutes | Session too long or task too hardStop while it is still fun, resume tomorrow | |
| Sits with scissors in hand while playing | No established put-away ruleOne basket, same spot, every time | |
| Refuses to start | The task feels like failureLet them cut dough or scraps first, no goal attached |
Frustration usually spikes at the jump from snipping to cutting on a line. If you can see it coming, stay on snipping paper strips for a few extra days. Skills arrive when the child is ready rather than when the calendar says so.
When Is a Child Ready for Regular Scissors?
Readiness has four parts, and age is a rough proxy for all of them. A child is ready when they can hold the scissors without their whole arm locking up, open and close the blades with one hand, turn a piece of paper with the helper hand while the other hand holds still, and follow a drawn line for at least an inch or two.
Most children show the full set somewhere around their fourth birthday. There is no rush to hand over sharp blades early: blunt-tip scissors and dough scissors let a younger child do real cutting practice safely.
If a child is well past five and still cannot open and close the blades with one hand, or seems to lose strength quickly in the hand, ask the pediatrician about a referral to an occupational therapist. That is the standard route for fine motor delay, and it is far less of a red flag than parents assume. Watch for the same delay across other small-muscle tasks like fastening buttons or holding a crayon in a tripod grip, and mention that too.
Common Mistakes
These are the six errors that slow a child down most often. Almost all of them come from doing the right thing too early or too fast.
Starting with sharp scissors on thin paper. The blades slip, the paper tears, and the child concludes they are bad at it. Start with blunt tips and cardstock, where the paper resists properly.
Skipping the hand-strength phase. If the fingers cannot open the blades alone, every later step stays hard. Tong picking up dry beans, hole punches, clothespins, and play dough snakes build the strength first.
Forcing accuracy too soon. A wandering cut within a half inch is on-track cutting at that age. Let accuracy follow the strength.
Letting the helper hand do nothing. Rotating the paper with the other hand is the whole point. When the helper hand does all the work, the cutting hand never learns to control direction.
Turning the wrist instead of the paper. This is the one habit that quietly caps progress at curves and corners. Keep the cutting wrist quiet and move the paper.
Practicing for twenty minutes. Long sessions end in tears and teach the child that cutting is something to survive. Five to ten minutes, most days, works better than one long effort.
Two more worth naming: running with scissors, which stops the moment you set a rule about carrying them closed and blades down, and cutting hair or sleeves, which stops the same way. Decide the rules before the first pair comes out, not after the first incident.
The encouraging part is that this skill is mostly repetition with a slightly kinder material. A child who cuts badly today will cut neatly in six weeks of short sessions.
Frequently Asked Questions
What age should a child start using scissors?
Most children are ready somewhere around age 3, and full control of shapes lands closer to 5 or 6. Ages are averages rather than deadlines. Look for readiness signs instead: the child can open and close the blades with one hand, has the strength to grip, and can turn paper with the helper hand. Younger children can safely practice with blunt-tip or spring scissors on thick paper.
Why can’t my child cut a straight line yet?
Because straight lines need hand strength, wrist stability, and a helper hand that rotates the paper, and those develop in that order. Wandering within about half an inch of the line is normal at three and reasonable at four. Use thicker paper, shorter lines, and praise slow even snips rather than accuracy. If the blades cannot be opened with one hand at all, that is a strength issue, not an accuracy issue.
What is scissor use for?
Cutting builds fine motor skills, eye-hand coordination, and bilateral coordination, since each hand has to do something different at the same time. Those are the same muscles a pencil grip and handwriting depend on, which is why cutting is often listed as a kindergarten-readiness milestone. It also supports classroom tasks like trimming, sorting, and assembling simple crafts independently.
Does a left-handed child need special scissors?
Left-handed scissors have the blades and top handle reversed so the thumb loop sits above the palm rather than under it. They make a real difference in grip comfort and control. If you cannot get a pair, most left-handed children manage with ordinary scissors held the same way, with the hand on top. Mirror any demonstration you give so the position matches their hand.
Is there a song that helps kids remember the grip?
The ‘Scissor Snips’ chant works well: say open and close while the child opens and closes the blades on cue. Pair it with a physical cue, such as a dot of marker on the top of the thumb hole or tape wrapped around it, so the child can check the grip independently. Rhythm supports motor memory, and the visual cue means you do not have to correct them constantly.
Start with ten minutes and one narrow paper strip. Build the hand strength this week, mark the thumb hole so the grip is visible, and stay on forgiving material until the open-and-close motion is solid. Whatever the age, progress follows strength, and progress arrives a lot faster than parents expect once the practice is short and the material is right.