These fine motor activities for toddlers at home use the containers, spoons and shoelaces already sitting in your kitchen drawer. Every one below sets up in under five minutes, works with things you already own, and builds one specific hand skill. Start with the pom-pom box. It takes two minutes and it runs on the kitchen floor while the kettle boils.
Fine motor work is any movement driven by the small muscles in the hands, fingers and wrists. Pinching a pom-pom, turning a lid, holding a crayon badly, tearing paper: different shapes of the same practice. Those muscles are the foundation for dressing, eating, cutting and eventually writing, and they grow through play long before anyone sits at a desk.
A note on expectations before you start. A toddler who mouths everything is not ready for dried pasta or small beads, and a 14-month-old will not thread a shoelace no matter how many times you demonstrate it. Setting up the activity below your child’s current ability is more useful than any list of milestones. If your child loses interest in 90 seconds, shorten the activity rather than pushing through it — five real repetitions beat twenty distracted ones.
Table of Contents
- Fine Motor Activities for Toddlers at Home at a Glance
- 1. Post and Drop Pom-Poms into Containers
- Fine motor activities for toddlers at home: why this one works
- 2. Transfer Marbles with Kitchen Tongs
- 3. Thread Dry Pasta onto a Sturdy Shoelace
- 4. Roll Play-Dough Balls and Make Snakes
- 5. Peel and Stick Colorful Stickers
- 6. Stack and Balance Blocks
- 7. Scoop and Pour Water or Dry Materials
- 8. Tear Paper for a Simple Collage
- 9. Match and Sort Large Clothespins
- 10. Open, Close, and Stack Plastic Containers
- 11. Create Dot Paintings with Washable Markers
- 12. Spray Paint with a Trigger Sprayer
- Frequently Asked Questions
- What are the best fine motor activities for toddlers at home?
- How do I know if my toddler is ready for fine motor activities?
- What materials are good for toddler fine motor practice?
- How long should a fine motor activity last for a toddler?
- Do toddlers need worksheets to develop fine motor skills?
- Conclusion
Fine Motor Activities for Toddlers at Home at a Glance
Scan this table first. Each row lists the skill the activity targets, what you need, and the age band where it usually clicks.
| Activity | Skill it builds | You need | Age / level |
|---|---|---|---|
| Post and drop pom-poms | Pincer grasp, hand-eye coordination | Yarn pom-poms, shoebox | 12 months+, easy |
| Transfer with kitchen tongs | Tripod grasp, wrist control, bilateral coordination | Wide tongs, large marbles, two cups | 18 months+, easy |
| Thread pasta onto a shoelace | Hand control, sustained grip, crossing midline | Thick shoelace, large dry pasta | 2 years+, moderate |
| Roll play-dough balls | Hand and finger strength, wrist stability | Play dough, rolling pin | 12 months+, easy |
| Peel and stick stickers | Fingertip isolation, visual-motor planning | Large stickers, clear tape | 15 months+, easy |
| Stack and balance blocks | Reaching, gripping, releasing, graded control | Large blocks or paper cups | 12 months+, easy |
| Scoop and pour | Wrist movement, two-handed grip, coordination | Cups, funnel, scoops, tray | 12 months+, easy |
| Tear paper collage | Bilateral coordination, pincer strength, crossing midline | Paper, glue stick, tray | 15 months+, easy |
| Sort with large clothespins | Opening, closing, releasing, grip patterns | Large clothespins, labelled cups | 18 months+, moderate |
| Nest plastic containers | Finger strength, sequencing, in-hand work | Nesting containers or lids | 18 months+, moderate |
| Dot paintings | Tripod grasp, controlled marker pressure | Washable markers, large paper | 2 years+, easy |
| Trigger-sprayer painting | Squeeze-and-release control, wrist strength | Clean spray bottle, washable paint | 2 years+, moderate |
1. Post and Drop Pom-Poms into Containers
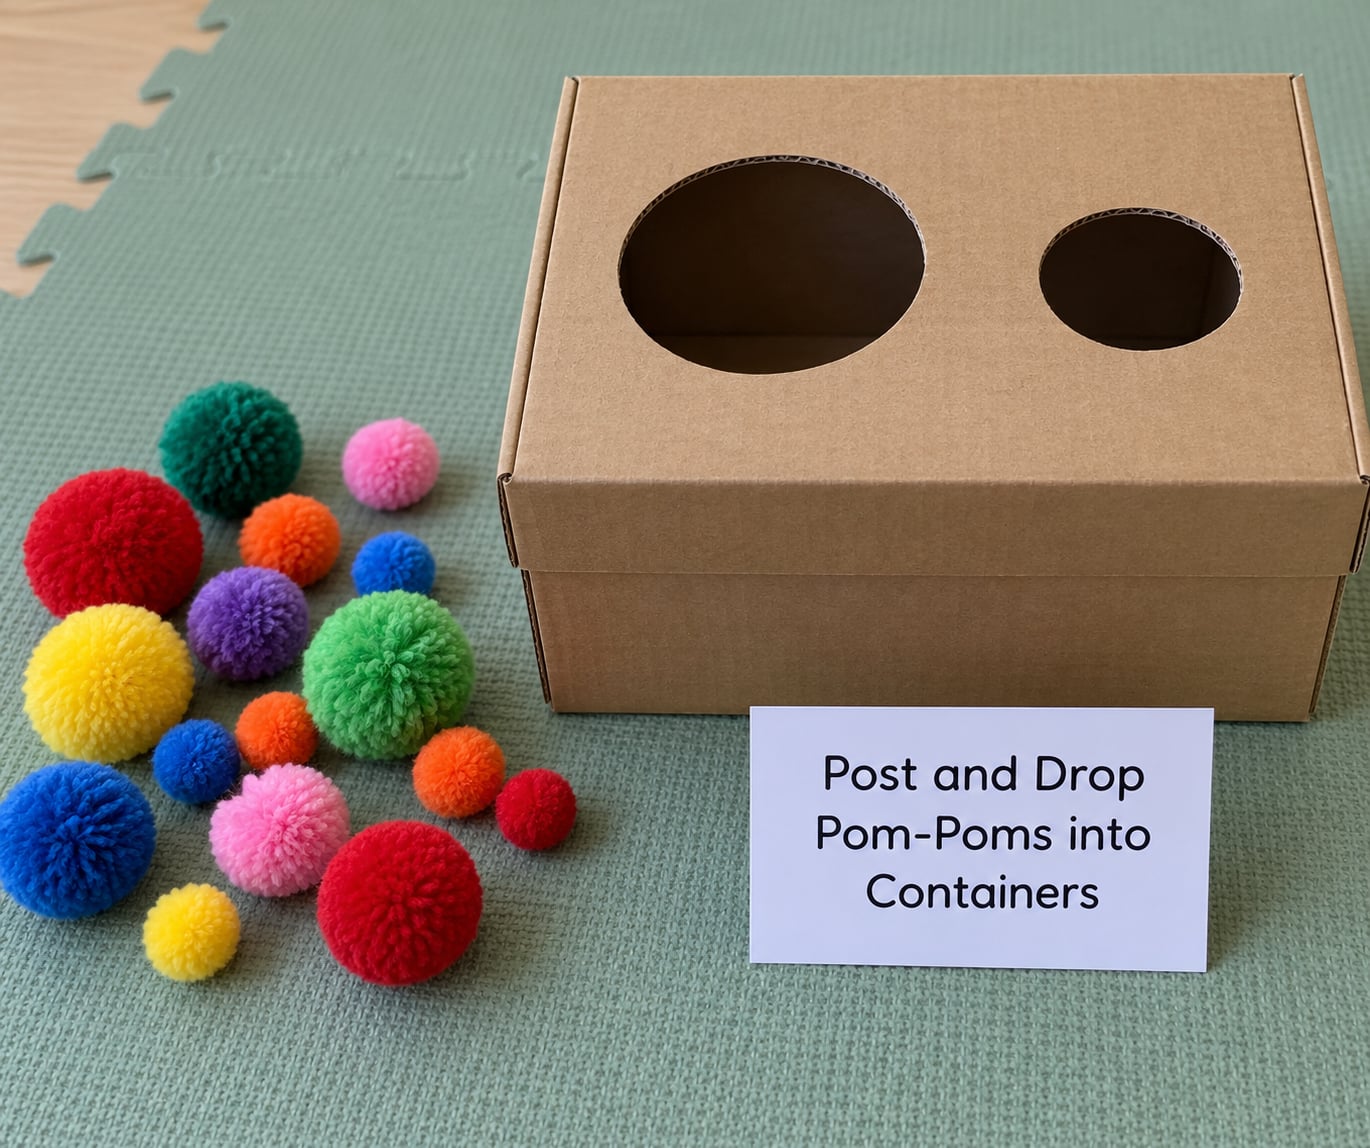
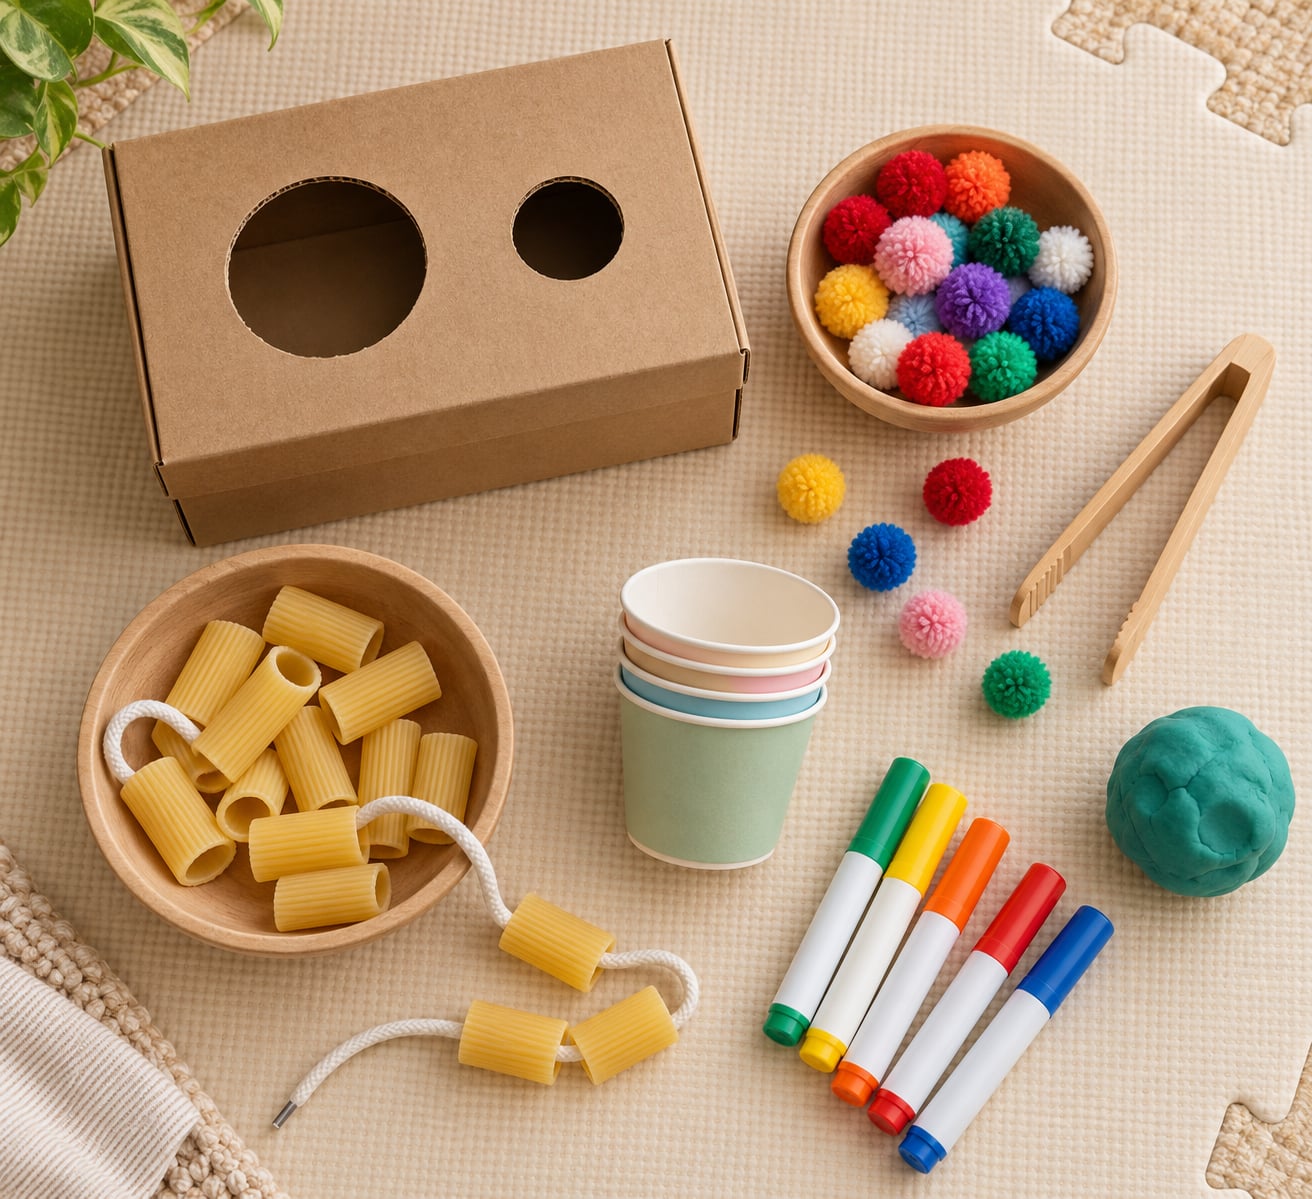
Cut one hole in a shoebox lid roughly the size of a jar opening. Fill a bowl with yarn pom-poms, hand your child one, and let them post and drop.
Make the hole generous — if the pom-poms are small, widen it with a second cut. Too tight and the whole thing becomes a frustration exercise rather than practice. A second box with a much larger opening gives you a harder version once posting is easy.
Fine motor activities for toddlers at home: why this one works
Posting requires a fingertip-and-thumb pinch, the pincer grasp, held for a second longer than most toddler activities ask. The reach also links what the eyes predict to where the hand lands, which is the whole point of hand-eye coordination.
Readiness signs: your child already picks up small items with a fingertip grip rather than a flat palm, and can hold a cup steady with one hand. If they still scoop everything into a whole-hand grab, that is fine progress too — the posting still works, just with bigger pom-poms.
Supervise closely, since pom-poms are a choking hazard for a child who mouths objects. Stay within arm’s reach and skip this one entirely if mouthing is your main concern right now; large yarn poms glued into the hole opening keep the play and remove the risk.
2. Transfer Marbles with Kitchen Tongs
Two stable cups, a set of large wooden marbles, and wide-ended kitchen tongs. Show one transfer, then hand over the tongs.
Wide tongs are the right tool. The scissor-type or silicone-tipped kitchen shears that look fun are too hard for most two-year-olds and just end in a tantrum. If your tongs are slippery, rough them with a strip of sandpaper on the handle face.
This one trains the tripod grasp in a sideways orientation, wrist rotation, and the split-attention work of holding the tongs with one hand while the other steadies the cup. That second part, stabilising the target with the free hand, is the habit that shows up later when a child writes with one hand and rests the paper with the other.
Large glass marbles are choking hazards, so stay in arm’s reach and use wooden beads or painted pasta if your child mouths objects. Set the cups on a towel so a dropped marble does not roll under the fridge.
3. Thread Dry Pasta onto a Sturdy Shoelace
Cut a 30 cm length of thick round shoelace, tie a knot at one end, and provide rigatoni or large penne. Show one piece threaded, then stop and let them work.
Two short handles: tape a chunk of masking tape around each end so the hard tail is not a jabbing hazard. For younger children, use a thick pipe cleaner with a loop at one end, or a chunky keyring toy. A dish with a small hole punched in the rim works too, and it turns threading into pouring.
Threading asks the hand to hold one object, line it up, push it and release it, all while the eyes stay on a single point in space. Moving from one side of the body to the other with the cord requires crossing the midline, the reach that becomes a scribble covering the whole page later.
Never leave a child alone with a cord while threading, even a short one. Supervise the whole time and put the pasta away right after.
4. Roll Play-Dough Balls and Make Snakes
Roll a golf-ball-sized lump between both palms, then press it flat. That is the whole activity, and it is harder than it sounds for small hands.
Store homemade dough in an airtight container in the fridge for up to a week, and wash your hands after. The easiest no-cook version is half plain flour, half plain yoghurt, mixed in a bowl and kneaded for a minute — no heat, no stove, and it washes out of most surfaces.
Rolling strengthens the small muscles of the hand and stabilises the wrist while the arms move. Flattening builds the pressure control a tripod grip needs later. Cutting dough with a blunt plastic pizza wheel adds a scissor pattern, which is a pre-writing skill.
Expect lumps. Toddlers who try to make a perfect ball and cannot usually quit the activity entirely, so keep a “bit of dough and some rolling” framing and let the shape stay whatever it ends up.
5. Peel and Stick Colorful Stickers
Give your child large round or shape stickers and a sheet of clear packing tape on the table. Stickers peel best from a flat surface rather than a roll.
Good surfaces: a laminated sheet, a sheet of painter’s tape stuck to the table, a plastic folder, or a window. Start with plain dots and move on to shapes, then to sticker scenes, so the difficulty climbs without changing the materials.
Peeling a sticker off its backing isolates the fingertip and thumb tip in a way few activities manage, and it needs the hand to plan ahead visually before the fingers arrive. Placing it correctly adds the visual-motor planning piece. Sorting stickers by colour first turns it into a matching game.
If everything sticks together in a sticky lump, hand stickers over one at a time in a small pile, face down. Take the frustration out of it by letting them stick them anywhere, including your arm.
6. Stack and Balance Blocks
Large wooden blocks or plain paper cups. Stacking cups needs nothing at all, and it travels.
For blocks, count the way up as the game: the child says or holds up the number as the tower grows. Let them knock it down, then reset. A steady hand that corrects itself after a wobble is the real skill, not the height.
Stacking trains reaching, gripping, aligning and releasing with graded control, plus a shoulder and trunk component that makes it part fine and part gross motor. It is one of the rare activities parents report getting the most mileage from, because the setup never changes and the difficulty never runs out.
Skip small hard blocks and anything with loose corners or chips for a child under three. Paper cups compress rather than splinter, which makes them the safer starter. Blocks also do not need to be a matching set — odd sizes are more interesting to balance.
7. Scoop and Pour Water or Dry Materials
A tray, a stack of cups, a funnel and a ladle or large spoon. Outdoors, in the bath, or on a towel indoors, this runs itself.
Under two, skip the funnel and just fill one cup from another. The wobble is the exercise. Add the funnel when pouring becomes reliable, because holding a cup level while aiming at a small target is genuinely difficult at two.
Scooping works on wrist movement, grip and the coordination of eye and hand in one motion. Pouring is harder because the child has to hold steady through the whole pour and stop before the cup empties, which is real graded control and hand strength.
Never leave a child alone near any amount of water, even a few centimetres in a bucket; toddlers drown quietly and fast. For a mess-free version, swap the water for dry rice, sand, or coarse salt in a sensory tray over a sheet, and add a funnel with a wide neck.
8. Tear Paper for a Simple Collage
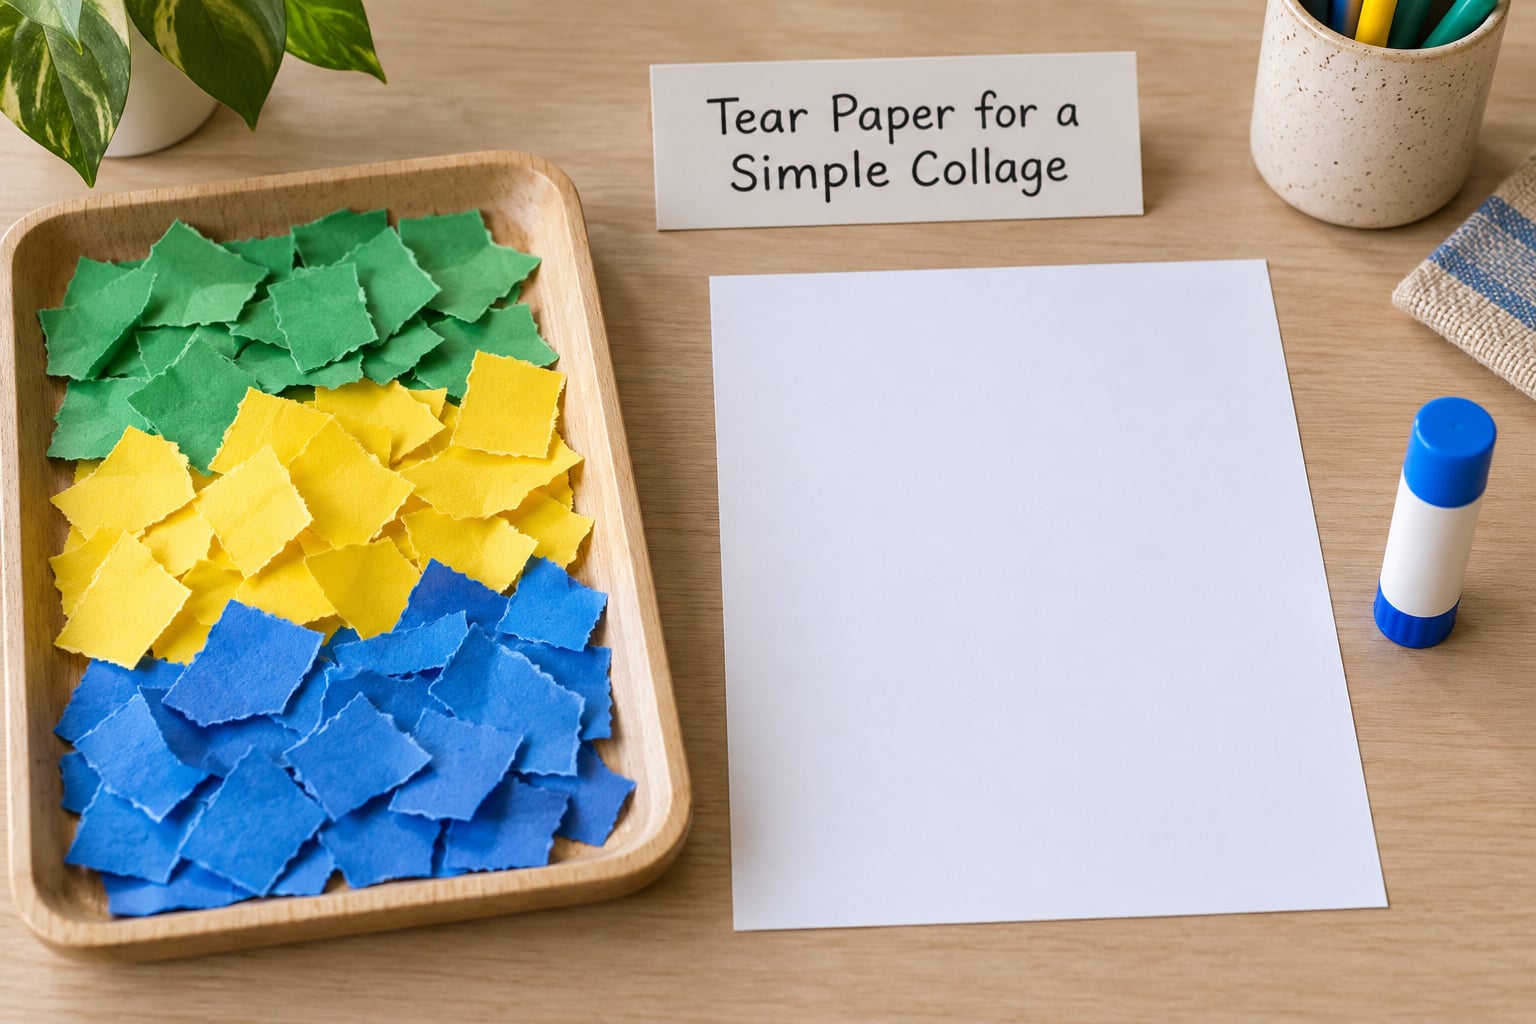
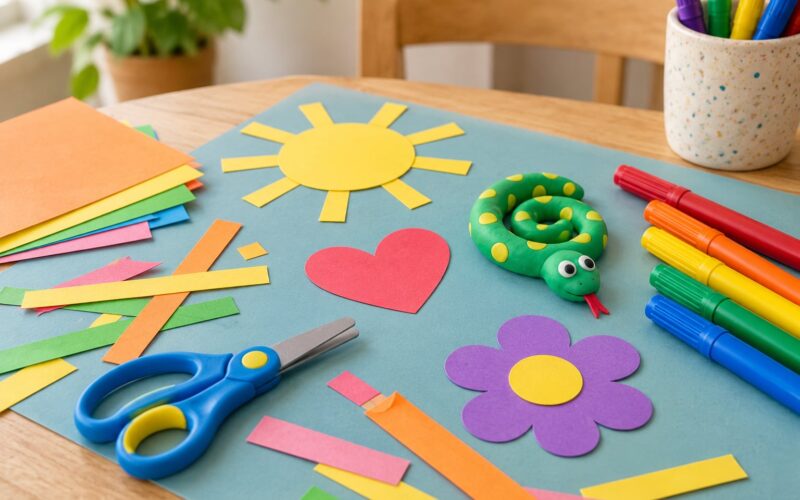
Newspaper, tissue paper, brown paper bags or old envelopes. Tear pieces and glue them onto a plain page. No templates, no shape required.
Tearing gives the hand two jobs at once: one hand holds, the other pulls, which is why it builds bilateral coordination. Tearing also isolates those finger tips without needing any tool, so it works for children who hate choppy or fiddly toys.
A glue stick beats liquid glue for small hands and dries fast enough that the artwork can move. Press the pieces down with a flat palm rather than rubbing them, which is easier for a toddler than finger-by-finger smoothing.
Children who cannot start a tear will often ask for help and then take over halfway. Show the start of the tear with both of your hands over theirs, then let go at the moment it gives. Naturally rip-resistant paper frustrates everyone; choose something that gives easily the first time.
9. Match and Sort Large Clothespins
Large toddler-safe wooden clothespins clipped onto labelled or coloured cups. A muffin tin with a number on each cup works well.
Start by removing every pin and dropping them in a bowl, then add them back. That removes the reading demand and leaves only the hand work. Add the sorting challenge when clipping is smooth.
Opening and closing a clothespin is a spring-loaded grip, one of the hardest pinch patterns to find in a household object. It builds in-hand manipulation and strength in the small muscles, and the same spring resistance shows up in a clothespin game at a preschool table.
Use the large wooden or plastic-clipped toddler versions only, never the small wire ones. A pinched fingertip is the risk here, not choking, so stay within reach and stop if it becomes a biting game. Attach the pins to the cup rim rather than the box edge so nothing pokes out.
10. Open, Close, and Stack Plastic Containers
Take lids off every container you have: yoghurt tubs, margarine tubs, deli lids. Set them out and see what matches.
Look for lightweight tubs with no sharp edges and no metal rims. Discard anything cracked or warped. If your kitchen has only snap-tops, screw lids are harder and better — just unscrew the ring and hand over the cap.
Prying off a tight lid takes a whole-hand grip, and twisting a lid off takes two hands working against each other. Both are the foundation of unscrewing a jar, opening a door and working a zipper. Nesting the containers back together in order adds sequencing, which is the quiet skill in this activity.
Turn it into a matching game by drawing a shape on each lid with a permanent marker. Sorting lids onto the right tub becomes a shape and colour hunt, and it takes as long as the concentration holds.
11. Create Dot Paintings with Washable Markers
Tape large plain paper to a table or tape a sheet to the wall. Washable markers, dots only, no colours to choose from.
Limit the choice. Offering the whole marker box turns the first three minutes into a sorting task and usually ends before a single dot appears. Put three markers on the table and put the rest away.
Dots demand a tripod-style grip and slow, controlled pressure — press too hard and the marker splays. Lines, zigzags and then simple shapes raise the demand without new materials. A vertical surface, like a sheet taped to the wall or a low easel, changes the whole body position and often unlocks children who stall while sitting.
Paper taped to the floor for drawing on with feet is a good gross motor warm-up before the dots. For children who would rather not draw at all, dot painting becomes dot-to-dot connecting games, or use a sponge and a tray of paint for stamping instead.
12. Spray Paint with a Trigger Sprayer
A clean empty spray bottle, washable tempera or diluted washable paint, and a large sheet of paper taped outdoors or over a tablecloth.
Dress for the paint. Apron, old shirt, sleeves rolled up, and accept that some of it will end up on the child’s hands and probably their hair. A wet paint sponge clean-up later beats doing nothing at all.
The trigger sprayer isolates the index finger and asks it to squeeze and release in a controlled way, building wrist strength and finger isolation at the same time. Spray-finger-painting is a genuine sensory and fine motor overlap, and the wall or upright surface point from the forums is worth copying: painting vertically keeps the child engaged far longer.
Use non-toxic washable paint only, work outside or in a ventilated room, and never spray toward a face. Your hand goes over their hand on the trigger for the first few sprays. If you do it indoors, expect a couple of hours of tinted air.
Frequently Asked Questions
What are the best fine motor activities for toddlers at home?
The best ones are the easiest to start with no prep: posting pom-poms through a hole in a box lid, stacking paper cups, tearing paper for a collage, and dot painting with washable markers. Each takes under five minutes to set up and works with items already in your house. Pick one the child already enjoys and repeat it for a week rather than trying something new every day.
How do I know if my toddler is ready for fine motor activities?
Look at what they already do rather than at a chart. A child picking up crumbs with a fingertip and thumb, holding a cup steady, or building a two-block tower is ready for the matching activity. If they scoop everything in a whole-hand grab, choose larger materials and bigger openings. Readiness is about the current task, not a birthday.
What materials are good for toddler fine motor practice?
Household items work as well as bought toys. Useful ones include yarn pom-poms, wide-ended kitchen tongs, thick shoelaces, dry rigatoni, plastic tubs and lids, large wooden clothespins, clean spray bottles, painter’s tape, cardboard boxes, washable markers and play dough. Choose pieces too big to swallow and skip anything with loose parts or sharp edges.
How long should a fine motor activity last for a toddler?
Short and often beats long and rare. Most toddlers do their best work in three to seven minute bursts, and a toddler who walks away at four minutes has completed a normal session. Set a timer for five minutes, stop while it is still fun, and come back to the same activity later in the day or the next morning.
Do toddlers need worksheets to develop fine motor skills?
No. Worksheets suit children who are heading to kindergarten and have the pencil control for them, which most toddlers under three do not. Hand strength, a tripod grip and hand-eye coordination all build through play, sorting, posting, stacking and sensory play at home. Skip paper tracing until a child shows interest in drawing for its own sake, and keep working on the activities that are genuinely fun.
Conclusion
Choose one activity that matches what your child already gravitates toward, and one that sits just slightly ahead of where they are now. Repetition of a familiar, enjoyable activity does more for hand strength than a new one every single day.
If you want one thing to try tonight, make the pom-pom posting box. Cut one hole in a shoebox lid, put out a bowl of yarn pom-poms, and let your child post and drop for as long as it holds their attention. Everything else on this page can wait until tomorrow.