If you are searching for how to teach a child to hold a pencil, the short version is this: set up a comfortable writing position, show a relaxed three-finger pinch, then let your child practise for two to five minutes a day in something that feels like play. The grip you are aiming for is called the dynamic tripod grasp, and most children settle into it somewhere between ages four and six.
That range matters more than most parent guides admit. A three year old holding a pencil in a fist is not behind, and pushing a tripod grip onto a child whose hand muscles are not ready tends to end with a sore hand and a bad habit of dread. There is no single right moment, only the moment your child’s hand is strong enough and the moment you can make practice enjoyable.
This guide walks through what to set up, five steps you can use the same afternoon, and the mistakes that undo months of good work. It takes about five minutes a day and needs nothing more than a short pencil and some paper.
Table of Contents
- What You Need
- How to Teach a Child to Hold a Pencil Step by Step
- Step 1: Set Up a Comfortable Writing Position
- Step 2: Model the Tripod Grip — How to Hold a Pencil Correctly
- Step 3: Place the Pencil Without Forcing It
- Step 4: Practice Small, Controlled Movements
- Step 5: Make Pencil Practice Playful
- Common Mistakes
- Frequently Asked Questions
- What age should a child learn to hold a pencil correctly?
- Is a tripod grip the only correct way for a child to hold a pencil?
- How long should a child practise pencil grip each day?
- What should I do if my child’s hand hurts while writing?
- How can I help a left-handed child learn pencil grip?
- When should a parent ask about occupational therapy for pencil grip?
- Conclusion
What You Need

Keep the kit short. Most of what you need is already in a kitchen drawer.
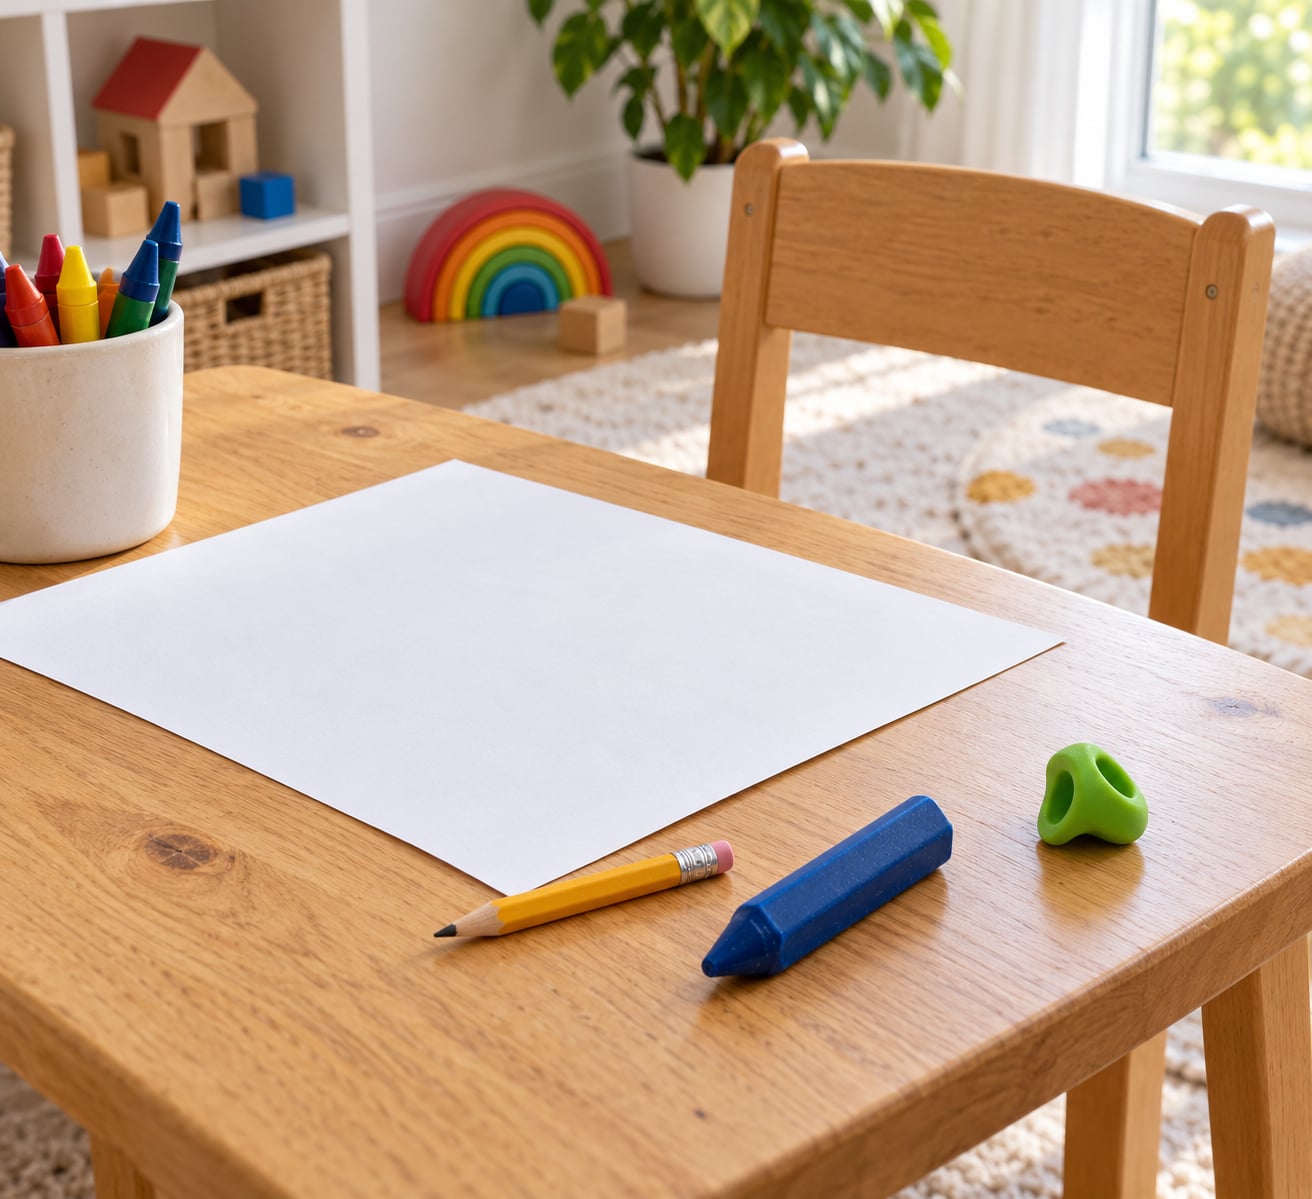
- A short, unbranded pencil. A regular pencil broken down to about four inches gives a small hand something it can actually control. Long pencils force children to grip harder and further down the shaft.
- A thick crayon or jumbo pencil for warm-ups. Triangular crayons are worth hunting down at a school supply store or a therapy clinic. The flat side guides the thumb into place without you saying a word.
- Scrap paper. Cheap printer paper or the back of old mail. Your child should not be precious about this surface.
- A table and chair at a comfortable height. Feet flat on the floor, thighs under the table, shoulders relaxed. If the feet dangle, put a box under them.
- Optional: a grip sticker or pencil gripper. Useful as a short-term training cue. See the note below before you buy one.
The goal for the whole setup is a relaxed grip, not immediate perfect technique. A child who is squeezing hard but comfortable is doing better than a child with textbook finger placement and a cramped hand.
How to Teach a Child to Hold a Pencil Step by Step
Use these five steps in order over about two weeks, not all in one sitting. Each one is a prerequisite for the next, and rushing the first two is the single most common reason grip teaching stalls.
Step 1: Set Up a Comfortable Writing Position
Feet flat, bottom of the chair at the back of the knees, forearms resting on the table without the shoulders lifting. Slide a small stack of paper or a cardboard box under the child’s feet if they do not reach the floor.
Paper position matters too. Put the top of the page a little to the right of centre for a right-handed child and slightly to the left for a left-handed one, and tilt it back a few degrees. You are looking for a child who can reach the whole page without leaning, twisting the torso, or holding the pencil tighter to compensate.
How to tell it is working: the child’s writing hand can travel across the page without the shoulder moving, and the wrist stays slightly above the paper instead of collapsing onto it.
Step 2: Model the Tripod Grip — How to Hold a Pencil Correctly
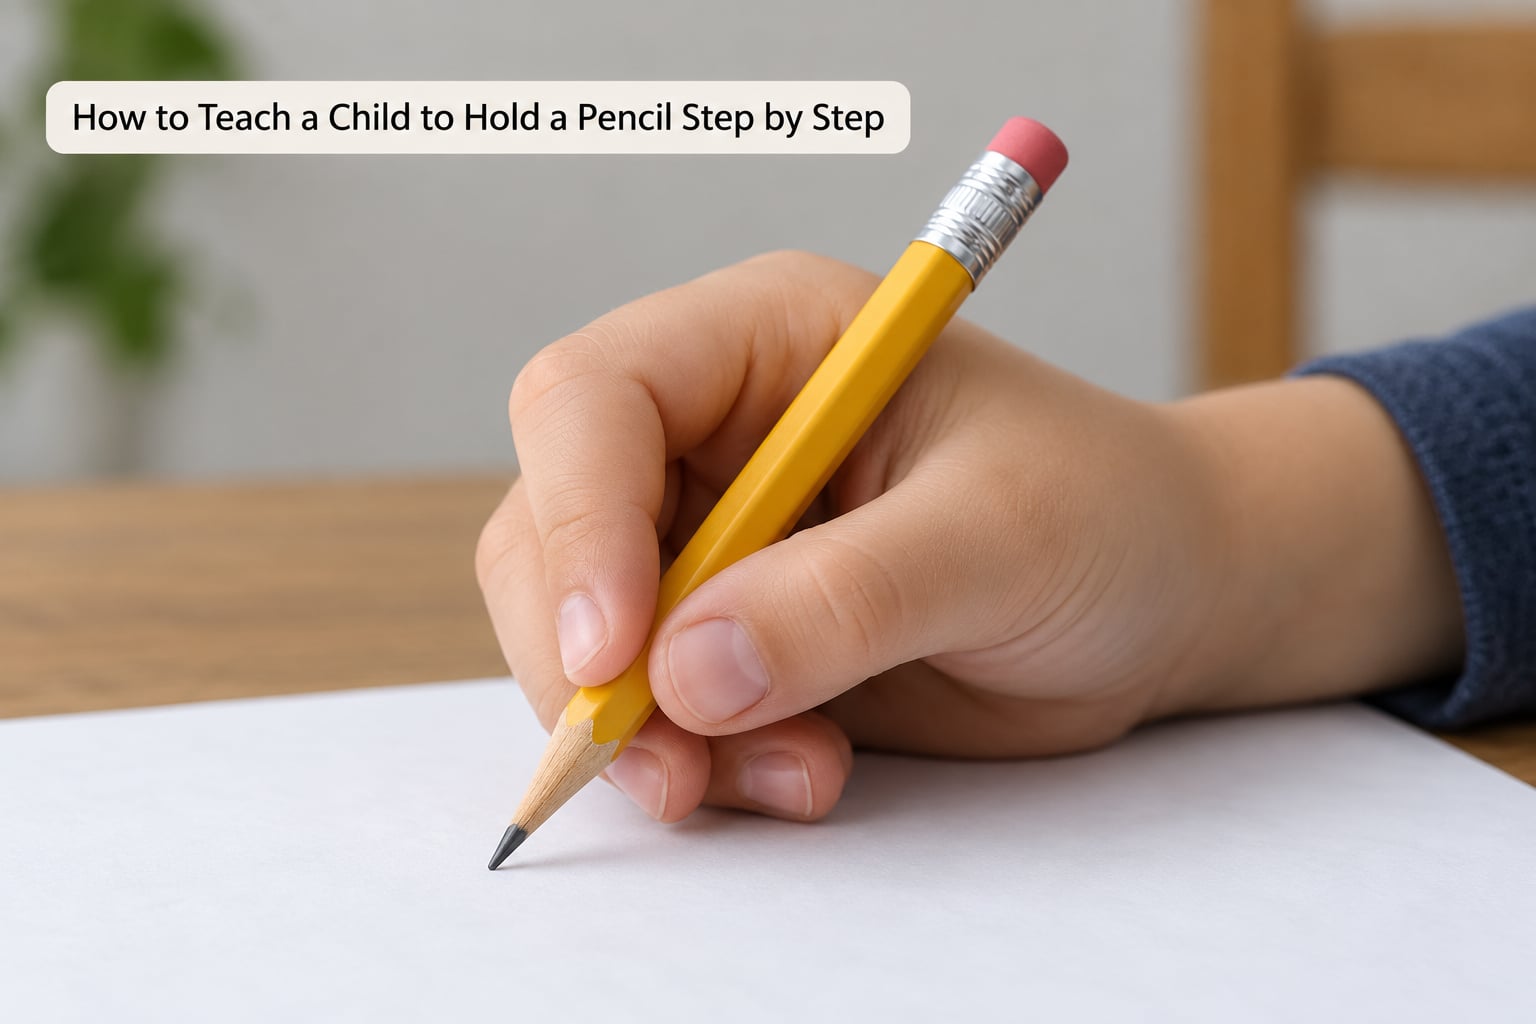
The dynamic tripod grasp has three working fingers. The thumb and index finger pinch lightly, about half an inch to three quarters of an inch from the tip. The pencil rests on the pad of the middle finger, and the ring finger and little finger curl gently into the palm to steady the hand.
Two details people miss: the knuckle side of the hand faces the ceiling rather than the child, and the pencil points forward over the top of the hand toward the shoulder, not out to the side and not straight up. The eraser end usually sits in the webbing between thumb and index finger.
Show it rather than describe it. Hold your own hand up in the same shape, exaggerate the pinch, and give it a memorable name. Parents who use a story hook, like an alligator opening its mouth for the pencil to sit in, tend to get less resistance than a lecture about proper technique.
A fist grip or a four-finger hold is fine while your child learns the shape, as long as the hand is not painful or cramped. Do not yank the fingers open and force the tripod position on the first attempt.
Step 3: Place the Pencil Without Forcing It
Rather than rearranging the child’s fingers, use the position the hand is already in. Rest the pencil across the middle finger first, then bring the thumb and index finger down to meet it. You are guiding, not installing.
Never bend a finger backwards to make it fit the grip. If the hand resists, stop and go back to the crayon or the thicker pencil, where the pinch happens naturally with less force.
Check for relaxation by asking the child to gently shake their hand out and pick the pencil back up, rather than inspecting their knuckles mid-stroke. A good hold keeps colour in the hand without white knuckles.
Step 4: Practice Small, Controlled Movements
Build up in this order: short straight lines, dots, big loops and circles, simple shapes, then letters and names. Each stage should feel easy and slightly boring, not effortful.
Two to five minutes a day, most days, beats a twenty-minute session on Sunday. Stop while the hand is still comfortable. Fatigue is exactly when bad habits creep back in, and a sore hand is exactly when a child decides writing is unfair.
Step 5: Make Pencil Practice Playful
Everything works better when the child does not know it is grip practice. Draw giant roads for cars, trace dotted mazes, fill a page with stickers that need peeling and placing, or copy simple pictures from a book. Pom-poms stuck on the end of a pencil and tongs for picking up small things build the same hand strength without a worksheet.
Praise the hand, not the letters. Say that their hand is resting nicely, or that the pencil moved smoothly, instead of reacting to a wonky letter. You are shaping a movement that happens thousands of times a day, and it sticks through repetition rather than correction.
Common Mistakes
These are the errors that show up again and again, with the fix for each.
- Squeezing too hard. Usually a sign the pencil is too long or too thin, or the child is rushing. Try a shorter pencil. For a child pressing hard enough to tear the page, have them write on craft foam or an old mouse pad so the pressure is visibly punished, and let them match light, medium and dark shades using one crayon.
- Holding the pencil too close to the tip. Grip from a third of the way up or higher. A small sticker or a dab of tape on the pencil marks a starting point the child can feel for.
- Thumb wrapped over the top of the pencil. This blocks the fingers from moving freely. Ask for a light tap between thumb and index finger rather than a wrap, and shorten the pencil again.
- Pencil resting on the ring finger with the pinky planted. That is a stepping stone grip, not a failure. Keep using a thick crayon until the pinch supports itself.
- Demanding an adult grip immediately. A preschooler’s fist grasp is developmentally normal. Work from the current grip to the next stage rather than the last one.
- Correcting constantly. Repeated verbal correction produces a child who writes with a stiff hand and dread in the room. Correct the position once, then ignore it for the rest of the session.
- Practising for too long. Five focused minutes daily beats an hour of scrawling. Endurance for school writing is built over years, not in one afternoon.
- Expecting mastery in a week. A habit that old usually takes a few weeks of short sessions and slips back whenever the child is tired, sick, or handed a full-length pencil by someone else.
Two debates come up constantly in parent forums. First, pencil grips: many teachers and occupational therapists advise against them in kindergarten, because the aid can confuse a child who is still learning the shape, and it does not build the hand strength they need. If you use one, use it briefly as a training cue and take it away. Second, school versus home: if your child’s teacher corrects one way and you correct another, ask the teacher what the classroom expects and follow that, so the child is not switching between two setups all day.
Frequently Asked Questions
What age should a child learn to hold a pencil correctly?
Most children move into a tripod-style grasp between ages four and six, and the range is wide. Under three, a whole-fist or palmar grasp holding the pencil against the palm is normal and fine. Watch for readiness signs instead of a birthday: a pincer grasp, steady wrist control, and interest in drawing. If your child is eight or nine and still cannot manage writing tasks comfortably, mention it to your pediatrician.
Is a tripod grip the only correct way for a child to hold a pencil?
No. The tripod grasp is the most commonly recommended position because it leaves fingers free for control and reduces fatigue, and some children naturally settle into a quadrupod or dynamic tripod variant that works just as well. What matters is a relaxed hand, a comfortable grip, and enough endurance to write through a school day. A child who writes neatly without pain is not failing, whatever the grip looks like.
How long should a child practise pencil grip each day?
Two to five minutes of focused practice, most days of the week, is plenty. Short frequent sessions build the habit far better than one long weekly session. Keep the work playful, stop while the hand is still comfortable, and add an extra minute or two only once the grip holds through a full page without reminders. Practising to the point of tiredness is what teaches a child that writing is unpleasant.
What should I do if my child’s hand hurts while writing?
Stop writing that day and look at the setup first: chair height, feet supported, paper angle, and pencil length. A cramped desk makes a child press harder and tire faster. If pain continues after those changes, or you see redness, a hot swollen joint, or a child who avoids all drawing, speak with your pediatrician and ask about a referral to a pediatric occupational therapist.
How can I help a left-handed child learn pencil grip?
Use the same relaxed three-finger pinch, then rotate the hand so the pencil points over the top of the fingers toward the shoulder, and place the page slightly to the left of centre so the arm does not cross the writing line. Model the position yourself with the opposite hand first. Avoid forcing a right-handed setup, and skip mirror-image grip aids unless an occupational therapist specifically recommends one.
When should a parent ask about occupational therapy for pencil grip?
Ask when grip is not the only concern: the child avoids drawing and writing tasks, tires within minutes, loses letter reversals well past the first grade, shows noticeably low muscle tone in the hand, or has other motor differences such as an autistic child’s sensory sensitivities or an ADHD child’s difficulty sustaining a motor pattern. A grip a therapist corrects quickly is worth asking about early, since it affects writing volume for years.
Conclusion
Start tonight: get the chair and feet right, hold your own pencil up so your child can copy the shape, then draw something together for three minutes. When you teach a child to hold a pencil, the grip matters far less than a comfortable hand and a reason to keep writing.
Repeat that a few times a week and let the grip settle in over a month or two rather than a weekend. If holding a pencil is causing ongoing pain, or the child has wider motor or sensory differences, a pediatric occupational therapist can take the guesswork out of it.