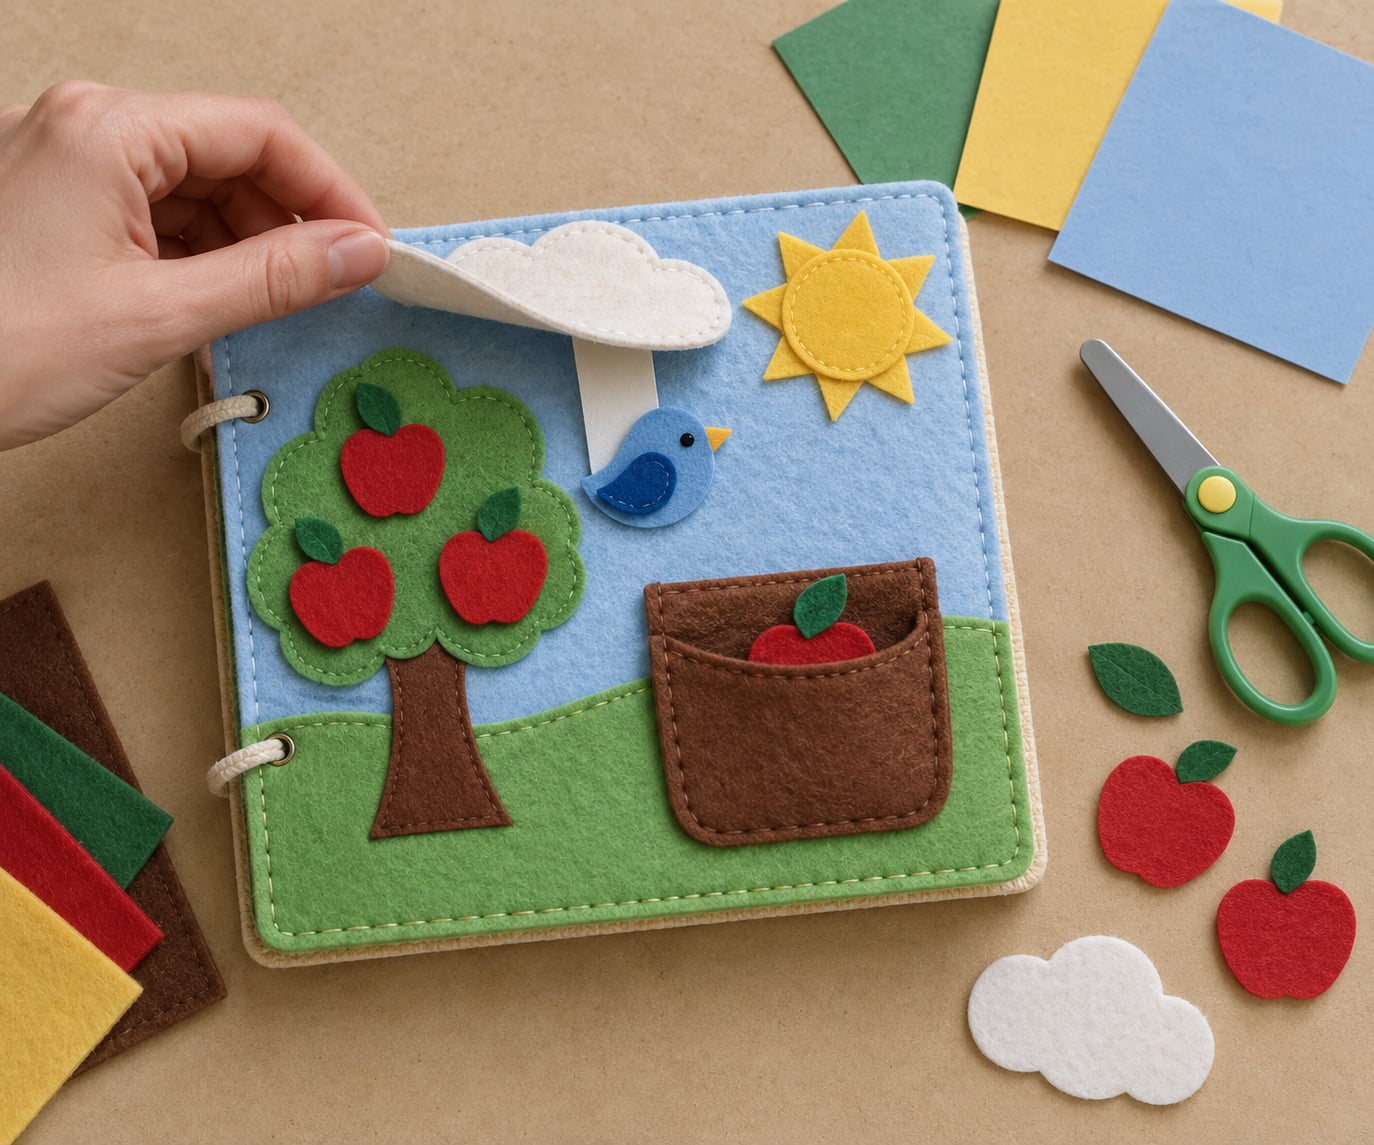
A quiet book page is a single sturdy sheet with pieces a small child can lift, slide, match or fasten. Most parents build the first one from felt, cardstock or a laminated printable, and the whole page takes 20 to 40 minutes once the pieces are cut.
The format matters more than the theme. Get a flap that opens easily and a tab that pulls cleanly, and the page works. Add six loose buttons and it falls apart in a week.
Below I walk through the process of how to make a quiet book page from a flat sheet to something a toddler can use on their own, with the age adjustments and the fixes for the mistakes that trip up most first attempts.
Table of Contents
- What You Need to Make a Quiet Book Page
- How to Make a Quiet Book Page: Step by Step
- 1. Choose a Quiet Book Page Format
- 2. Plan the Interactive Element
- 3. Cut and Prepare the Quiet Book Page Base
- 4. Make and Attach the Moving Part
- 5. Add a Simple Quiet Activity
- 6. Decorate Without Adding Clutter
- 7. Test and Assemble the Quiet Book Page
- Common Mistakes
- Frequently Asked Questions
- What age is a quiet book page appropriate for?
- What materials are best for a durable quiet book?
- How do I make a quiet book page without laminating?
- Should every quiet book page have instructions for the child?
- Can quiet book pages help a child learn independently?
- Start With One Simple Quiet Book Page
What You Need to Make a Quiet Book Page
The core kit is small: a sturdy base, one moving part, and something to attach it with. Everything else is decoration, and decoration is where quiet book projects usually go wrong.
- A page base. Felt sheets in a stiff weight, 200-300 gsm cardstock, or a printed page sealed in a laminate pouch.
- A moving part. A felt flap, a cardstock pull tab, or a fabric pocket.
- An attachment method. Washable Velcro dots, fabric glue, a hot glue gun, or a needle and thread.
- Cutting tools. Sharp fabric shears or a craft knife on a cutting mat, plus rounded-corner scissors or a corner punch for the base.
- Decorating supplies. Non-toxic glue, washable markers or fabric paint, and large felt shapes.
- Optional activity supplies. Ribbon for lacing, a small zip of cardstock shapes for matching, or snaps instead of Velcro.
On felt weight, the short answer is medium. Thin craft felt stretches, sags and pulls away from glue; thick industrial felt is stiff enough that a flap will not fold. If you can only buy one pack, buy the middle weight and back the flappy areas with a thin interfacing sheet.
Cut a few scraps first and bend them. The right felt creases without cracking and springs back flat when released.
Before you start, check the prep list:
- Base paper is cardstock-weight, not printer paper.
- Fasteners are washable and child-safe for the age group you are building for.
- Cutting happens away from the child, and small scissors stay in an adult’s hands.
- Decorating materials are non-toxic and wipe or wash off.
- Every exposed corner is rounded.
Cutting a template from cardstock once and tracing it for every following page saves more time than anything else in this project. I do it before the first page, not after I have already cut six mismatched squares.
How to Make a Quiet Book Page: Step by Step
Seven stages cover every format. Skip the ones that do not apply to the page you picked.
1. Choose a Quiet Book Page Format
Pick the format before you cut anything, because it decides the base size and the fastener.
- Flap page. A felt rectangle glued or stitched along three edges, hiding a picture underneath. Best for ages 12 months and up.
- Lift-the-felt page. A felt shape attached at one point with a Velcro dot so it lifts free. Very easy to make and forgiving of imperfect gluing.
- Pull tab. A cardstock or felt loop the child pulls sideways to slide a strip in and out. Best for babies who pull rather than lift, usually from 9 months.
- Pocket page. An open-top felt pocket holding loose shapes for a matching or sorting task. Best from about 24 months.
A flap page is the easiest starting project for a first-timer. A pocket page is the most useful once the child is past two.
2. Plan the Interactive Element
Choose one action and one only: reveal a picture, match a shape, lift a piece, pull a strip, or find a hidden object. Each extra mechanic doubles the build time and halves the chance it survives month two.
Write the action on a scrap of paper before you cut. If it needs the words find the yellow duck, the page has become two pages, and you should split it.
3. Cut and Prepare the Quiet Book Page Base
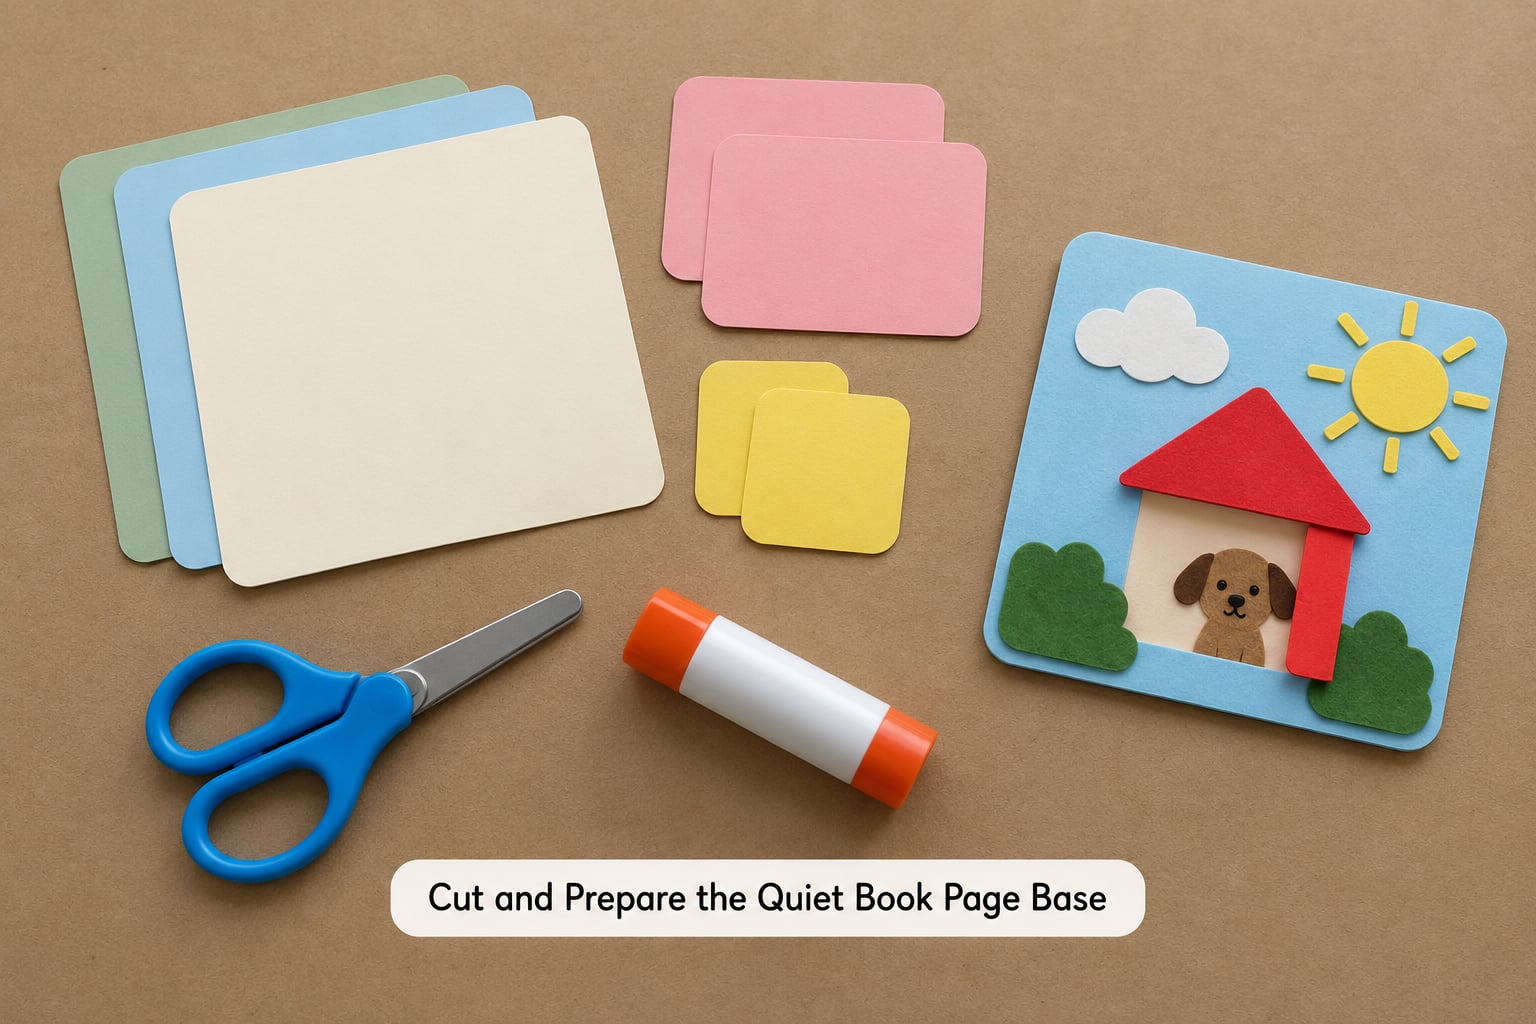
Measure the base, trace the template, and cut one page at a time. Rounding every exposed corner takes ten seconds with a corner punch and removes the sharpest edge on the finished book.
Cutting straight lines needs a steady adult hand and blunt-tip scissors, usually from about age three. From three to five, an adult cuts the shapes and the child chooses where they go. Under three, cut everything in advance.
A pre-cut base is the fastest route if you are making several pages: buy card, punch holes in the corner, and skip tracing entirely. If you laminate, cut the laminate pouch slightly larger than the print, trim the excess, and press the edges flat with a bone folder or the back of a spoon.
How to make a quiet book page that lies flat comes down to this step. Trace around the base rather than cutting freehand, and the whole book will stack and ring-bind without bulging.
4. Make and Attach the Moving Part
For a flap, glue or stitch along three edges and leave the fourth open. For a pull tab, cut a rounded strip and attach it to the backing with two dots of glue or three stitches. For a lift piece, one Velcro dot on the shape and one on the page is enough.
Leave clearance. A flap needs about a centimetre of space at the hinge so a small hand can get a fingernail under the edge, and a pull tab needs room to travel without hitting the page edge.
Test the movement before the glue sets. If a flap tears at the hinge after ten pulls, add interfacing behind it or move the hinge line a few millimetres in.
5. Add a Simple Quiet Activity
One mechanic, one outcome. For a baby, a large high-contrast felt shape lifting to reveal the same shape underneath works well because success is obvious. For a toddler, matching three colours or a ribbon laced through cardstock holes gives two hands something to do. For a preschooler, a pocket with four shapes to sort by colour or number turns the same page into a task with a right answer.
Keep the loose-piece count low. Three or four pieces per page is plenty, and every piece should be big enough to pass through a toilet paper tube.
6. Decorate Without Adding Clutter
Pick one theme and two or three colours, then use large simple shapes. A child reads the page faster than an adult thinks they should.
Labels are optional. Put them on the base rather than on a moving piece, print them large enough to read across a room, and skip them entirely for under-twos since word labels add nothing at that stage.
Avoid anything that can shake loose: glitter, small beads, dried pasta, loose sequins. If a decoration would come off in a pocket, it stays off.
7. Test and Assemble the Quiet Book Page
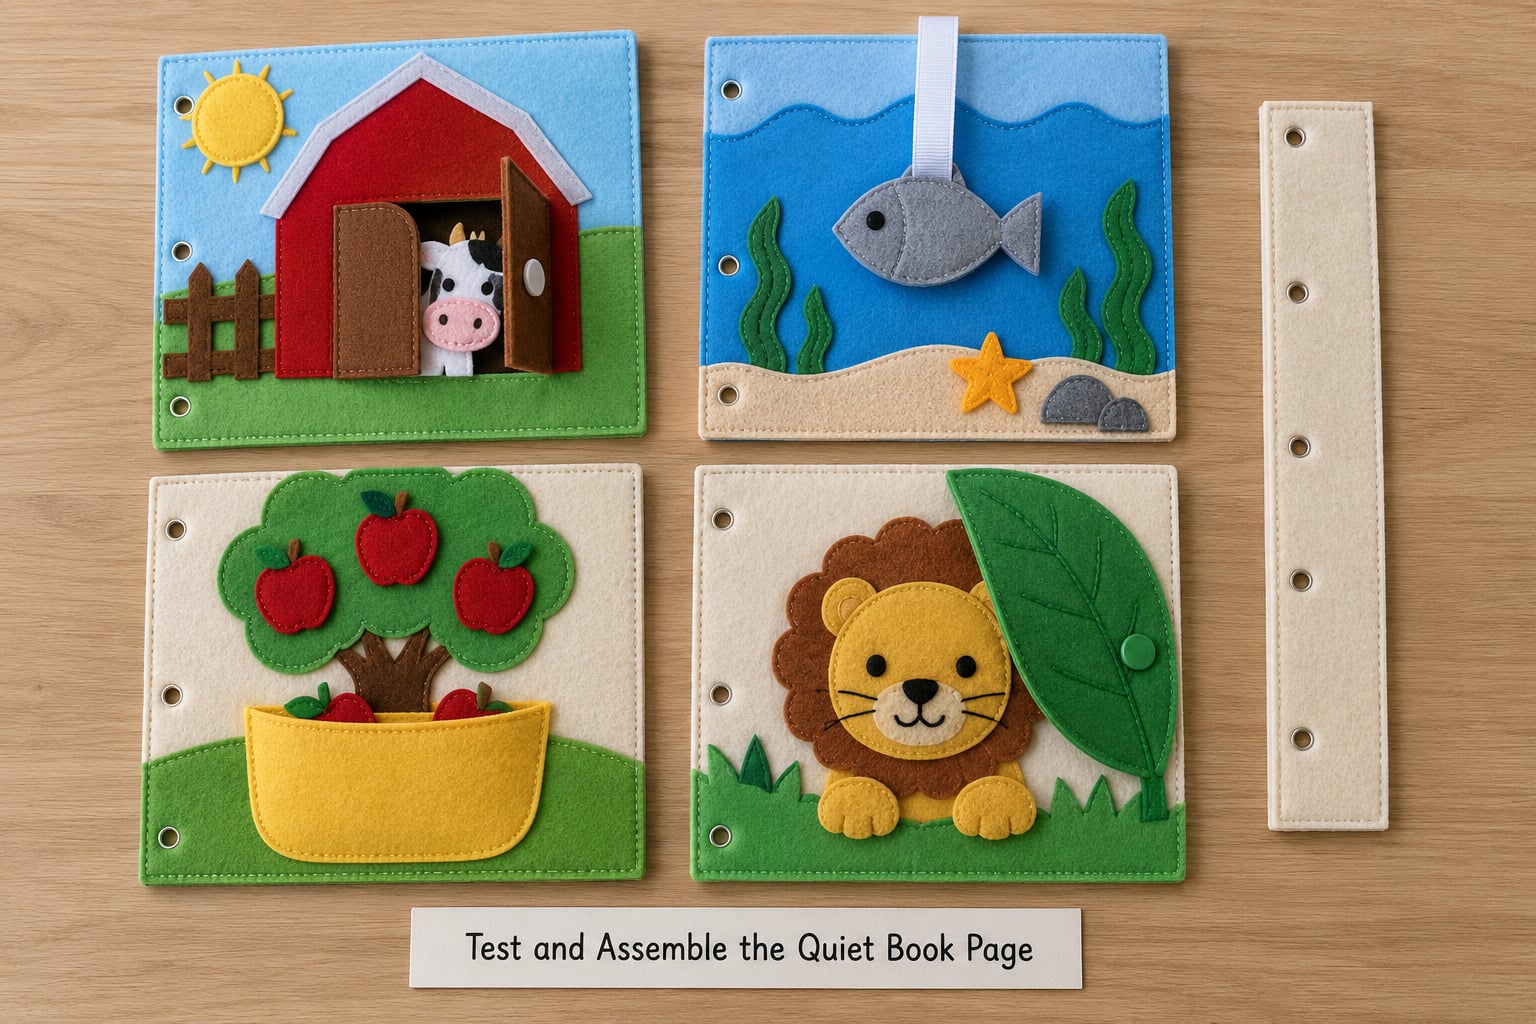
Lay the finished page on a table and push the moving part ten times. If it stays attached, opens smoothly and does not tear, it has passed. Then hand it to the child and watch for a full minute without helping.
Independent use is the real test. A page the child can only complete with an adult sitting beside them will not get chosen again.
For children who still mouth objects, remove anything detachable first. Give them the base page alone, or sew every loose piece permanently in place so the page becomes a texture board instead of an activity.
To bind, punch two holes near one edge and thread binder rings, use a three-ring binder if the pages fit a standard sleeve, or staple through folded card strips along the spine for a soft, flat book. Rings are the fastest and they let you add pages later.
Common Mistakes
Nearly every first quiet book has the same handful of problems. They are all fixable in minutes.
- Thin paper buckles. Use cardstock or laminate and score a fold line before creasing. A page that curls will not lie flat in a ring binder.
- Flaps tear at the hinge. Reinforce with a strip of interfacing or tape, and keep the hinge line away from the very corner.
- Flaps do not open. The hinge is too tight or glued shut along the fourth edge. Cut a fresh piece rather than fighting dried glue.
- The page is too complicated. Strip it back to one moving part. You can always add a second activity once the child uses the first one.
- Small parts come loose. Use Velcro dots instead of glue for anything a child removes, sew beads on with a double thread, and skip pieces smaller than a bottle cap.
- Magnets do not hold through felt. Bury the magnet inside a layer of wadding and stitch the pocket closed around it, or switch to Velcro.
- Pages are inconsistent in size. Make a cardboard template and trace every page from it. Mismatched edges are the reason a book will not close.
- There are no instructions. A one-line prompt near the mechanic, such as find something yellow, is the difference between a page a child uses and a page a child abandons.
- Fabric frays. Use felt rather than cotton, or fold the raw edge over twice and stitch it flat.
Fraying cotton and calico is the complaint that comes up most often from makers, along with the fact that loose buttons and small hardware vanish the first time the book travels.
A fix that works on both fronts: stitch every loose piece to a short ribbon tether, or keep them inside a pocket that closes. For a book that travels, batching each finished page in a labelled zip bag until the whole book is assembled also saves a lot of searching.
To extend the project, build a themed set rather than a random pile. Three farm pages in a row teach more than one farm page, one road page and one train page, because the child can predict what comes next.
Frequently Asked Questions
What age is a quiet book page appropriate for?
A lift-the-felt or pull-tab page works from about 6 to 9 months, once a baby can sit steadily and grabs for things on purpose. Flap pages suit roughly 12 months and up. Pocket pages with loose shapes make more sense from around 24 months, when sorting and matching click. Below one year, skip small detachable pieces entirely.
What materials are best for a durable quiet book?
Medium-weight felt around 2 to 3 mm thick works best for page bases because it holds a hinge without cracking. Cardstock or laminated printables are the most durable option and survive spills better than cloth. Whichever base you pick, use washable non-toxic glue and Velcro dots rather than craft glue, which tends to stay stiff and cracks when the page is flexed.
How do I make a quiet book page without laminating?
Use cardstock as the base and reinforce the edges with a border of clear packing tape or strips of fabric tape. Two punched holes and binder rings will hold the pages together without any laminate. If you want a wipe-clean surface, brush two coats of non-toxic clear craft varnish over the finished page and let each coat dry fully before use.
Should every quiet book page have instructions for the child?
A short printed prompt helps on pages where the goal is not obvious, such as matching or sorting. Skip instructions on lift and peekaboo pages for children under two, since the mechanic is the instruction. Keep any text large, dark and on the base rather than on a moving piece, where it will wear off or get hidden.
Can quiet book pages help a child learn independently?
Yes, and they are one of the few screen-free activities where the child gets a clear sense of having finished something. The pincer grasp, hand-eye coordination and turn-taking practice all happen without adult input. Independent use works best when the page has one mechanic and a visible right answer, so keep the first few pages simple and add complexity as attention grows.
Start With One Simple Quiet Book Page
If you only do one thing from this guide, make a single flap page. Cut a cardstock base with rounded corners, glue a medium felt rectangle along three edges, and put one clear picture underneath.
Gather a small supply set, then let your child pick the picture. A page they chose gets played with; a page you designed alone sometimes does not.
That is how to make a quiet book page that actually gets used. One mechanic, securely attached, easy to open, built to be handled rather than admired. Updated for 2026.