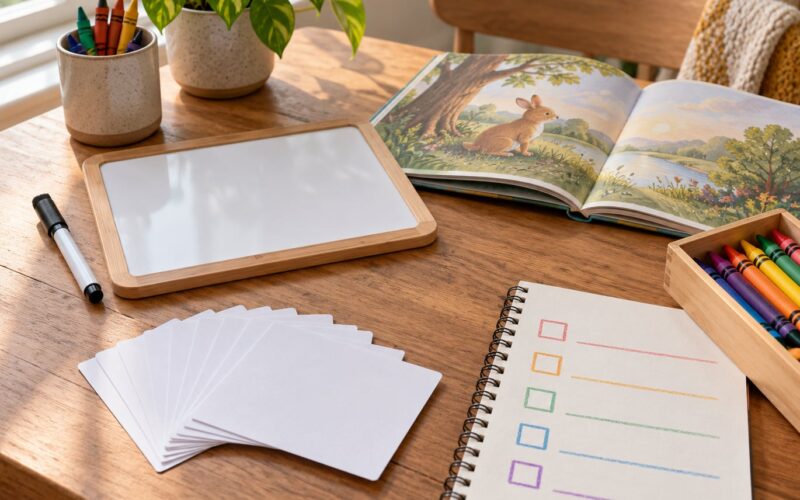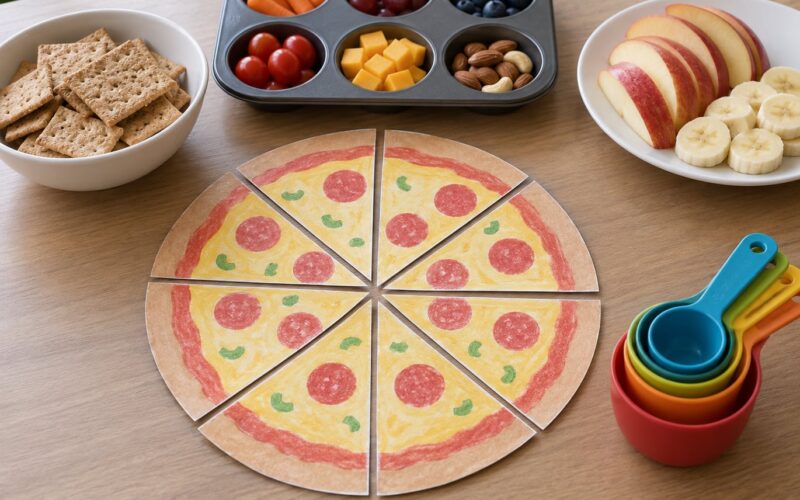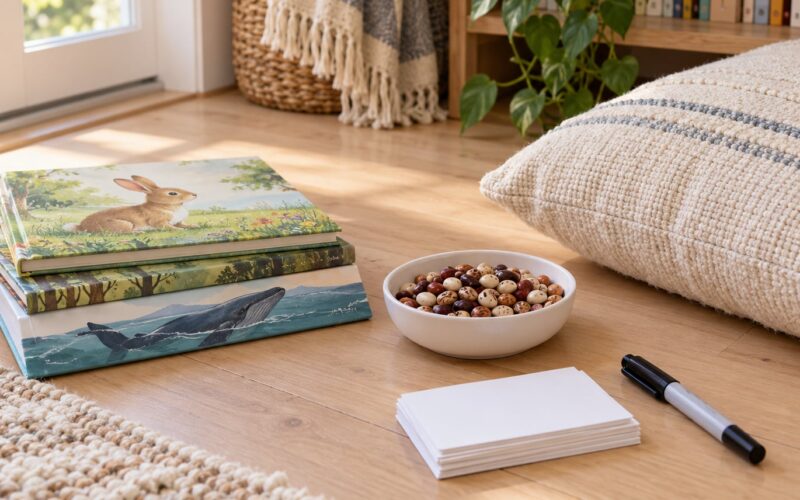
The easiest way to make flashcards for preschoolers is to cut plain cardstock or index cards into one uniform size, then put a single big picture or letter on the front and one short label on the back. Five to seven cards in a set, made in about fifteen minutes, is plenty to start. Let your child help make them and the practice part almost takes care of itself.
I keep a stack of homemade cards in the kitchen drawer, and they get used more than any app on my phone. The whole craft takes one sitting with a mug of coffee, and the cards outlast toy boxes by years. If you have never made them before, here is the method that worked for our three, from ages two through five.
Table of Contents
- What You Need to Make Flashcards
- How to Make Flashcards for Preschoolers Step by Step
- How to Make Flashcards for Preschoolers Online
- How to Make Flashcards for Preschoolers Reusable
- Common Mistakes to Avoid
- Putting too much on one card
- Using text that is too advanced
- Picking distracting images
- Making sets that are too large
- Writing instead of talking
- Skipping the durability step
- Rotating sets in and out of practice
- Frequently Asked Questions
- What is the easiest way to make flash cards?
- How can I make flashcards for kids?
- What are some good flashcards for 4-year-olds?
- What age should you start flash cards?
- Are printables or homemade cards better?
- How do I know if my cards are working?
- Conclusion
What You Need to Make Flashcards
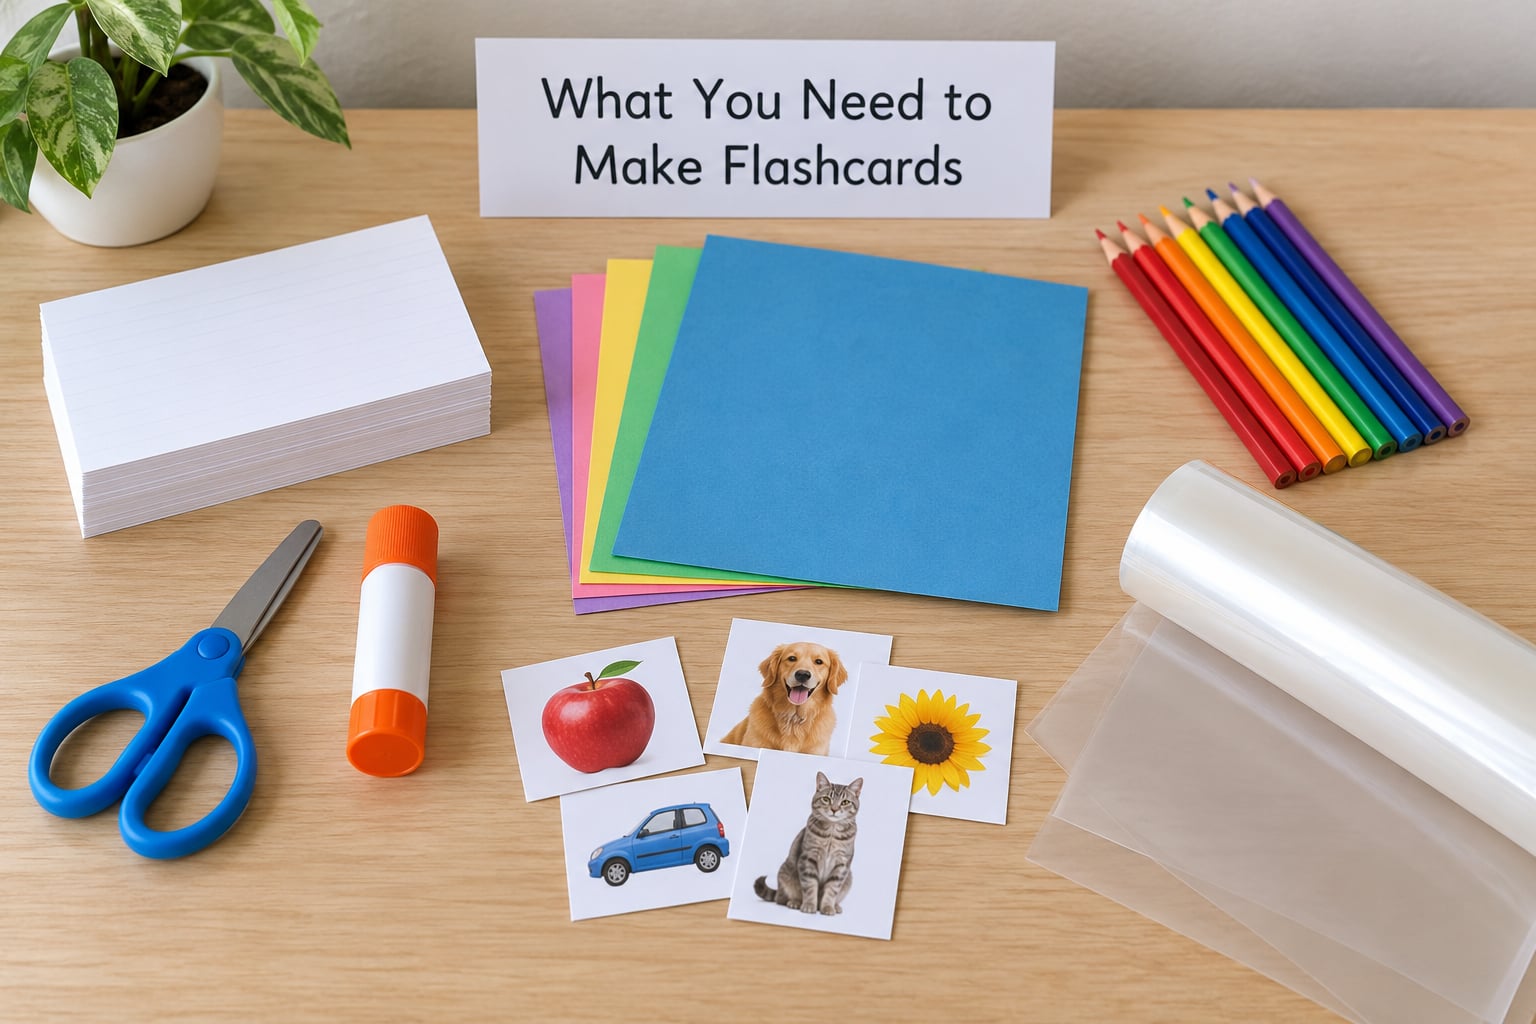
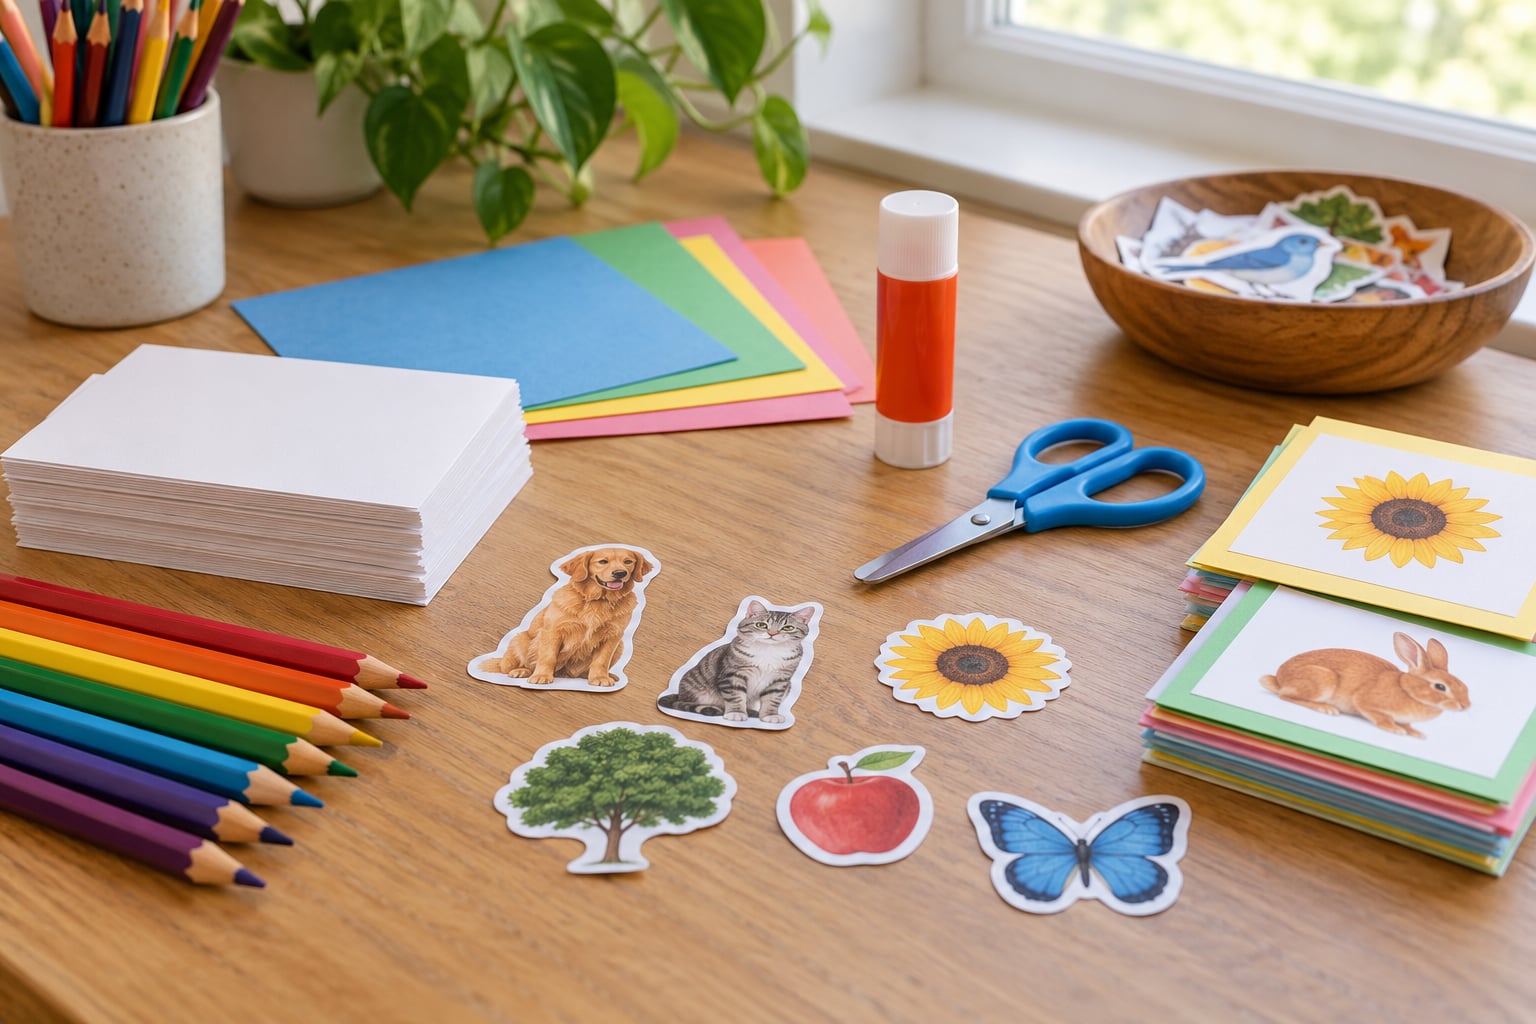
You need less than the craft aisle suggests. Most of it is paper, and paper you already have counts.
- Card stock: blank index cards work well and cost the least. Heavier cardstock survives chewing and repeated handling, so it is worth the extra step if your child is rough with things.
- Scissors: child-safe blunt-tip scissors for the cutting, plus your own sharp pair for adult-only cuts.
- Something to draw or write with: thick washable markers or broad coloured pencils. Thin pens get lost in a preschooler’s grip.
- Glue stick: for attaching cut-out pictures. Wet glue is a mess and needs drying time.
- Pictures: printed photos, cut-outs from old magazines, drawings you make yourself, or real objects laid straight onto the card.
- Optional: laminating pouches, self-adhesive laminating sheets, clear contact paper, plastic page protectors cut down to size, a hole punch and a binder ring.
Three substitutions worth knowing. Old cereal boxes give you surprisingly stiff card when you cut off one flat panel. Jar lids work as rigid flash card bases if you want something that survives being dropped. Clear contact paper taped over a finished card does the job of a laminator just as well for one set.
Pick your card size before you start and stay with it: 3 by 5 inches or 4 by 6 inches are both practical. Anything bigger gets fiddly to hold, anything smaller leaves no room for a picture that a preschooler can actually see.
How to Make Flashcards for Preschoolers Step by Step
This is the version I make most often, and it takes about fifteen minutes plus drying time.
- Choose one goal, not a whole subject. Decide what the set teaches before cutting anything. “Numbers one to five” works. “Math” does not. You’ll know the set worked if your child can name the new item without help after a few days.
- Cut five to seven cards. More cards than that and a preschooler loses interest before the set is finished. Small sets get finished, and a finished set gets played with.
- Add one idea per card. One letter, one number, one picture. Two concepts on one card means the child can get one right and one wrong and never knows which you meant.
- Make the picture big and high contrast. Fill most of the card face. Dark shapes on a light background read clearly at arm’s length, which is roughly how far a three-year-old holds a card.
- Write one short label. The letter name, the number, or a two-syllable word at most. If your child cannot read yet, pictures carry the whole meaning and the word is for you.
- Put the answer on the back. Flip the card to check, or keep the backs plain so you can write new questions in marker later.
- Check the developmental fit. Read the card yourself. If the answer needs an explanation longer than three words, it belongs in a later set.
- Practice for five minutes. Show the card, say the word, let your child repeat it. Stop while it is still going well, not when the wiggles start.
Two habits keep this workable. Store the finished set in a labelled envelope or a zip bag so the next round is ten seconds of work rather than twenty minutes. And let your child do the parts a preschooler can safely manage: choosing the sticker, holding the glue stick, lining up the cut pieces.
How to Make Flashcards for Preschoolers Online
If you would rather not cut a single sheet, you can build the set on a screen or as a printable page. Open a document, a slide deck, or a free flashcard tool, and set each card as a single page or slide.
Keep the design just as bare as a paper card: one picture, one short label, generous margins. A slide crowded with border art and three fonts is harder for a young child to parse than a blank white card with a red circle on it.
Choose images that mean something to your child. A photo of their own lunchbox teaches more than a clipart school bus, because recognition comes before naming. If you print a full page of six cards, a paper cutter or a long ruler and a firm hand keeps the sizes even, and laminating the sheet before cutting means one pass instead of two.
How to Make Flashcards for Preschoolers Reusable
Reusable cards cut the waste and stop you remaking the same set every month. The basic recipe is heavier cardstock, a plastic surface, and dry-erase markers.
Laminate the finished cards with self-adhesive laminating sheets if you have no machine. Packing tape works in a pinch, though the edges get sticky over time, so trim the overhang. Cutting plastic page protectors down to card size is the cheapest route and needs nothing but scissors.
Punch a hole in the corner of each card and run them onto a binder ring. The set hangs on the fridge and comes down for one session a day without anything spilling into a pile. Wipe the cards with a damp cloth when the marker starts to fade, and they stay readable for years.
For photo cards, print one set of pictures, laminate, and keep the words on dry-erase cards beside them. Swap the words as your child’s reading changes while the pictures stay put.
Common Mistakes to Avoid
Most disappointing card sets fail on the same handful of things, and each has a straightforward fix.
Putting too much on one card
Two items, a sentence, and a border is a lot to hold in working memory. Fix: one concept per card, nothing else competing for attention. Play-based version: make a matching game where you lay three cards face up and ask which one goes with a real object from the room.
Using text that is too advanced
Words like vegetable or probably ask a pre-reader to decode before the picture lands. Fix: use the word your child already hears at home. Play-based version: name the thing out loud in the moment, then photograph it onto a card later so the word is attached to a real memory.
Picking distracting images
Busy cartoon backgrounds and clipart with lots of small detail pull attention away from the concept. Fix: one real photo or one bold drawing on a plain background. Play-based version: turn it into a hunt, and ask your child to find the matching object somewhere in the house.
Making sets that are too large
Forty cards gets abandoned on day four. Fix: start at five to seven and add more only when the current set is comfortable. Play-based version: stack the finished cards and let your child shuffle and deal them to you, which turns practice into a card game.
Writing instead of talking
Flashcards turn into drills when the parent reads the word and waits. Fix: point, pause, and let your child answer first, even if it takes ten seconds. Play-based version: hide a card behind your back and make the child guess from your description.
Skipping the durability step
Unlaminated cards curl, tear, and end up on the floor with crumbs in them. Fix: laminate, cover in contact paper, or slide the cards into cut-down page protectors. Play-based version: once the cards are sturdy, leave them in a basket on the floor and let your child bring you the one they want.
Rotating sets in and out of practice
Older sets become clutter fast. Fix: keep three sets in rotation, one being learned, one being reviewed, and one resting. Retire a set once your child names it instantly, and pull it back out in a couple of months when the material has faded.
Frequently Asked Questions
What is the easiest way to make flash cards?
Cut index cards or cardstock to one size, add one big picture or letter on the front and one short word on the back, and stop at five to seven cards. Let your child handle the stickers and glue, then practise for five minutes while the ideas are fresh.
How can I make flashcards for kids?
Pick a single goal such as numbers one to five, animal names, or colours. Make the picture fill most of the card face, keep the label to one short word, and store the finished set in an envelope so you can swap it out often. Five minutes of naming, pointing, and repeating is more useful than twenty minutes of drills.
What are some good flashcards for 4-year-olds?
Four-year-olds do well with counting cards, colour naming, shapes, family photo cards, body parts, and opposites such as up and down. Sight word flashcards come later, once your child can name most single letters. Animals, vehicles, and food are the easiest sets because the pictures are familiar.
What age should you start flash cards?
You can start around two years old with real object cards and single pictures, since naming objects is a natural skill at that age. Keep sessions to three or four minutes. A three-year-old usually handles five to seven cards, and a four or five year old can work with longer sight word sets.
Are printables or homemade cards better?
Printables are faster when you already have a printer, and homemade cards win when your child helps make them or when you want real family photos. Printables tend to have busier designs, so edit them down to one picture and one word. Either approach works as long as the card stays simple.
How do I know if my cards are working?
Watch for the moment your child names a new card with no hesitation, then checks back a few days later. If they still need a prompt, keep the same set going a little longer. If they look bored, cut the session short and come back tomorrow rather than adding more cards.
Conclusion
The easiest first step is one learning goal and a set of three to five cards. Cut them, glue one picture on each, write one word, and hand the bag to your child before you finish your coffee.
Keep practice short and positive, stop while it is still fun, and rebuild the set as your child moves to the next thing. Once you have the hang of how to make flashcards for preschoolers, the process takes less time than finding the cards.