Teaching the water cycle works best when a child can see it happen rather than read about it. The most reliable way to teach the water cycle with activities is to build up from one visible change at a time: water drying up, water forming on a cold cup, water falling and being caught, and then a labeled model that ties all four together.
Everything below uses items most homes already have. Budget about an hour of setup spread over a few days, because several of these activities need time to show results. That waiting time is a feature, not a bug — it is where kids start asking the questions you want them to ask.
These activities sit well alongside other hands-on science work, and the same observational habits carry over into seasonal projects like tracking real rainfall or watching ice melt in a jar over a cold week. If your household is already doing weather journals or nature logs, these five fit right in.
Table of Contents
- What You Need
- Step-by-Step: How to Teach the Water Cycle With Activities
- 1. Make a Water Cycle in a Bag
- 2. Explore Evaporation With Wet Paper Towels
- 3. Model Condensation With a Cup and Ice
- 4. Build a Rain Collector
- 5. Create a Complete Water Cycle Diagram
- Common Mistakes
- Frequently Asked Questions
- What age do kids learn about the water cycle?
- What materials do I need for a water cycle experiment?
- What are the five stages of the water cycle?
- Why is the sun important to the water cycle?
- How do I make clouds in a jar?
- Conclusion
What You Need
The whole set runs on ordinary supplies. Clear plastic bags and warm water handle the first activity, paper towels handle evaporation, a cup and ice handle condensation, and a shallow tray with a sponge handles collection. Optional extras help: a simple weather app on a tablet, a nature guide book, or an outdoor thermometer.
Substitutions are easy and often better. If you have no resealable bags, use a clear jar with a plate and a rubber band to hold plastic wrap over the top. No food coloring? A drop of berry juice or a spoonful of diluted tempera paint works. No paper towels? Old cotton sheets cut into squares behave the same way, just slower.
A shallow tray and a sponge do double duty here. The tray catches whatever water a child pours, and the sponge makes runoff visible on a tilted surface — something few other setups show as clearly.
Set everything on a towel you do not mind staining, and keep one shallow pan of water nearby for the ice activity. Most messes are water that simply ended up in the wrong place.
Step-by-Step: How to Teach the Water Cycle With Activities
Run these in order. Each one isolates a single stage so a young child can name it before the stages start overlapping, and the last activity puts the names back together.
1. Make a Water Cycle in a Bag
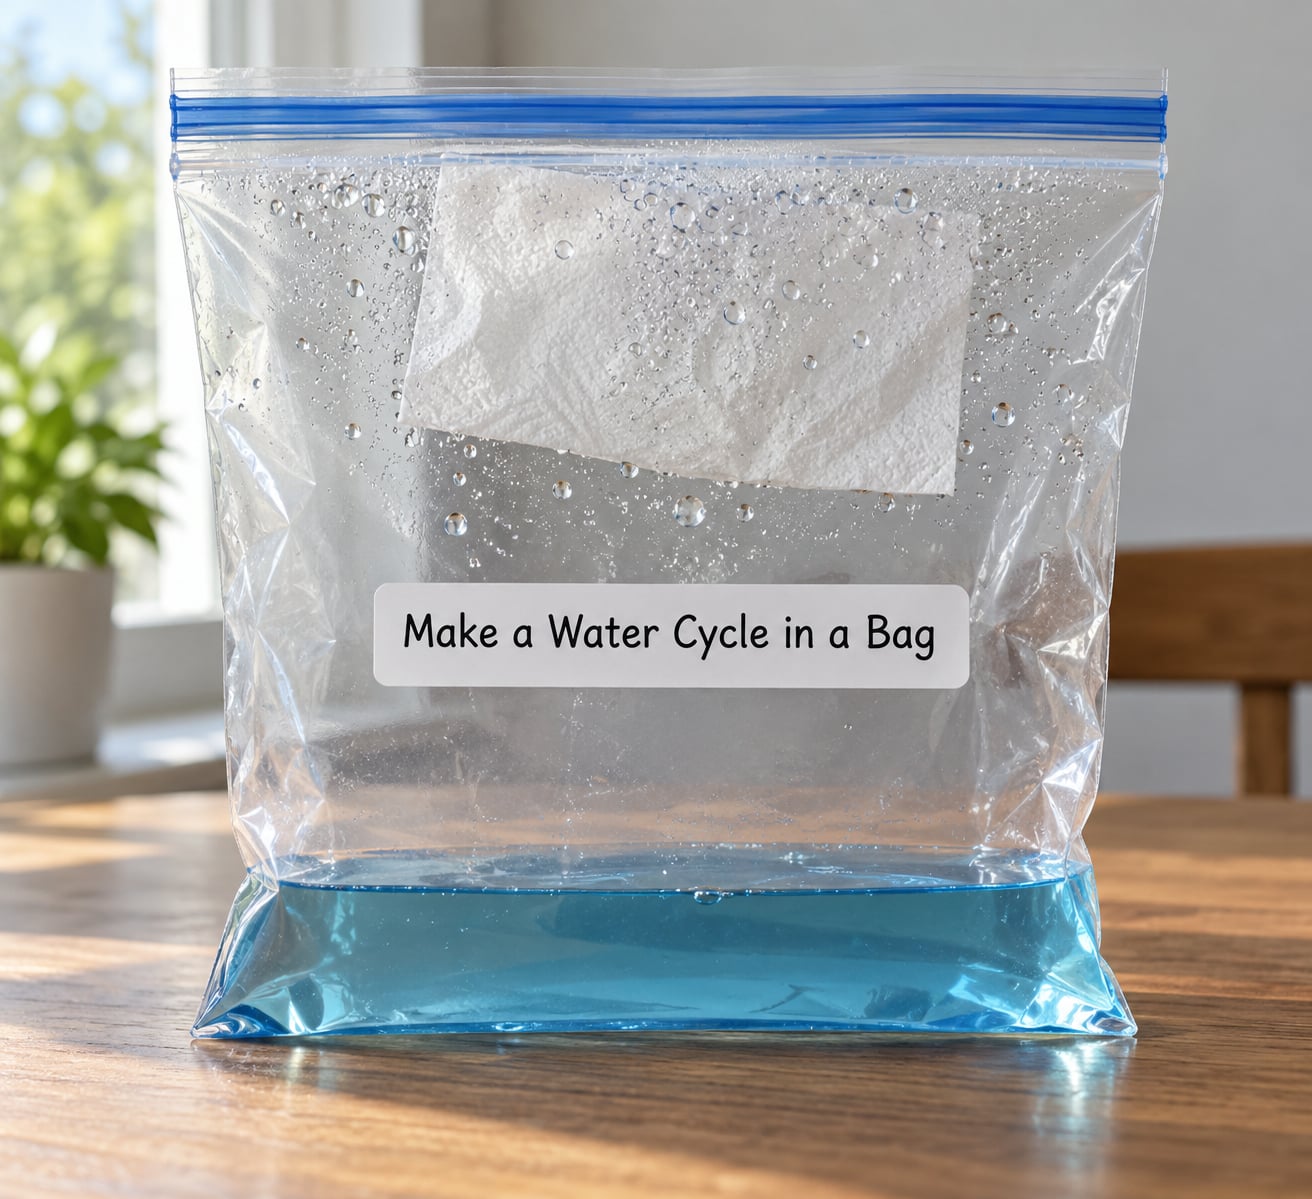
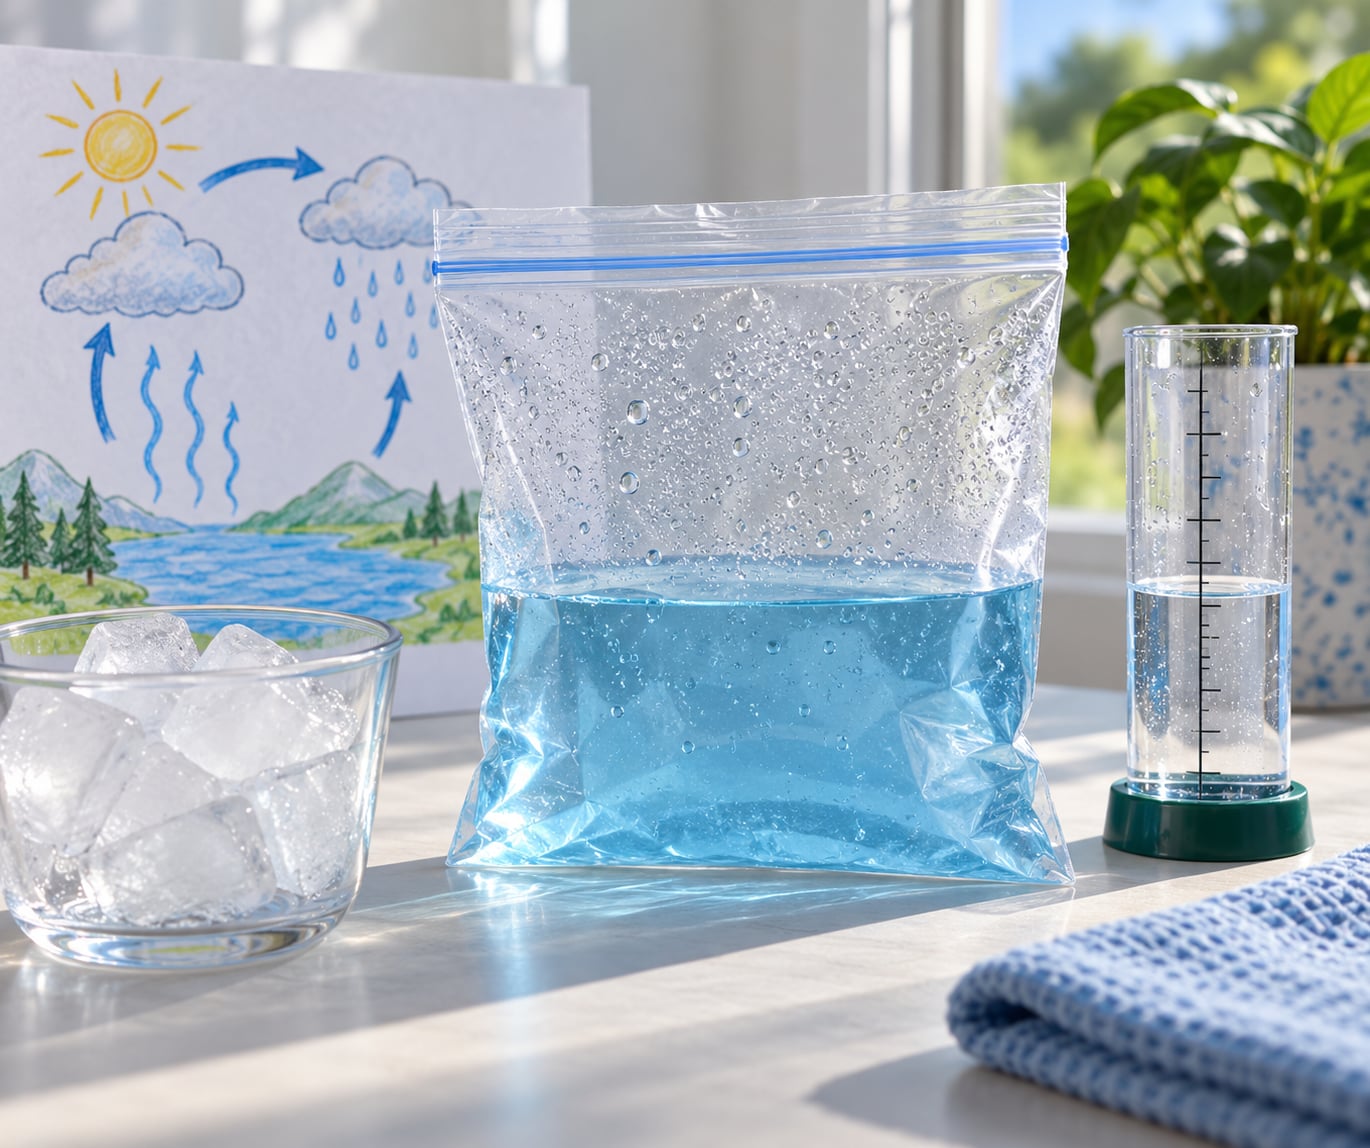
This one shows evaporation and condensation in the same view, which is the first time most children see both happening at once. Warm colored water at the bottom of a sealed bag gives off water vapor, and the vapor collects on the cooler plastic above it as visible droplets.
Pour a few centimeters of warm water into a clear resealable bag and add a few drops of food coloring so the water is easy to see. Dampen a paper towel with plain water and press it against the inside of the bag near the top, above the colored water. Seal the bag, shake it once so the towel is wet all over, and tape it upright to a sunny window or a door.
Ask your child to draw a sun, an arrow rising from the water, and a cloud shape at the top of the bag before you check it. That prediction matters — when the droplets arrive a few hours later, they confirm something they put on paper themselves.
You know it worked when fine droplets bead along the upper inside surface of the bag and the paper towel feels damp again. That water left the colored pool as invisible vapor, cooled, and turned back into liquid on a cooler surface. Point out that nothing leaked: the water changed form, and the bag simply slowed the process down to human speed.
2. Explore Evaporation With Wet Paper Towels
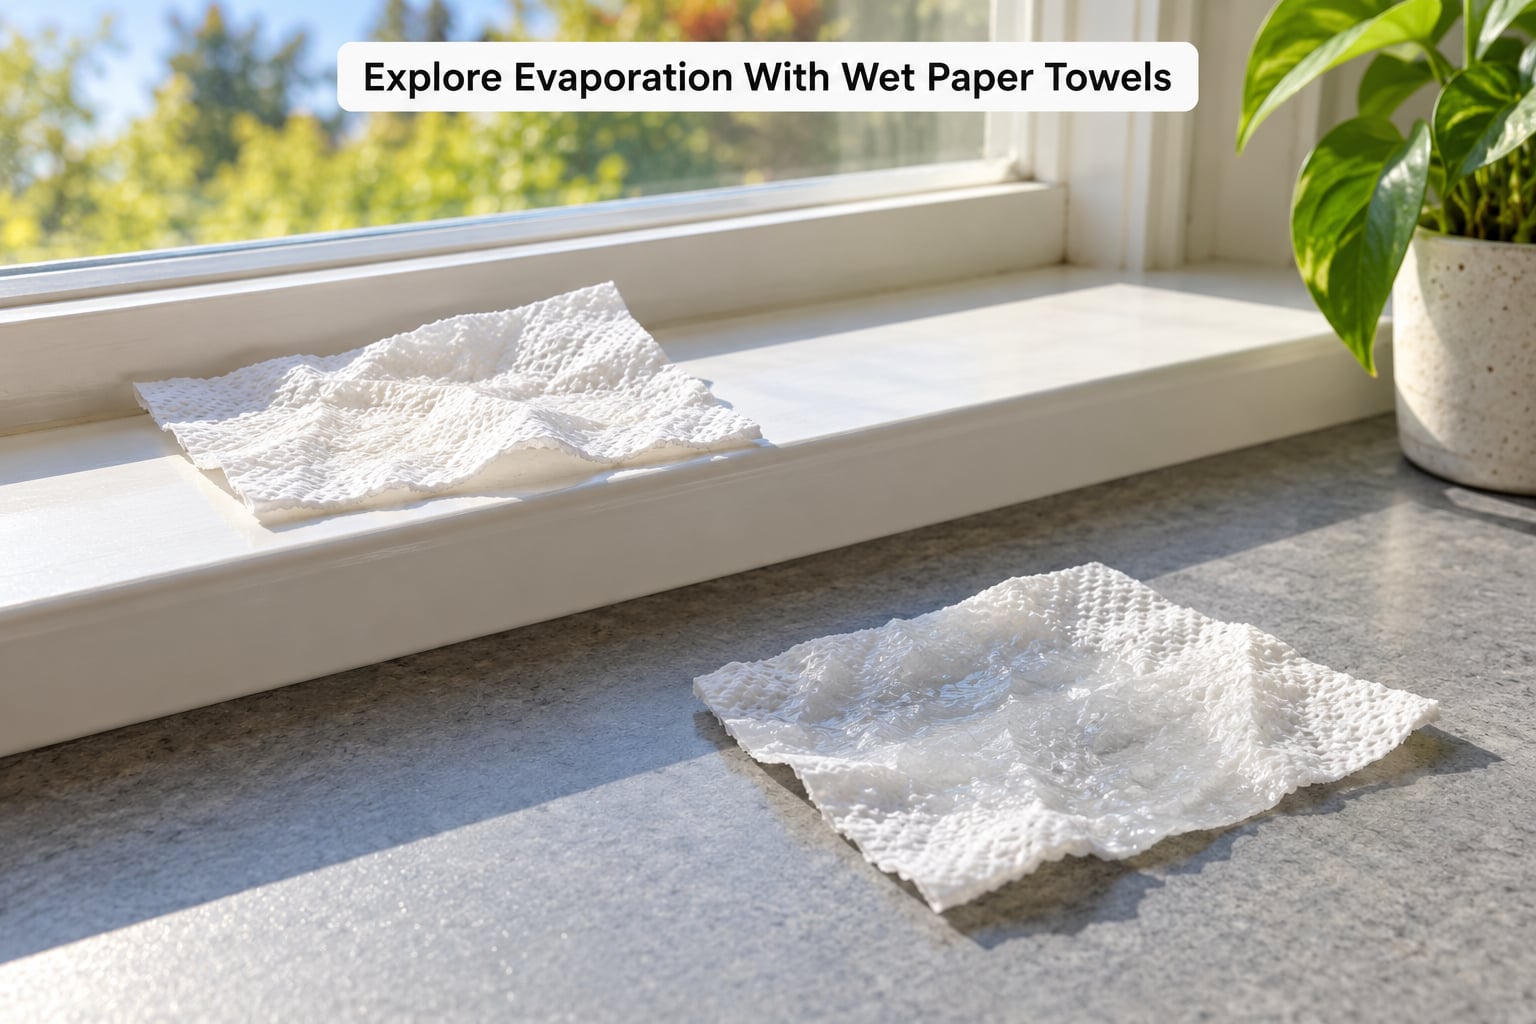
Evaporation is faster when the air is warmer and moving, and this activity makes that comparison visible in a single afternoon. Two damp paper towels, two conditions, one clear result.
Fold two paper towels to the same size, wet both equally, and wring them out the same number of times so you are not fooling yourself. Place one on a sunny windowsill and one on a cool tabletop away from direct light. Have your child predict which will dry first and write the prediction down.
Check back every 30 minutes or so. Over a few hours the windowsill towel goes dry while the tabletop one is still cool and damp. Ask the harder question: where did the water go, if the towel is not hiding it anywhere? Water absorbed it and then floated into the air as water vapor too small to see.
You know it worked when one towel is dry while its twin still feels damp. If the sun is not cooperating, a warm hair dryer held at a distance on the cool setting gives the same contrast without adding a lamp.
3. Model Condensation With a Cup and Ice
Condensation is the stage children most often struggle to picture, because it happens in the air rather than in a container. A cold cup makes it happen on a surface you can point at.
Put ice and cold water in a cup and set it on a dry plate or towel. Wait ten minutes, then let your child feel the outside of the cup before you explain anything. The surprise is the point: cold metal or glass does not leak, yet the outside is wet.
Explain that water vapor is always in the air around us, including inside a room. The cold cup cooled the air right next to it, and that cooled air turned its vapor into liquid beads. Dew on grass in the morning forms the same way, and a cloud is the same change happening higher in the sky.
You know it worked when the outside of the cup is visibly beaded. If the room is very dry, the beads appear slowly, so use a freezer-cold cup rather than ice water for a faster result.
4. Build a Rain Collector
Precipitation and collection are the stages children can measure, and measuring changes how they talk about water. This activity gives them real numbers to compare week to week.
Cut the top off a plastic bottle, invert it so the opening faces down, and set it in a shallow tray. A bottle and a tray is the entire gauge. Mark the side with permanent marker at regular intervals so depth can be measured rather than guessed, and place it in an open spot away from trees and roofs.
Have your child predict how much will collect before a rainstorm, then measure after. Emptying the gauge into a clear jug each morning and recording the depth in a notebook turns one afternoon into an ongoing record. When you skip a few days, the gap itself teaches you something about local weather patterns.
You know it worked when there is measurable water in the container after a real rain. Connect it upward: that water either soaks into the ground to become groundwater, runs downhill into a stream, or sits in a lake until the sun pulls it back into the air. This is also the easiest moment to talk about how much fresh water people actually have, and why conservation matters.
5. Create a Complete Water Cycle Diagram
The final activity consolidates everything the first four demonstrated. Children draw the cycle themselves, because a diagram drawn from memory shows what actually stuck and what did not.
Give your child a large sheet of paper and ask them to draw the sun, a body of water, a cloud and an arrow from the water up into the cloud. Then have them label six stages: evaporation, transpiration, condensation, precipitation, collection and run-off. Check that every arrow points somewhere, since disconnected arrows are the usual sign of a gap in understanding.
Transpiration is the one stage that never appears in a cup or a bag, so explain it directly: plants pull water from their roots and release it as vapor through their leaves, which adds a second source of water vapor to the air. A bag with a few leafy sprigs sealed inside it will fog up for the same reason.
For a hands-on version, spread damp sand and salt on a shallow tray, add a few drops of water, and let it sit. The salt dissolves, then as water evaporates it reappears as crystals. Runoff and collection both show up at the same time, and the scale of the model is visible in a way a drawing cannot match.
Ask your child to explain the cycle out loud in their own words without looking at the paper. That takes under a minute and tells you more than any worksheet.
Common Mistakes
Bags that leak ruin the first activity more often than anything else. Fill the bag no more than a third full, push out the excess air, seal it twice, and tape it to a vertical surface rather than laying it flat where the seam carries weight.
Confusing evaporation with boiling is the most common conceptual error. Evaporation happens at any temperature when a liquid is exposed to moving air, and it is slow enough to watch. Boiling is a different state change that needs heat the kitchen supplies. If a child asks whether water disappears in winter because the sun is weaker, the paper towel experiment settles it faster than an explanation.
Not enough contrast between conditions makes an evaporation test meaningless. Same towel size, same wringing, and the warm spot genuinely warm. Once, I left a towel on a table in direct afternoon sun, which is not a fair comparison at all — move the control somewhere genuinely cooler.
Too much water slows everything down and hides the effect. Small amounts of water change faster and stay visible on the plastic bag.
A child thinking water disappears is not being careless. They have watched water vanish from a cup many times without seeing where it went. Say it out loud: the water is now in the air, and the air around you is full of water you cannot see.
A few habits help. Ask for a prediction before every activity, because a wrong prediction teaches more than a right one given for free. Use the same three words each time — evaporation, condensation, precipitation — rather than five or seven. And keep hot water and sharp cutting out of reach; warm water and adult-handled scissors cover everything in this list.
Frequently Asked Questions
What age do kids learn about the water cycle?
Most children can engage with water cycle activities as early as age four, using simple words like wet, dry, cloud and rain. Between ages seven and nine they can name evaporation, condensation and precipitation and explain what each one does. By grades four and five they are ready to add transpiration, run-off and groundwater, and to build a labeled diagram from memory.
What materials do I need for a water cycle experiment?
You need clear plastic bags or jars, warm water, ice, paper towels, a cup, a shallow tray, a sponge and optional food coloring. All of these are ordinary household items, so no kit or special equipment is required. A plastic bottle, a rubber band and plastic wrap cover the one gap if you want a covered container instead of a sealed bag.
What are the five stages of the water cycle?
The five main stages are evaporation, condensation, precipitation, collection and transpiration. The sun heats surface water into vapor, vapor cools into droplets that form clouds, droplets fall as rain or snow, water gathers in oceans and groundwater, and plants release vapor through their leaves. Run-off, which moves water downhill back to those bodies of water, often gets listed as a sixth stage.
Why is the sun important to the water cycle?
The sun supplies the energy that starts the cycle. Its heat lifts water from oceans, lakes, rivers and wet soil into the air as water vapor, and that vapor rises and cools to form clouds. Without solar energy there would be no evaporation, so no clouds and no rain, which is why the cycle runs on sunlight rather than on wind or cold air.
How do I make clouds in a jar?
Clouds form in a jar by shrinking warm moist air into a much smaller space above the water, then cooling it. Pour a small amount of warm water into a clear jar, close the lid, and shake it for about fifteen seconds. Hold the sealed jar in the air or briefly set it in a bowl of ice, and a pale fog appears inside as the water vapor condenses. Swirl it and the fog thickens again.
Conclusion
Five activities cover the whole cycle: a bag for evaporation and condensation, paper towels for evaporation speed, a cup and ice for condensation, a rain collector for precipitation and collection, and a labeled diagram that pulls it together. Each one costs nothing beyond a bag or a cup and about ten minutes of setup.
Start with the bag. It needs the least explaining, the droplets arrive within hours, and it gives your child something to predict before they open their mouth to ask what is going to happen. Then ask them to explain the cycle in their own words without the paper in front of them.
From there, take it outdoors. A rain gauge left on the lawn for a few weeks turns a classroom idea into real data about the weather where you actually live.