A pinch pot is a small bowl shaped entirely by hand: roll clay into a ball, press your thumb into the middle, then pinch and rotate the walls between your thumbs and fingers until the thickness is even. No kiln, no wheel, no special tools — just clay and two hands.
It takes about 30 minutes of hands-on work and then one to two days of drying time. That low barrier is why pinch pots are often a child’s first real clay project, and why they suit a rainy afternoon, a homeschool morning, or a classroom lesson. I’ve watched three kids at my table build them, and the wobbliest first attempt still ends up as a keepsake bowl.
Table of Contents
- What You Need
- What kind of clay to use
- How old does your child need to be?
- How to Make a Clay Pinch Pot with Kids: Step-by-Step
- Prepare the Clay and Workspace
- Form the Base
- Build the Walls with a Pinching Motion
- Open and Shape the Pot
- Smooth, Dry, and Decorate the Pot
- Common Mistakes
- Frequently Asked Questions
- What kind of clay is best for making a pinch pot with kids?
- How long does a clay pinch pot take to dry?
- Can kids use air-dry clay for a pinch pot?
- How do you keep the walls of a pinch pot from cracking?
- Can you decorate a pinch pot with paint or glaze?
- How do you fix a pinch pot that is uneven or lopsided?
- Conclusion
What You Need
Gather everything before the clay comes out, because once air dry clay is open it starts losing moisture. Set out roughly one cup of clay, about 250 grams, per child. Teachers working with a full class report that amount is enough for two or three small pots per kid.
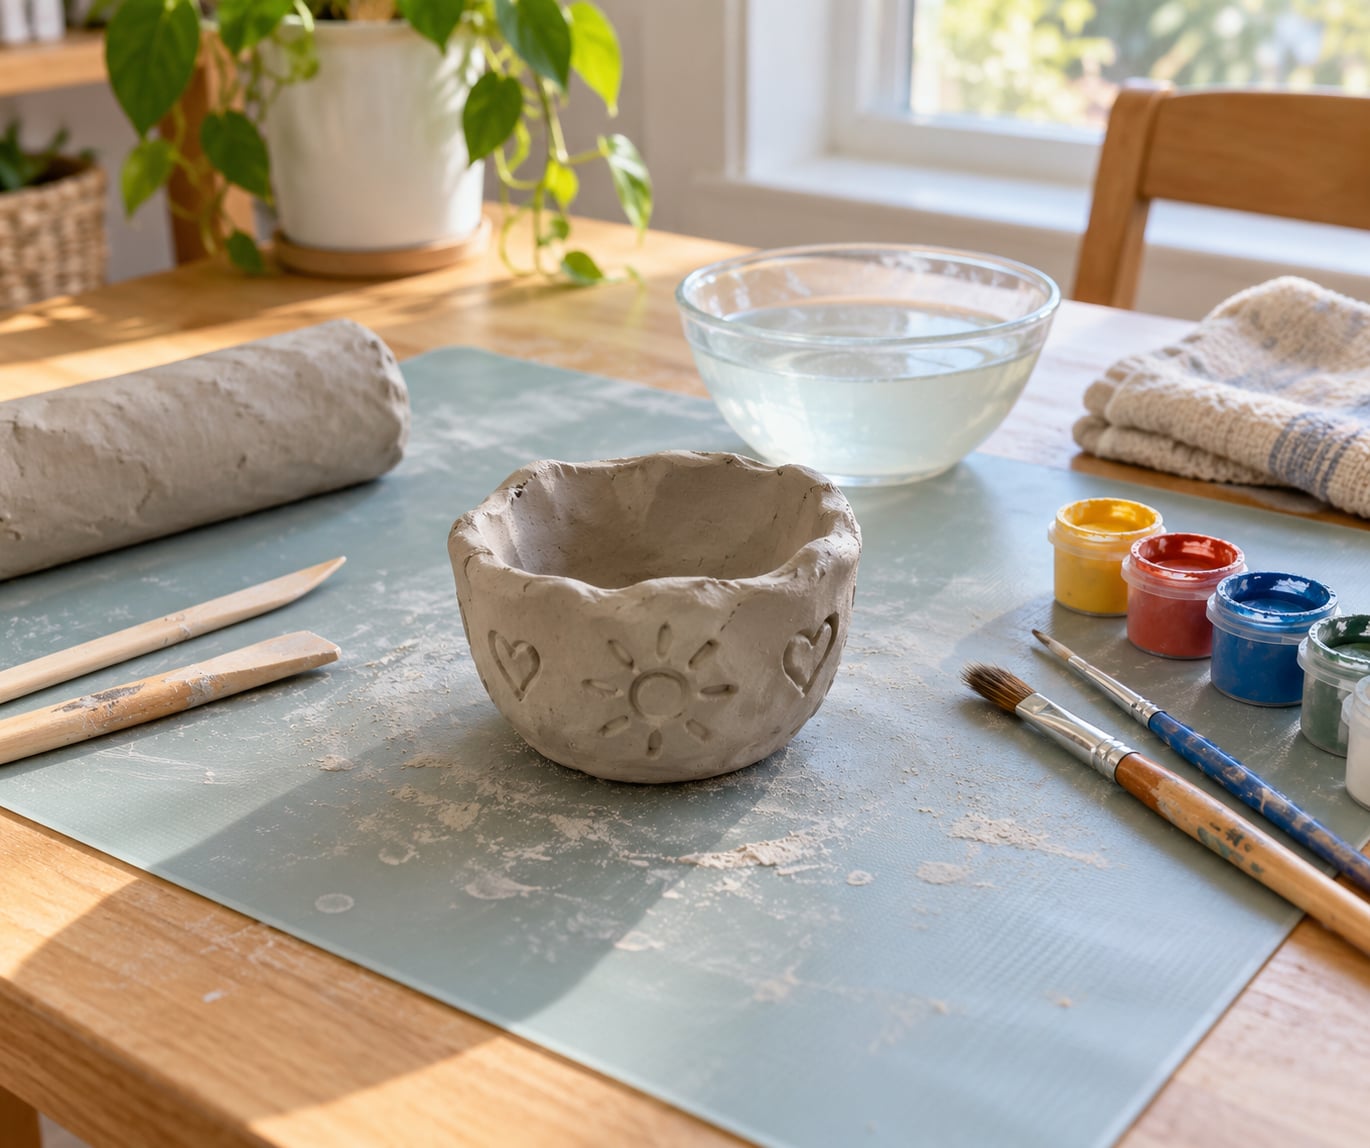
- Clay: air dry clay (also sold as self-hardening or no-bake clay), about one cup per child. Salt dough or polymer clay also work.
- Small bowl of water for smoothing cracks and fingerprints.
- Plastic mat, newspaper or a sheet of parchment to protect the table — air dry clay will not stick to a smooth plastic surface, but it does bond to bare wood, fabric and paper.
- A wooden skewer, craft stick or butter knife for poking the base and trimming the rim.
- Fine sandpaper to buff the dried pot smooth.
- Acrylic paint and brushes for decorating once it is fully dry.
- Clear coat sealant or Mod Podge to finish the surface.
- A damp towel in a sealed bag or a small lidded tub for leftover clay.
What kind of clay to use
Air dry clay is the easiest pick for kids. It hardens at room temperature, comes in a range of colours, and you can paint it with ordinary acrylic paint. Thick walls are the goal here, because thin air dry clay cracks as it dries.
Salt dough — flour, salt and water, mixed roughly two cups flour to one cup salt to one cup water — is the free option, and teachers on r/ArtEd use it when a budget is tight. It dries pale and slightly grainy, and it is sturdier than people expect. It cracks less than air dry clay but shows every fingerprint.
Polymer clay gives the smoothest, most professional result, but it has to be baked in an oven according to the package directions, so an adult handles the oven step and the pot is no longer strictly kid-made from start to finish.
Kiln clay is the real pottery answer, and yes, you can make clay pots without a kiln — that’s the whole point of the air dry and salt dough routes. Kiln clay needs firing at temperatures a home oven can’t reach.
How old does your child need to be?
- Ages 2 to 3: roll balls and press shapes. An adult does the thumb press and the first few pinches, guiding hands over hands.
- Ages 4 to 5: most of the pinch-and-rotate motion, with an adult steadying the base.
- Ages 6 and up: the whole sequence independently, including checking wall thickness.
How to Make a Clay Pinch Pot with Kids: Step-by-Step
Prepare the Clay and Workspace
Spread the plastic mat and put a small damp towel nearby. Take the clay out of its wrapper and knead it for a minute or two until it’s pliable and no longer cracked at the edges.
If it has gone stiff, work a few drops of water into it and knead again. If it’s crumbling, wet your hands instead. Divide the block into palm-sized lumps, one per child, and keep the rest sealed in its packaging.
Form the Base
Roll a lump into a smooth ball between your palms, then flatten it with the heel of your hand into a squat disc about the width of a plum. Press the whole disc against the table so the bottom sits flat and doesn’t rock.
Widen the base until it’s a little wider than you want the finished pot. The walls rise from that rim of clay, and a narrow base makes a tall pot tip over later.
Build the Walls with a Pinching Motion
Press your thumb straight down into the centre, stopping about a centimetre above the table so the floor stays solid. This is the step a five-year-old most often pushes all the way through, so an adult sets the depth here for younger children.
Now pinch. Hold the pot between your thumb inside and fingers outside and squeeze gently, working around the rim once, then rotate it a quarter turn and repeat. Keep the pot turning between pinches — that’s what makes the walls even instead of lopsided.
A cue that works better than “pinch” for kids: tell them to hold their fingers like they’re turning a steering wheel. The biggest beginner mistake is pulling the clay upward instead of squeezing it, which flattens the whole thing into a plate.
Open and Shape the Pot
Keep pressing out the inside with your thumb, widening the opening as you go and leaving a consistent wall about 6 to 10 millimetres thick. Compare the walls with your fingertip — a good pinch pot feels the same all the way around.
Refine the rim by pinching it gently between thumb and finger, then run a wet fingertip around it to round off any jagged edge. Scrape the inside floor smooth with the skewer. Add a foot ring if you want it to stand properly: trace a small circle on the base and carve the line around it.
Smooth, Dry, and Decorate the Pot
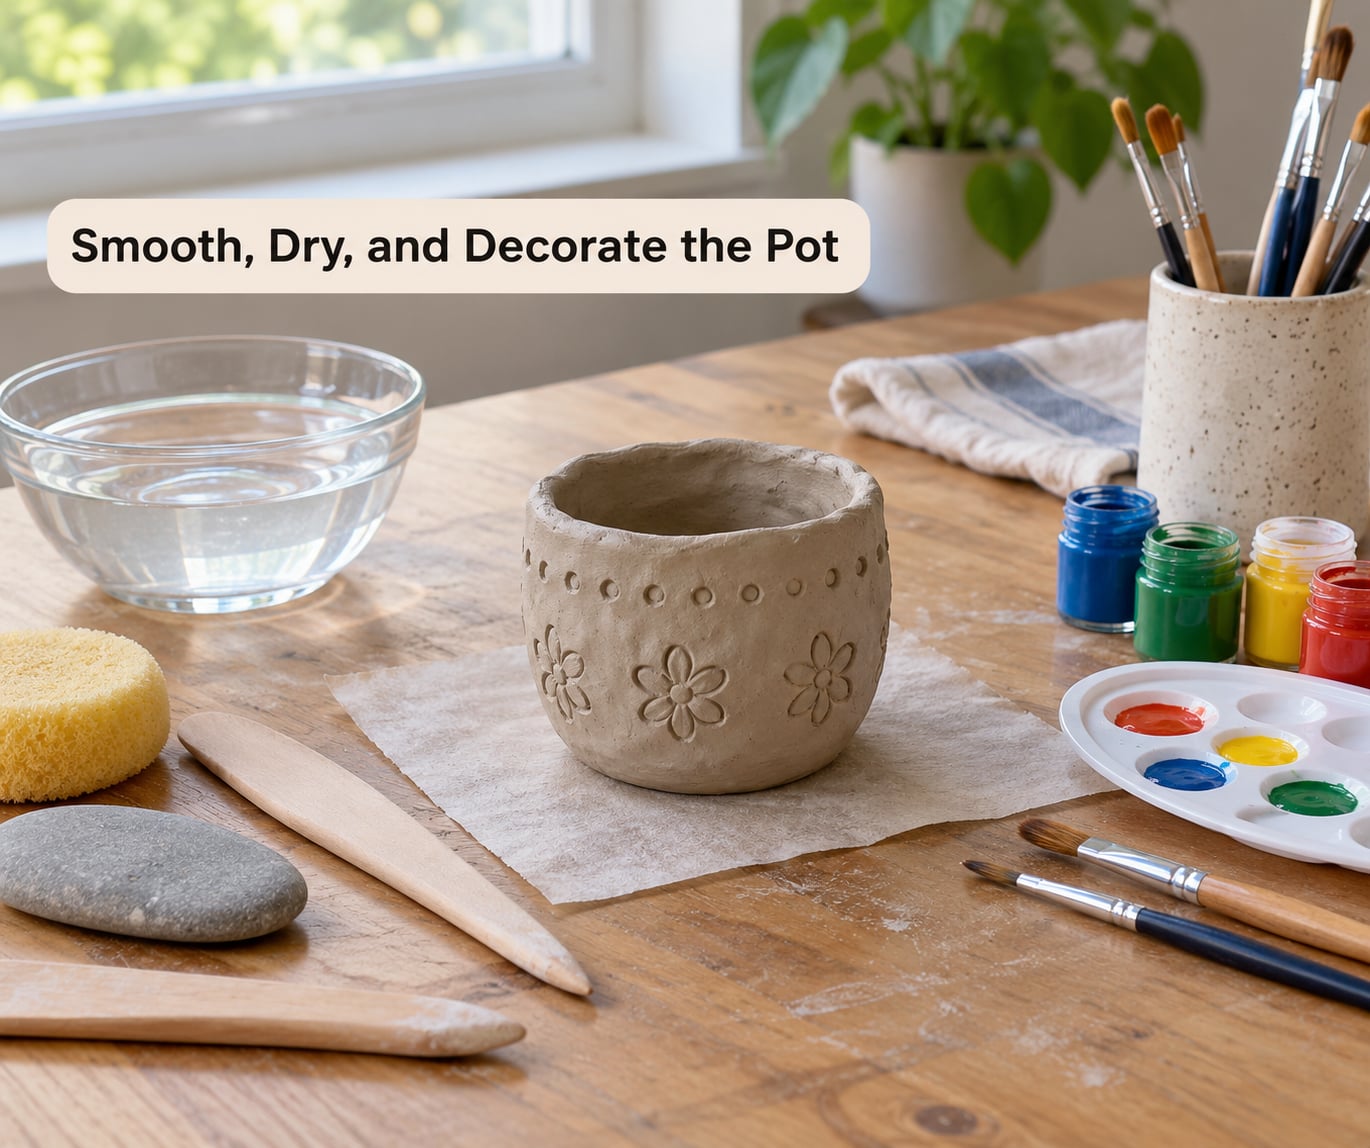
Dab the outside with a barely damp finger to soften fingerprints, then leave the pot alone. Overworking damp clay pushes water into the surface and makes it weaker, not smoother.
Set wet pots on the mat away from the edge of the table. They’re fragile for several hours while they firm up, so nothing heavy goes inside them during drying.
Drying time depends on the clay. Air dry clay needs 24 to 72 hours and turns pale as it dries. Salt dough usually sets in 24 to 48 hours. Test with a fingernail — if it dents at all, it needs more time. Paint only when the pot feels room-temperature, cool and hard all the way through, because a cold pot soaks paint up unevenly.
Paint with acrylic in thin coats, letting each dry before the next. Sand any rough spots with fine sandpaper first. Finish with clear coat sealant or Mod Podge once the paint is dry, and let the pot cure for a day before handling it.
Skip the food and water. Air dry clay and salt dough aren’t waterproof or food safe, so use these pots for small treasures, keys, tealights on a protected surface, or display.
Common Mistakes
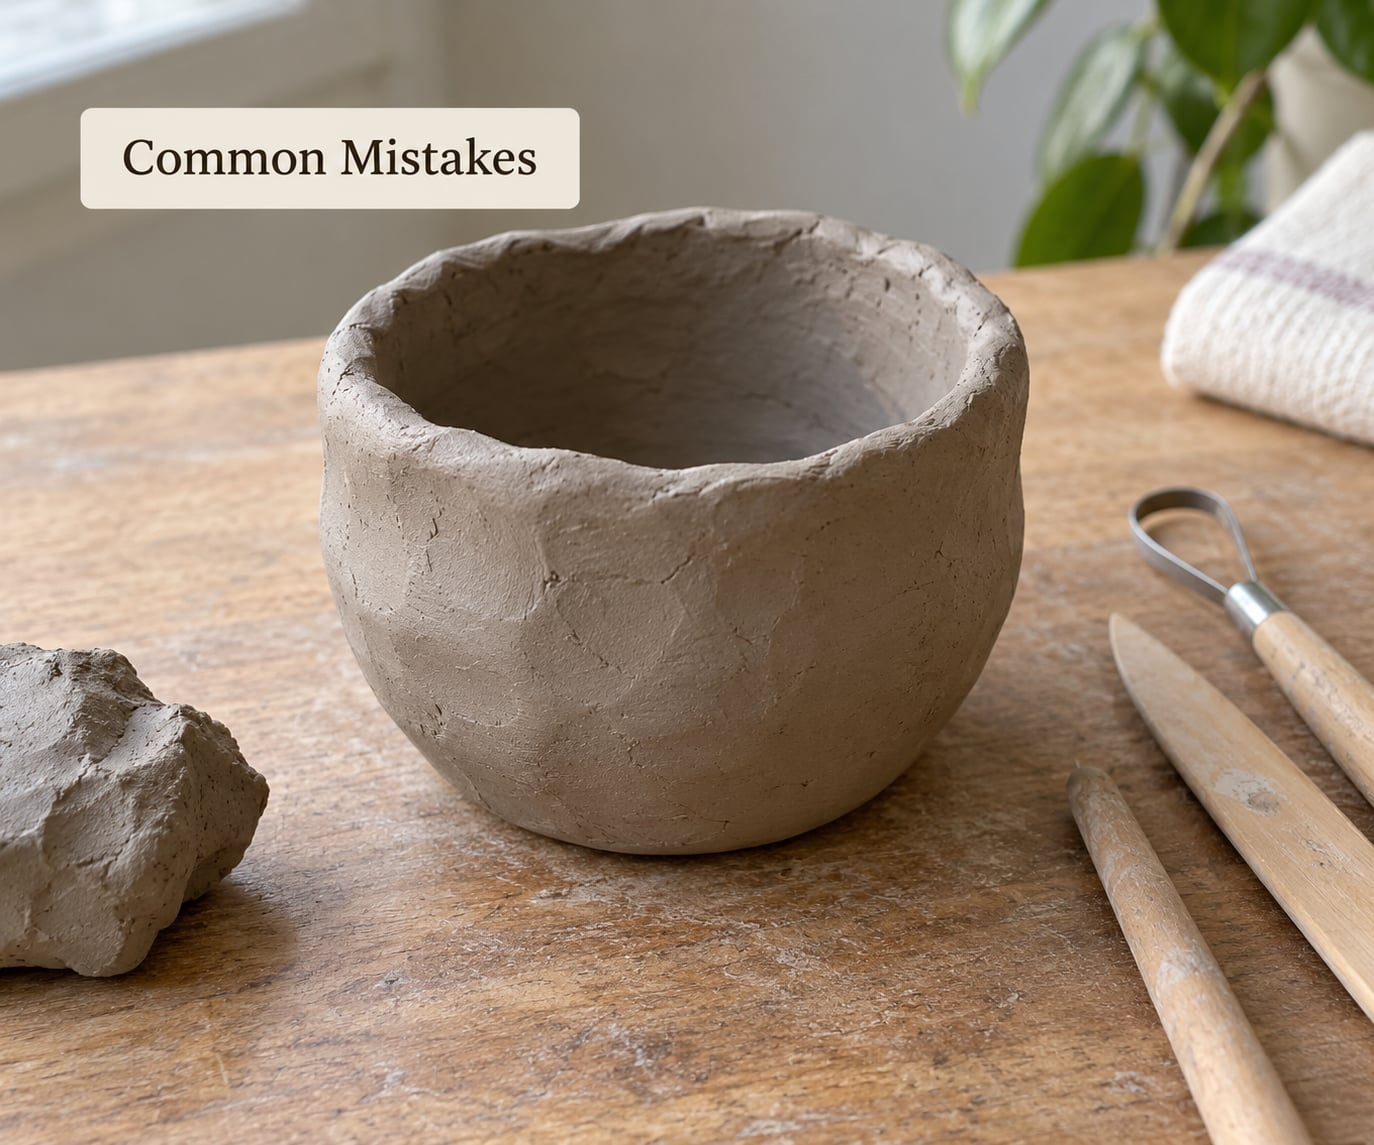
Almost every first pinch pot goes wrong in one of a handful of predictable ways. Here’s what to look for and how to fix it.
- Walls cracking as it dries. The wall is too thin. Smooth the crack immediately with a damp finger, or press a small coil of clay over the crack from the inside and blend it. Next time, leave more clay under the thumb.
- Pulled flat into a plate. The child is pulling rather than pinching. Reset and model the squeeze-and-rotate motion again, and check that the thumb stays anchored inside.
- An uneven or lumpy rim. Pressing harder on one side. Rotate the pot continuously and pinch every section the same number of times; wet fingertips smooth the rim afterwards.
- A hollow or punched-through base. The thumb went too deep. Re-form a fresh ball with a thicker floor — reserve about a centimetre, and for younger kids mark the depth with your finger first.
- Deep fingerprints all over. Fingers were too wet. Wipe hands more often and use a barely damp sponge for the final smoothing pass.
- The pot sags sideways. Walls too thin or the pot set down to dry too soon. Prop freshly formed pots with a folded paper towel ring, or set them inside a small cardboard box.
- Clay too dry to work with. Knead in a few drops of water. If it’s already hard and cracked, mix a fresh batch — dried clay can’t be rescued.
- Clay drying out in the bag between sessions. Press plastic wrap directly onto the surface and put the block in a sealed tub. Pieces smaller than a fist can go in the freezer, then thaw 15 minutes before use.
Frequently Asked Questions
What kind of clay is best for making a pinch pot with kids?
Air dry clay is the easiest choice for most families. It hardens at room temperature, needs no baking or firing, and takes acrylic paint straight onto the surface. Salt dough made from flour, salt and water is a good budget alternative. Polymer clay gives the smoothest finish but needs oven baking by an adult. Kiln clay isn’t practical at home.
How long does a clay pinch pot take to dry?
Air dry clay usually needs 24 to 72 hours depending on wall thickness and humidity, and salt dough sets in 24 to 48 hours. Thick pots take longer than small ones. Wait until the pot feels hard and room temperature all the way through before painting. Painting too early traps moisture inside and the surface will crack later.
Can kids use air-dry clay for a pinch pot?
Yes, and it’s the most common clay for first projects. Check the package for the youngest age listed, and supervise children under three, since small pieces of clay are a choking risk. Air dry clay is not food safe or waterproof, so the finished pot should hold small treasures or decorations rather than water, food or liquids.
How do you keep the walls of a pinch pot from cracking?
Keep the walls thicker than you think you need, usually 6 to 10 millimetres, and check thickness with your fingertip all the way around. Rotate the pot after every pinch instead of working on one section. Small cracks are best fixed straight away by smoothing them with a damp finger or pressing a coil of clay into the crack from the inside.
Can you decorate a pinch pot with paint or glaze?
Acrylic paint works well on air dry clay and salt dough. Sand rough areas lightly first, apply thin coats, and let each coat dry. A water-based clear coat sealant or decoupage glue gives a finished surface you can wipe down. Ceramic glazes are not appropriate here because they need a kiln firing at temperatures a home oven cannot reach.
How do you fix a pinch pot that is uneven or lopsided?
Work while the clay is still damp. Rotate the pot constantly so you feel how each section compares, then pinch the thick side gently to match the thin one. If the base is narrow and the pot is tipping, press extra clay around the foot and widen it while the material is workable. Once a pot is fully dry, shape cannot be corrected, only sanded or painted over.
Conclusion
Start by putting out the plastic mat and a palm-sized lump of clay per child. That’s all a pinch pot needs, and once kids have made one they tend to run straight back to it — a second pot becomes a bowl, then a monster, then an animal face.
Let the lopsided ones stay lopsided. The next step is the best part: wait a couple of days for the clay to dry, then paint the pot together and use it to hold keys, marbles or a tealight.