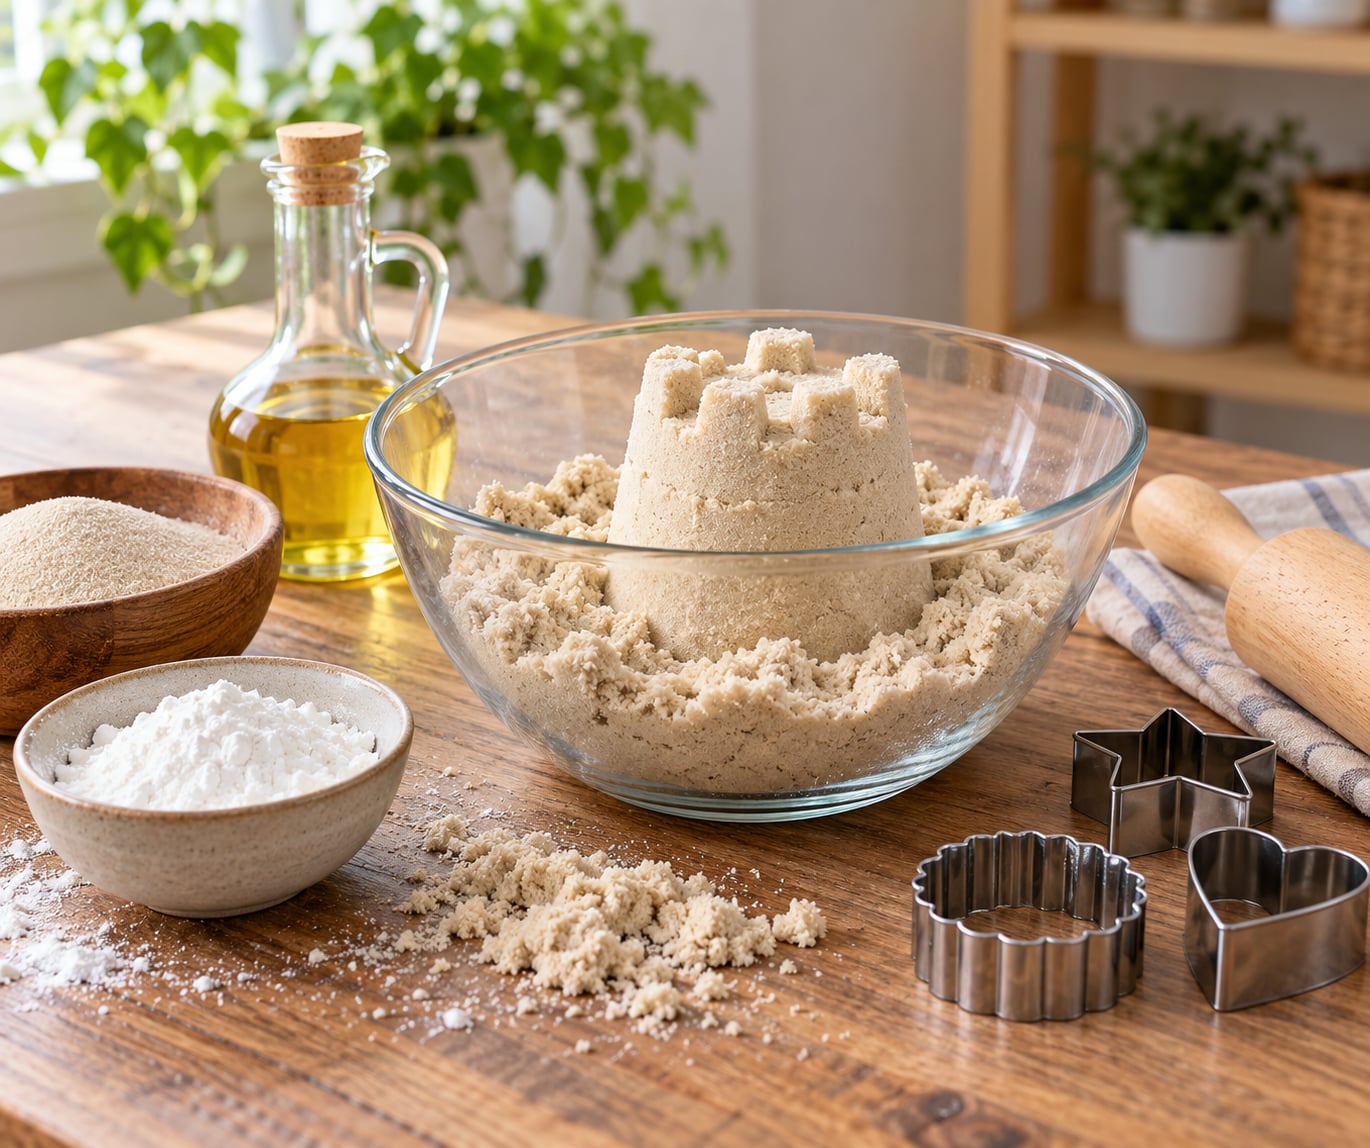
Homemade kinetic sand needs three things and about ten minutes: 5 parts fine sand, 3 parts cornstarch and 1 part oil. Mix the dry ingredients first, then work the oil in, and the sand clumps together, holds a molded shape and crumbles back apart when you squeeze it. Here is exactly how to make kinetic sand at home, including how to fix a batch that turns out dry or greasy and how long it stays playable.
One honest note before you start. A home batch is more crumbly than the polymer-coated sand in a store-bought kit, and readers on the eatingrichly.com recipe page say the same thing. It still pours, packs and cuts beautifully, and it will not dry out under a lid, which is the part families care about most.
Table of Contents
- What You Need to Make Kinetic Sand at Home
- Step-by-Step
- How to Make Kinetic Sand at Home More Moldable
- Common Mistakes
- Frequently Asked Questions
- Can I make kinetic sand without sand?
- What is the best sand to use in homemade kinetic sand?
- Why is my kinetic sand too dry or too sticky?
- How long does homemade kinetic sand last?
- Can I add color or make different textures?
- Is homemade kinetic sand safe for toddlers?
What You Need to Make Kinetic Sand at Home
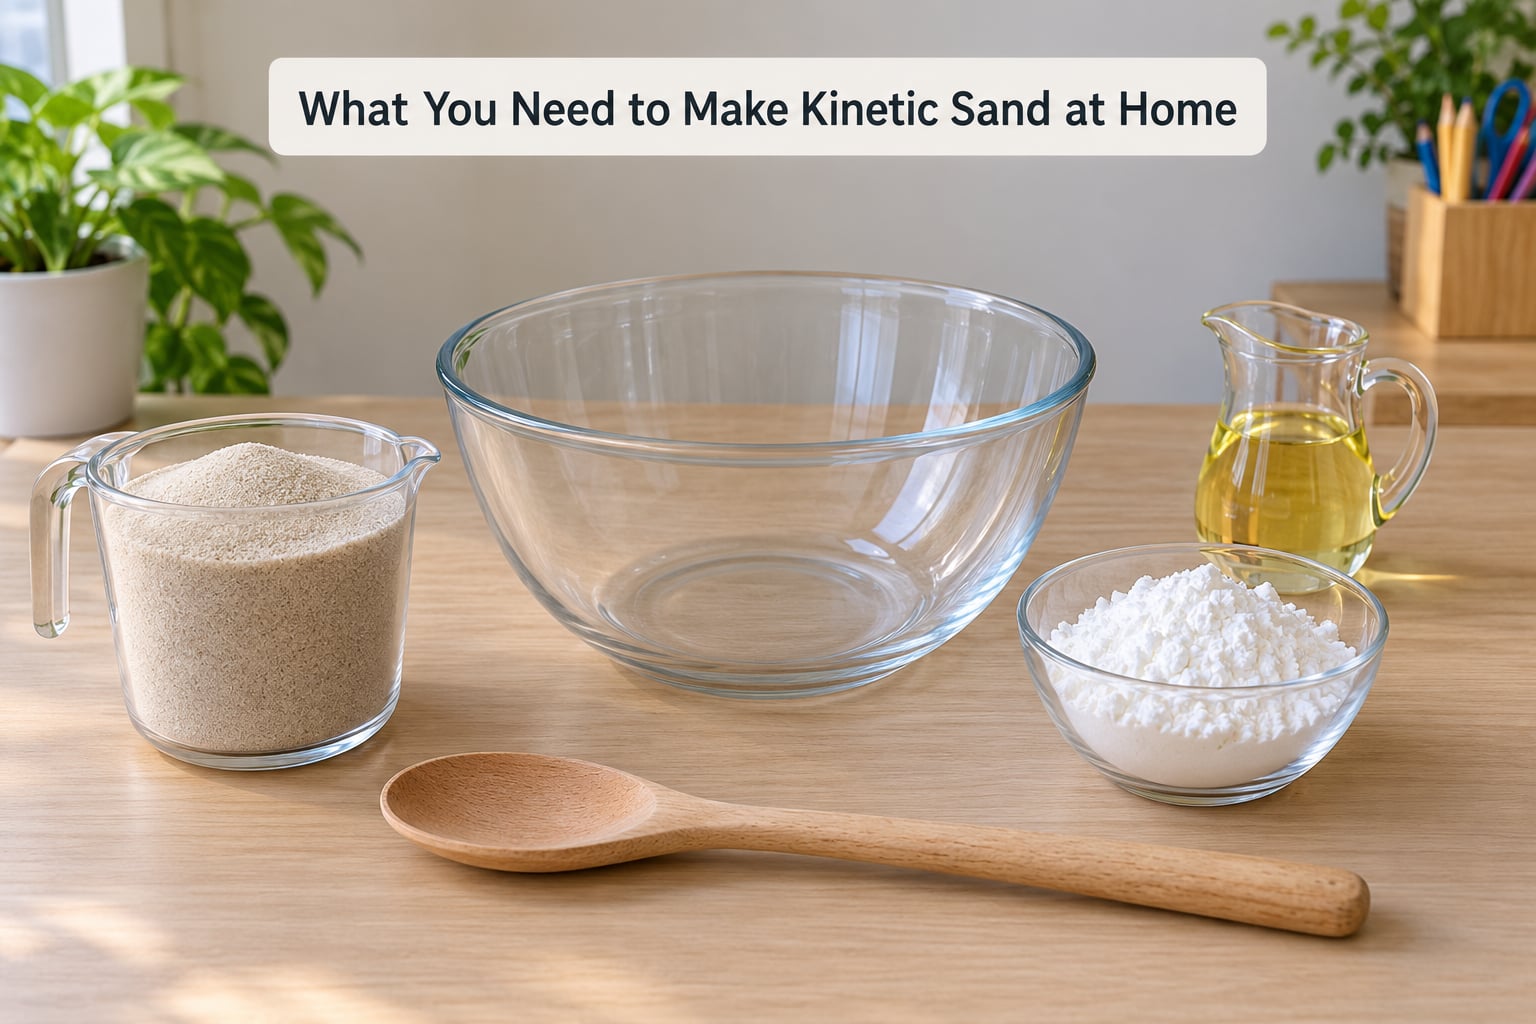
Everything for a standard batch comes from a kitchen cupboard and a dollar store. Measure by parts rather than cups, so you can scale a batch up for a classroom bin or down to a small tray without recalculating anything.
| Ingredient | Amount for one batch | Metric (approx.) | What it does | Easy swap |
|---|---|---|---|---|
| Fine play sand or craft sand | 5 cups | about 1 kg | Gives the sand its body and weight | Dollar-store decorative colored sand |
| Cornstarch | 3 cups | about 380 g | Acts as the binder that holds clumps together | Potato starch, or plain flour for a denser feel |
| Cooking oil | 1 cup | about 240 g | Coats each grain so grains cling instead of sliding | Olive, canola, vegetable, baby or mineral oil |
| Water | 1 to 2 teaspoons (5 to 10 ml) | 5 to 10 ml | Optional, only if the mix feels powdery | Skip it entirely for a longer-lasting batch |
| Optional extras | A dash of dish soap, a few drops of food coloring, a few drops of essential oil | as needed | Color, scent, or a moon sand texture | Stir in after the oil |
Sand is the one ingredient worth choosing carefully. Fine craft sand, play sand or colored decorative sand all work, and the cheapest colored decorative sand from a dollar store performs just as well. Coarse builder’s sand and beach sand are too chunky: the grains stay separate, the mixture never clumps, and the surface goes gritty under a mold.
For the binder, cornstarch gives the lightest crumbly texture. Potato starch produces a smoother, silkier version, which several readers on the eatingrichly.com comment thread pair with a mix of olive oil and baby oil for a texture they rate very highly. Plain flour works, but it makes a heavier, doughier sand that behaves less like sand and more like playdough.
Any neutral cooking oil will do the job. Olive oil is the most common choice and pours easily; canola or vegetable oil smell less and keep the batch fresher for longer; mineral oil is odorless but harder to wash off hands. Baby oil behaves the same way as mineral oil.
Two more things help. A large bowl with room to knead saves you from a floury countertop, and a fine sieve for the cornstarch stops lumps forming before the oil even goes in. For the batch sizes that turn up most often, a 5:3:1 scoop measure of any size keeps the ratio locked.
Step-by-Step
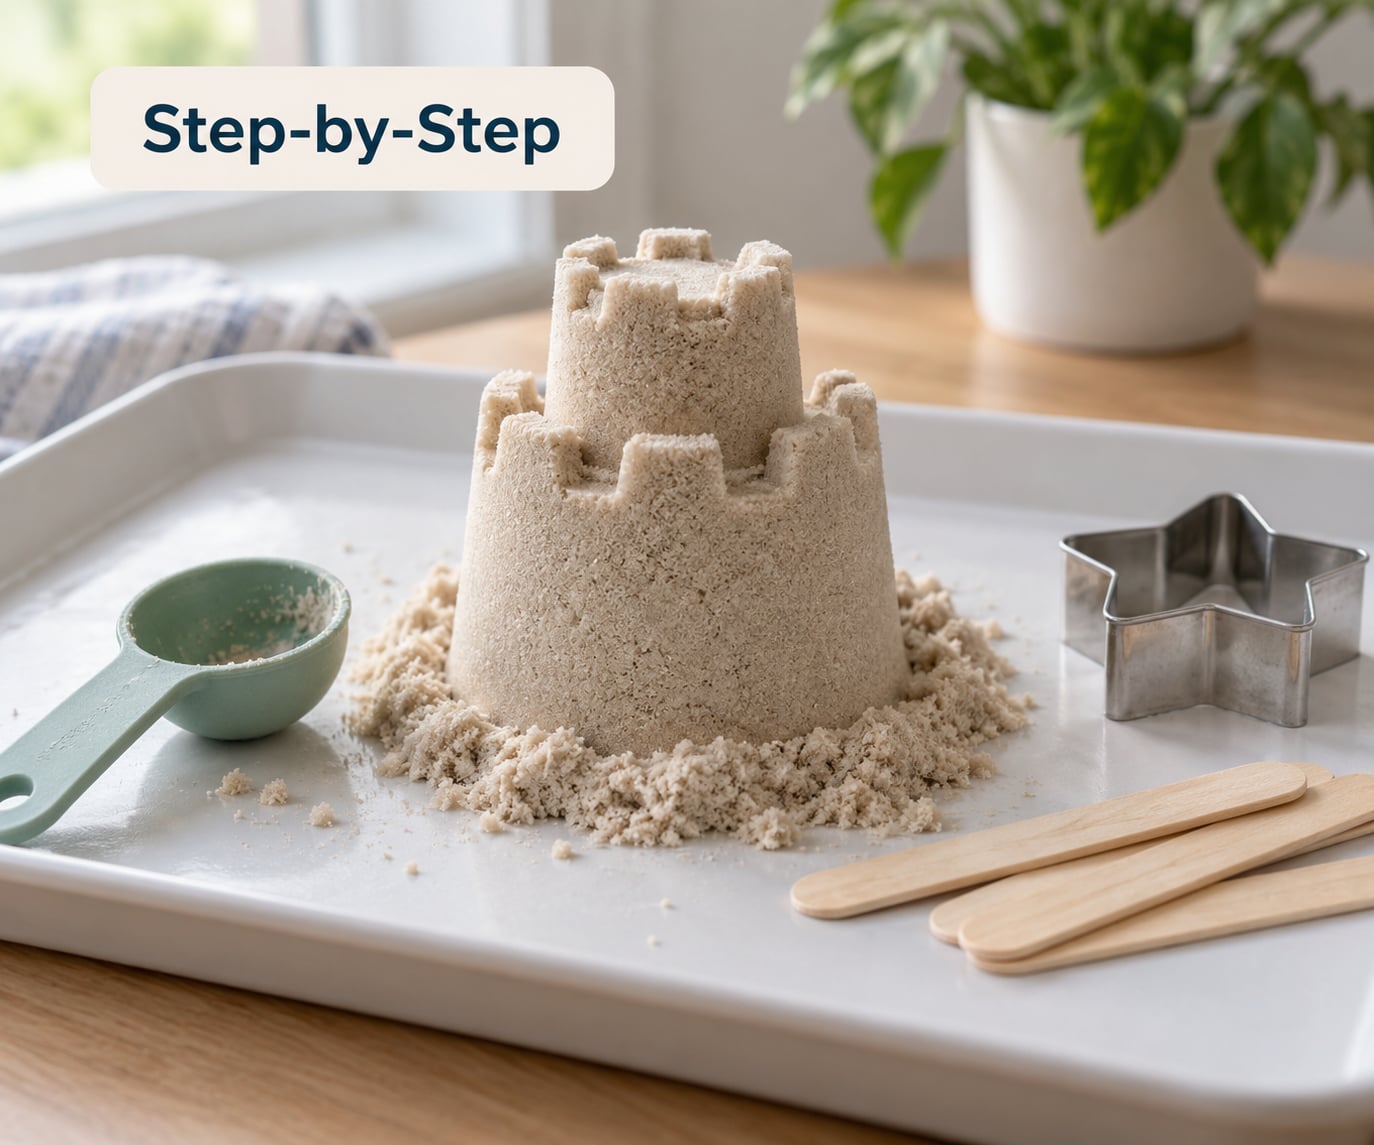
Read the sand first. If the bag feels damp or has hard clumps in it, spread it on a baking tray and let it dry for a few hours first. Damp sand is the number one reason a batch turns to sludge.
- Measure the sand. Put 5 parts fine sand into your bowl, about 5 cups for a standard batch. Break up any clumps with your fingers before you go any further.
- Sift in the cornstarch. Add 3 parts cornstarch, about 3 cups. Sift it through a fine mesh strainer if you have one, then stir until the dry mix is completely uniform with no white streaks left.
- Add the oil. Pour in 1 part oil, about 1 cup, and stir hard with a sturdy spoon. It will look sandy and dry for the first minute, then suddenly come together. Keep stirring for a full two minutes.
- Knead it. Tip the mixture onto a clean surface and knead with your hands for two to three minutes. This is the step people rush, and it is the step that decides the texture. Push it away, fold it back, repeat.
- Test the pinch. Pinch off a walnut-sized piece and squeeze. It should hold a ball, keep its shape when you set it down, and break into soft crumbs when you press it hard. It should not smear or ooze.
- Adjust before you play. If it crumbles to dust, add oil a teaspoon at a time. If it feels greasy or sticks to everything, work in an extra 1 to 2 tablespoons of cornstarch. Test again after each change.
The science behind the clumping is simple. Oil coats each grain in a thin film, so neighboring grains stick rather than slide past one another. The cornstarch fills the gaps between grains and gives the clump something solid to hold onto, which is why a dry mix of sand and cornstarch alone just crumbles back to powder. Store-bought kinetic sand uses a silicone-based coating called dimethicone, the same family as the polish in furniture spray, which is why its grains slide past each other rather than stick. Your oil and cornstarch version is the kitchen version of the same trick.
How to Make Kinetic Sand at Home More Moldable
If your batch crumbles when the kids press a cookie cutter into it, it is almost always a ratio problem rather than a mixing problem. Work in a teaspoon of extra oil, knead for thirty seconds, then test again. Repeat up to three times before adding anything else, because oil overshoots quickly and a greasy batch is harder to rescue than a dry one.
If the sand is soft but will not hold a shape, add 1 to 2 tablespoons of cornstarch and a spoonful of dry sand. The extra dry material stiffens the clumps so a tower or a castle wall keeps its edges a few seconds longer.
A trace of water helps too, but only a trace. Five millilitres, about a teaspoon, mixed in with the oil, tightens a dusty batch into something that packs firmly. More than that and you have wet sand, and water plus oil does not dry out the way people expect.
Give it a squeeze test rather than trusting the clock. If it holds a ball for five seconds without dripping or flattening, the consistency is right.
Common Mistakes
Almost every failed batch comes down to too much of something or too little of something else. The table below covers the usual failures, and every fix is small enough to do without starting over.
| What you see | Why it happened | Fix |
|---|---|---|
| Dry, powdery, will not clump | Not enough oil, or the sand was still damp when measured | Add oil 1 teaspoon at a time, kneading 30 seconds between additions |
| Greasy, sticks to hands, slumps out of a mold | Too much oil in one go | Work in 1 to 2 tablespoons of cornstarch, then a spoonful of dry sand |
| Wet, sticky, slime-like | Water got in through wet sand, wet spoons or condensation | Spread on a tray, air-dry a few hours, knead back together |
| Crumbles straight through a cookie cutter | Cornstarch never dispersed, so there is no binder holding the grains | Stir a fresh tablespoon of cornstarch into the sand, or remake with the dry mix sifted first |
| Hard crust on top of the bin | Air and water exposure over a few days | Break up the crust, add a few drops of water, knead the whole bin again |
| Sour smell or grey fuzz | Moist sand plus constant hands in a shared bin | Empty it, wash the bin, and make a fresh batch |
Storage decides how long a batch survives. Keep it in a sealed container with a tight lid, in a cool dry spot away from direct sun, and scoop it out with a spoon rather than fingers. A bin with a lid in a cool room usually stays playable for two to three weeks, and readers report sealed batches lasting several months. When that matters, most families store it in the fridge, which slows any growth. Adding a small squirt of hand sanitizer or using antibacterial dish soap has also been suggested in reader threads, though the reliable fix is simply keeping water out of the bin.
For shared daycare or classroom bins, treat hygiene more seriously. Assign one child at a time, keep a small bowl of water nearby for hands, and replace the whole batch if it smells sour or shows any fuzz. Nobody wants to be the one who explains a moldy sensory bin.
For playing, a tray with a raised lip keeps the mess on one surface. Cookie cutters, craft sticks, small cups and a rolling pin cover an hour easily. It is also useful for preschool fine motor practice, color matching, counting objects and digging scenes, and sand tray work for children who find molding and pressing genuinely calming.
Cleanup is one of the reasons this recipe is popular. Because there is no free water in the batch, it does not spread into fabric the way dry sand does, and a dry spoon lifts most of it off a tray. Vacuum the crumbs rather than sweeping them, and wash hands with soap rather than water alone, since the oil needs a surfactant to come off.
One safety point. Cornstarch and oil are not food in this context, and a toddler will not be harmed by a small taste but has no reason to make one. It is a taste-safe-adjacent activity, not an edible one, and a good sensory bin for toddlers is the version made from flour, water and a little oil as dough. If your child mouths things constantly, put a shallow layer in a tray you can walk away from and supervise closely.
Frequently Asked Questions
Can I make kinetic sand without sand?
Yes, and it is a completely different texture. Mix 1 cup cornstarch with 1 cup flour, add 1 to 2 tablespoons of vegetable oil and just enough water to bring it together, roughly 3 to 4 tablespoons. You get a moldable sand dough that holds cookie cutter shapes and keeps for a few days at room temperature. It dries out faster than a sand batch, so keep it sealed.
What is the best sand to use in homemade kinetic sand?
Fine play sand, craft sand or colored decorative sand. Fine grains coat more evenly, so the oil and cornstarch bind the whole batch instead of sitting in pockets. Avoid coarse builder sand and beach sand, which stay gritty and refuse to clump. Dollar store decorative sand works well and comes in colors that need no dye added.
Why is my kinetic sand too dry or too sticky?
Too dry means there is not enough oil, so add it 1 teaspoon at a time and knead for 30 seconds between additions. Too sticky or greasy means too much oil, so work in 1 to 2 tablespoons of cornstarch plus a spoonful of dry sand. Watery and slimy means water got in, so spread the batch on a tray and let it air-dry for a few hours.
How long does homemade kinetic sand last?
In a sealed container kept away from water and heat, a batch normally stays playable for two to three weeks, and readers report batches that lasted several months. Fridge storage slows it further. Throw it out earlier if it smells sour, shows grey fuzz, or has been sitting in a shared bin with constant wet hands, since the sand itself does not spoil but what lives in it can.
Can I add color or make different textures?
A few drops of food coloring mixed into the oil gives even color through the whole batch, and liquid watercolor or diluted washable paint works if you add it after mixing. For a moon sand texture, stir in a tablespoon of dish soap at the end. Essential oil drops add scent, but go easy, since a strong smell tires kids out fast.
Is homemade kinetic sand safe for toddlers?
It is safe to handle, but it is not edible because of the oil and cornstarch. Supervise closely with toddlers and skip it entirely for children who mouth everything. For a younger child, a flour, water and oil dough in a shallow tray is a better fit, and always wash hands with soap after play because oil needs soap to come off properly.
How to make kinetic sand at home is mostly a ratio exercise: 5 cups fine sand, 3 cups cornstarch and 1 cup oil, dry mix first, knead for a full two minutes, then adjust with a teaspoon of oil or a tablespoon of cornstarch until it holds a ball. Store it sealed, keep water out of the bin, and a single batch covers weeks of rainy-day sensory play for a fraction of what a store-bought kit runs to.