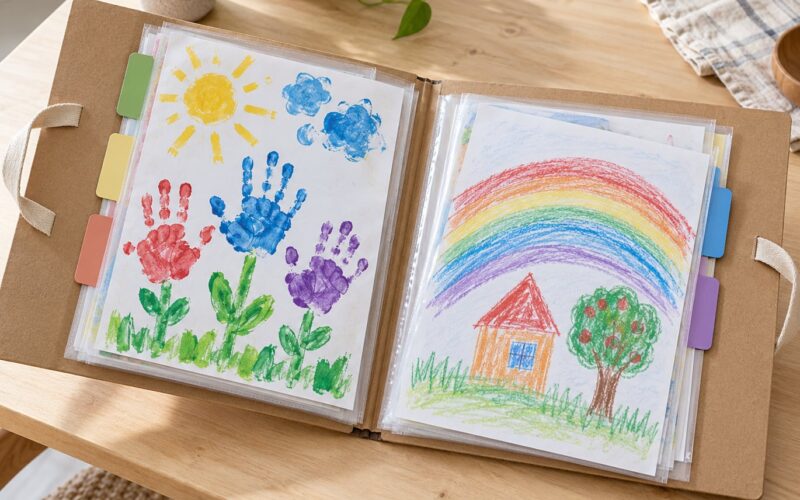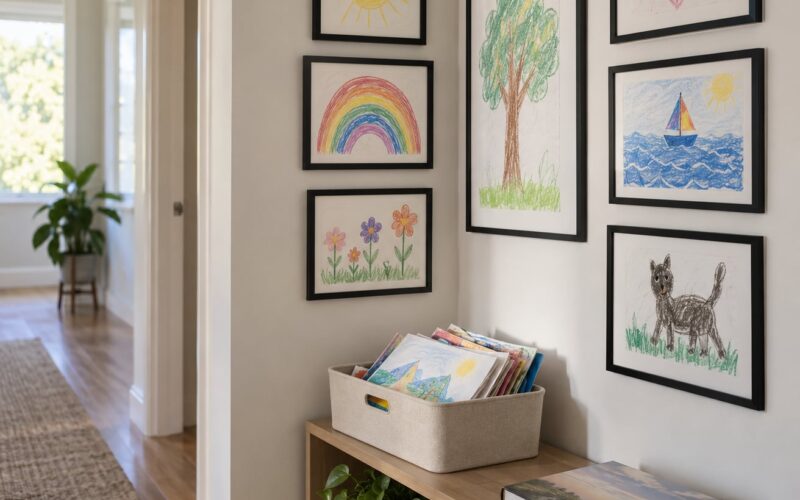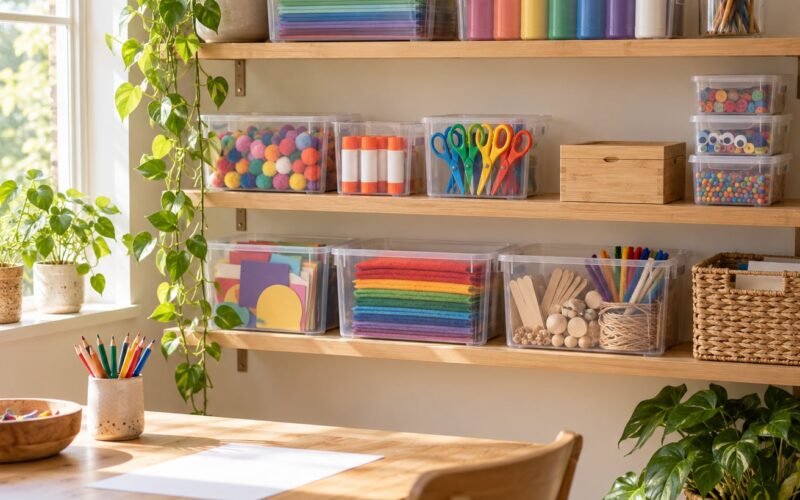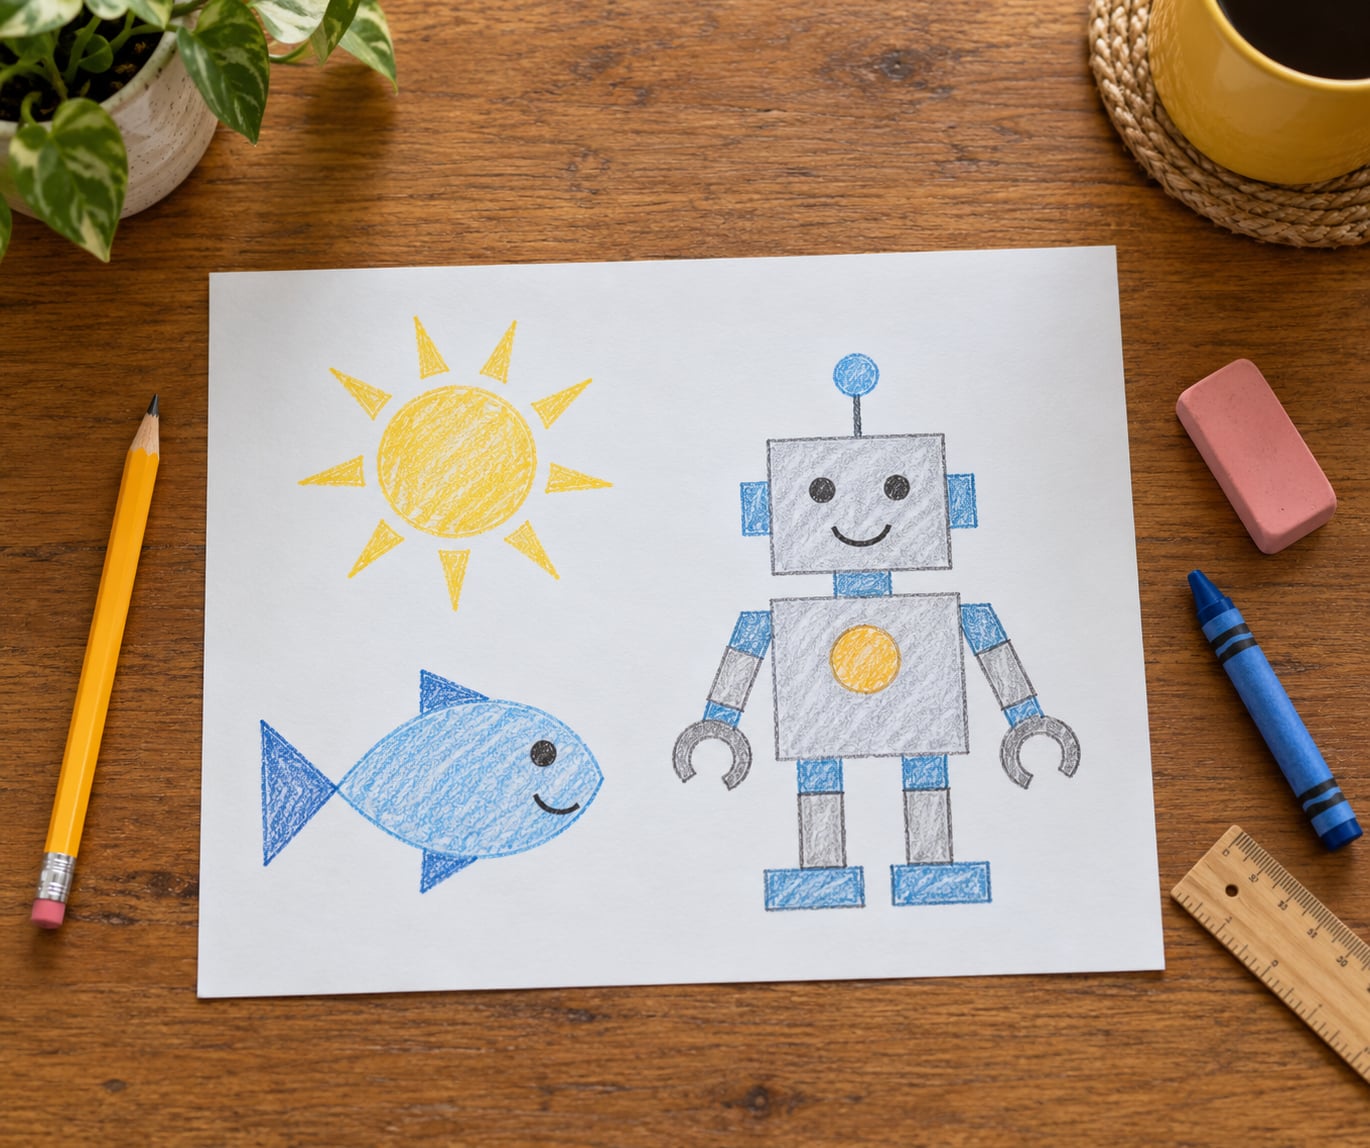
If your child has ever handed back an empty page and said “I can’t draw,” the fix is almost always smaller than you think. Start with one shape, finish a whole picture in under five minutes, and let them pick the next one. These easy drawing lessons for kids who say they can’t draw are built so the first attempt looks like success, because the confidence comes from finished pages, not perfect ones.
Most children who say “I can’t draw” haven’t learned the steps yet. Nobody is born knowing where a rabbit’s ear goes; it’s just a shape nobody has shown them how to combine. Eight short lessons fix that, and you need a pencil and scrap paper to start.
Table of Contents
- What You Need
- Step-by-Step: 8 Lessons From Blank Page to Finished Picture
- Lesson 1: Controlled Lines Without Pressure
- Lesson 2: Circles That Roll and Stack
- Lesson 3: Ovals, Arcs and Easy Loop Shapes
- Lesson 4: Triangles, Squares and Simple Houses
- Lesson 5: Drawing Animals from Circles and Ovals
- Lesson 6: Simple Outdoor Scenes Without a Perspective Rule
- Lesson 7: Drawing People with Simple Symbols
- Lesson 8: Invent a Character with a Shape Body
- Common Mistakes
- Fearing the blank page
- Erasing everything
- Copying steps forever
- Adding detail too early
- Not repeating the weak lesson
- Correcting their drawing
- Frequently Asked Questions
- At what age can a child start these easy drawing lessons?
- What materials do I need to teach a child who is afraid to draw?
- How long should each beginner drawing lesson take?
- Is tracing a good way to teach children to draw?
- How can I encourage my child without criticizing their artwork?
- Conclusion
What You Need
Keep the kit small, because a child who has to dig through a craft box won’t bother. The core is a pencil, an eraser and paper.
- For ages 2 to 5: chunky crayons or thick pencils, large paper (A4 or bigger), and a table at child height. Short pencils force a tight grip, which tires small hands before they finish a line.
- For ages 6 to 10: a standard pencil, a few coloured pencils, a ruler for anyone who wants straighter edges, and a stack of half-sheets taped together into one long page for panoramas.
- For older kids: a pencil, a fine-liner or biro, an eraser with a sleeve so it doesn’t tear holes, and a sketchbook they chose themselves.
Setup matters more than most parents expect. A wobbly line usually isn’t a skill gap, it’s a grip problem or a paper problem. Sit them at a table rather than on the floor with paper on their lap, put the light from the side rather than straight overhead, and tape the page down with a bit of masking tape so their hand doesn’t drag it along mid-stroke.
Where you keep the kit matters too. A labelled box or a basket by the door turns drawing from a scheduled activity into something they can reach for, which is where the real habit grows. My rule is that the kit lives where the TV isn’t.
Step-by-Step: 8 Lessons From Blank Page to Finished Picture
Work through these in order and let your child repeat each lesson until it feels comfortable rather than until it looks neat. Each one adds a single new shape, and each ends with a picture they finished on purpose.
Lesson 1: Controlled Lines Without Pressure
Lines first, because almost every other shape is built from them. Success here means the line travelled where you meant it to go, not that it came out pretty.
- Lay a ruler on the page. Draw one line under it, left to right. Say nothing about quality.
- Remove the ruler. Draw four more lines without it: slow, from the shoulder rather than the wrist.
- Add wavy lines by moving your whole arm side to side.
- Try zigzags, then dotted lines made of tiny taps, then loopy ones that cross over each other.
- Fill the page. Then stop, even if lines look wobbly.
How you know it worked: they could draw a long line without lifting the pencil halfway through. That’s it.
Lesson 2: Circles That Roll and Stack
The circle is the first shape that hides mistakes. A bad line is obvious; a slightly lopsided circle just looks like a circle.
- Trace a plate or a coin to feel one circle go all the way around.
- Draw ten circles freehand on one page. Expect the first three to shrink.
- Roll the pencil from the wrist for small ones, from the elbow for big ones.
- Stack circles into a tower, a bunch of grapes, a caterpillar, a puddle or a set of wheels.
- Add one face: two dots for eyes and a curve for a mouth. No ears, no nose, no fingers.
How you know it worked: they made a circle without tracing and didn’t ask to erase it.
Lesson 3: Ovals, Arcs and Easy Loop Shapes
Ovals are circles that got stretched, and arcs are circles that gave up halfway. Two shapes, one lesson.
- Draw an egg shape by starting at the top and pulling down each side to a point at the bottom.
- Draw an arc: the curve at the top of a rainbow, top to top, with no bottom line.
- Chain three arcs into a rainbow, then add two short vertical lines at the ends.
- Try loops: a figure-eight, a teardrop, a bean shape, and a crescent moon.
- Turn an oval into an egg, a leaf, a puddle or a fish body. Two dots make eyes.
How you know it worked: they made an oval without retracing the same line three times.
Lesson 4: Triangles, Squares and Simple Houses
Straight-edged shapes come next, and they’re where wobbly lines start to matter, so keep it forgiving.
- Draw a triangle as three lines: down, up, across. Point it up, then point it down.
- Draw a square by making a small dot at each corner first and connecting them. Corners come before sides.
- Draw a rectangle: four corners, long sides, short sides.
- Turn the square into a house. Add a triangle on top for the roof, one square for a door, two small squares for windows.
- Add a second house, a fence post or a path. Stop at six shapes.
How you know it worked: they closed the square on the first attempt. If they couldn’t, they were drawing a side before deciding where the corner was — do the dots first, then the lines.
Lesson 5: Drawing Animals from Circles and Ovals
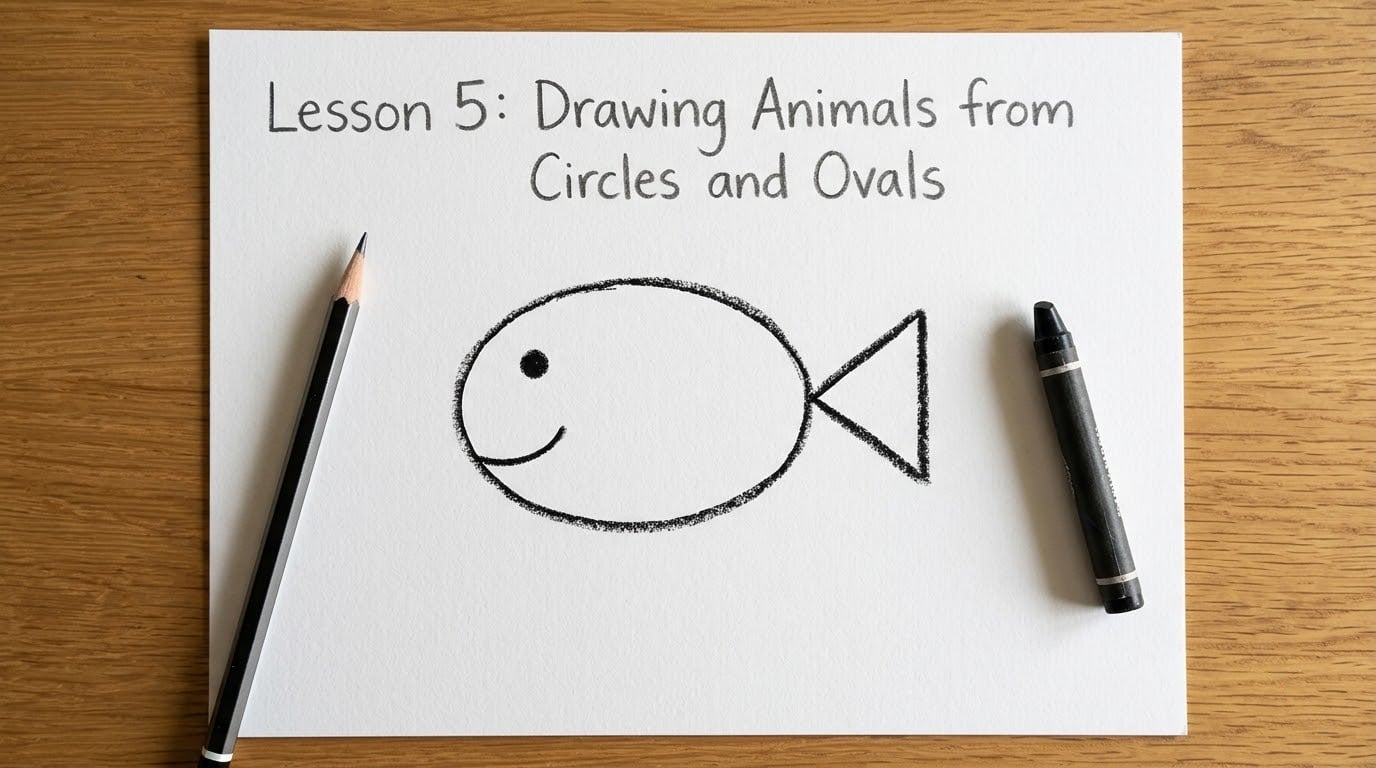
This is where kids who say they can’t draw usually start arguing that they can’t. Recognisable parts are enough; anatomical accuracy is not the point.
- Fish: one oval body, a triangle tail, one dot eye, two curved lines above for a fin.
- Cat: a circle head, two triangles for ears, an oval body, four straight legs, one long curved tail.
- Rabbit: an oval body, a round head, two long ovals standing up as ears, two dots for eyes.
- Bird: an oval body, a circle head, a triangle beak, two straight legs, one curved wing line.
Have them draw one animal three times from memory on the same page. The third one is always better and they can see why, which teaches more than any correction you could make.
How you know it worked: they told you what it was without being told. That is the entire standard.
Lesson 6: Simple Outdoor Scenes Without a Perspective Rule
Children get stuck on depth because nobody explains that outdoor drawings don’t need perspective rules yet. Layering is enough.
- Draw the sky as a band across the top two-thirds of the page.
- Add a sun: a circle plus a ring of short straight lines around it.
- Draw the ground as a wavy line across the page, not a straight one.
- Add trees as a straight line with a circle on top. Three is plenty.
- Add a path as a wide V that gets wider toward the bottom of the page, then a cloud made of three arcs.
Sky colours are wrong in almost every child’s version. That’s the point, and it’s worth saying out loud.
Lesson 7: Drawing People with Simple Symbols
A person is a head, a body and four limbs. Children’s drawings look strange because they’re aiming for a realistic portrait at an age when symbols are plenty.
- Head: a circle. Body: one vertical line down from it.
- Arms: two lines out from the top of the body line. Legs: two more from the bottom.
- Add two dots for eyes and leave it there for the first attempt.
- Second pass: hair as a line over the head, feet as two short horizontals, hands as two tiny circles.
- Draw three different people side by side and ask your child which is which. There is no wrong answer about the sizes.
What looks like a problem here is a stage. If their people have arms sprouting from their heads, that’s normal at four and typically sorts itself within a year or two of regular drawing.
Lesson 8: Invent a Character with a Shape Body
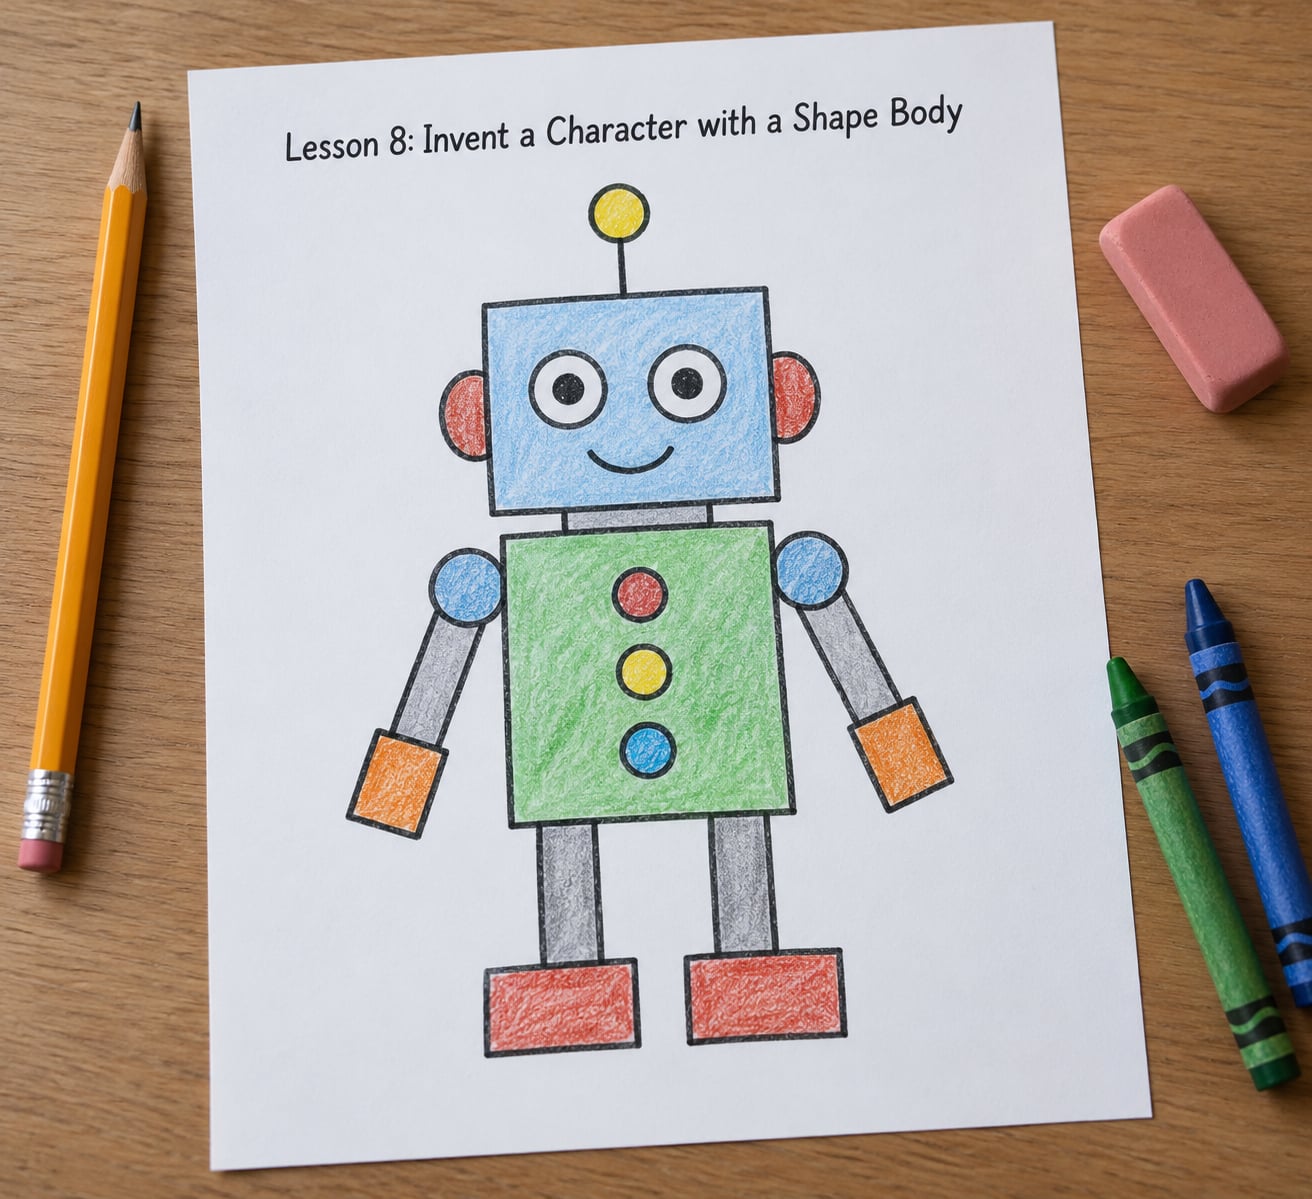
The last lesson combines everything, and it’s the one that keeps the habit going. Drawing is just parts combined, so once the parts are familiar, the picture is a decision rather than a test.
- Pick three shapes from the previous lessons and arrange them as a body, legs and arms.
- Decide what the character does. Robots wait, dinosaurs stomp, rockets fly, monsters sneak.
- Add one detail that fits that idea, and only one.
- Give it a name. Names make the picture theirs, not a homework sheet.
- Draw a second character next to it. Two characters on one page becomes a story the next time they sit down.
How you know it worked: they start the next session before you ask.
Common Mistakes
Almost every stalled drawing session comes down to one of these, and each has a small fix.
Fearing the blank page
A blank page is a test with no study guide in it. Put something on the paper first: a border, a big scribble in the corner, a title. Children who freeze on empty paper usually draw fine when a box is waiting to be filled.
Erasing everything
A child who erases each line before starting the next isn’t revising, they’re predicting failure. Set a rule for the first month: nothing gets erased, and the finished page is never ruined. Keep a scrap sheet beside the good paper for the fussy strokes.
Copying steps forever
Follow-along lessons are genuinely useful for building control, and there’s a well-worn worry that they flatten creativity. In practice it depends entirely on what happens next. Follow the steps once, close the guide, draw the same thing from memory, and the copying has become practice instead of dependence.
Adding detail too early
A six-year-old pushing for realistic faces and hands is the fastest route to quitting. If a child has drawn three houses, they can attempt three people next. Matching skill to what they’ve already mastered keeps them in the zone where things still work.
Not repeating the weak lesson
New content every day feels generous and teaches nothing. A child who struggles with straight lines needs three line sessions in one week, then a small step up.
Correcting their drawing
“The sun isn’t blue” and “horses don’t have six legs” teach a child that art has one right answer and that they don’t have it. Name what you see instead, and let the strangeness stand.
When a child says they can’t draw, swap the sentence for something you can copy-paste:
- Instead of “you can draw, you’re just being silly,” try “say the part that feels hard out loud and we’ll start there.”
- Instead of “look how well your sister draws,” try “tell me one thing you like about your own drawing.”
- Instead of “it’s not quite right,” try “what were you trying to make? Oh, a dog. Got it.”
- Instead of “let me fix it,” try “show me where you want the next line.”
And if you can’t draw either, sit down and join in. Deliberately make a bad circle and say so. Nothing loosens a tense pencil hand faster than an adult modelling the wobbly version.
Here’s how the lessons stack up by age, which is a rough guide rather than a rule:
| Lesson | Best age range | Skills practised |
|---|---|---|
| 1. Controlled lines | 2 to 12 | Grip, whole-arm movement, staying on the page |
| 2. Circles | 3 to 12 | Curved line control, shape recognition |
| 3. Ovals and arcs | 4 to 12 | Stretched shapes, connecting curves |
| 4. Triangles and squares | 4 to 10 | Corners, planning a shape before drawing it |
| 5. Animals | 5 to 12 | Combining parts, drawing from memory |
| 6. Outdoor scenes | 6 to 12 | Scale, spacing, layering |
| 7. People | 5 to 12 | Symbol drawing, body proportions |
| 8. Invented character | 6 to 12 | Creativity, storytelling, sustained effort |
Frequently Asked Questions
At what age can a child start these easy drawing lessons?
Most children can start with Lesson 1 around age two or three, because it asks for scribbling rather than accuracy. Circles suit children from about three, straight-edged shapes from four or five, and the animal, scene and people lessons usually land between five and eight. Start lower than you think and move up only when a lesson stops being difficult.
What materials do I need to teach a child who is afraid to draw?
A pencil, an eraser and scrap paper are genuinely enough. Add chunky crayons for children under five, and a ruler once they want straighter edges. Keep paper large, tape it to the table so it cannot drag, and light the page from the side rather than overhead. The setup fixes more wobbly lines than any lesson does.
How long should each beginner drawing lesson take?
Five to ten minutes is plenty, and shorter sessions repeated beat one long one. Most children lose interest somewhere after a finished picture, so stop while they still want another. If they keep going unprompted, let them. The goal is a completed page they chose to finish, which is what makes them come back tomorrow.
Is tracing a good way to teach children to draw?
Yes, for building line control, and it works best with a short follow-up. Trace a shape once or twice to feel the movement, then draw the same shape without the guide. That turns copying into practice. Tracing should never be the whole activity, because a child who only traces can freeze on blank paper when the reference disappears.
How can I encourage my child without criticizing their artwork?
Describe instead of judge. Say what you see, what the picture is, and one thing they chose, then stop talking about the drawing. Avoid comparing it with other children or with your own attempts, and never correct the colours or the anatomy. Praising the effort, the persistence or the decision to finish is far more useful than saying it is good.
Conclusion
Start today with Lesson 1 and let it run for three sessions, not one. When a line wobbles or a circle closes badly, draw it again the next day rather than moving on. What builds a child who draws isn’t a good page, it’s a finished page they chose to complete — so keep the kit within reach, save the criticism, and celebrate the attempt every time.