To make scratch art paper at home, color a sheet of cardstock solid with wax crayons, cover it with black paint mixed one-to-one with dish soap, let that dry for at least three hours, and scratch the design away with a wooden stick. The whole job takes about ten minutes of active work plus drying time, and it is about as easy as a kids’ art project gets.
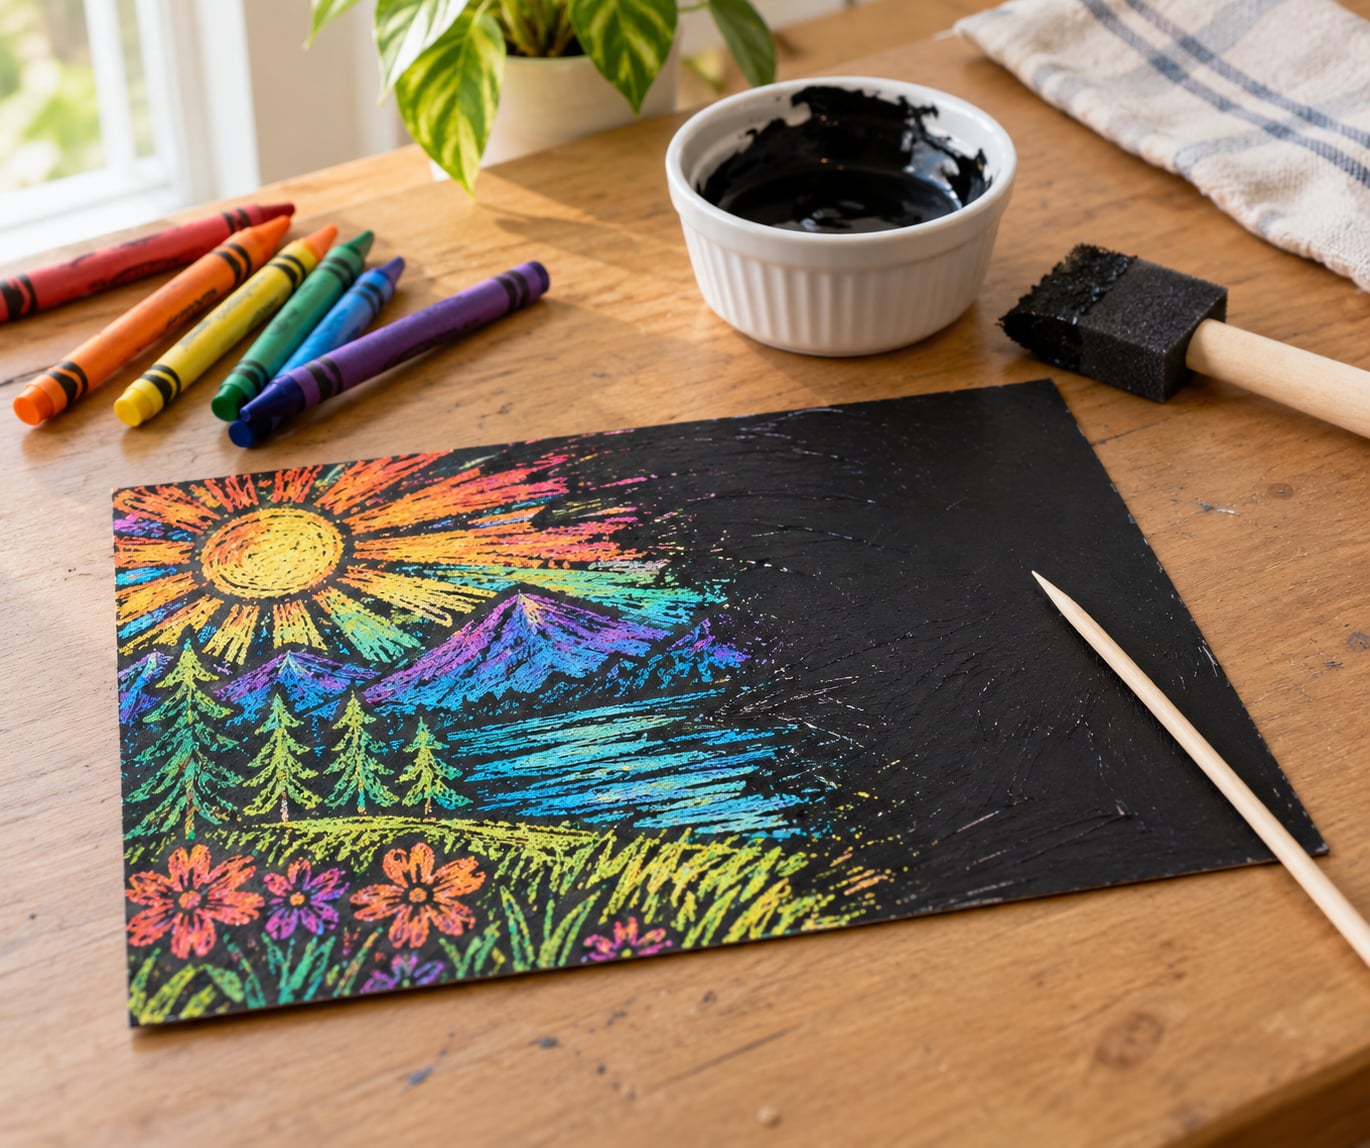
Scratch art paper is paper coated in wax crayon or oil pastel and then covered with a thin topcoat of black paint mixed with dish soap. You scratch the paint away with a wooden tool to reveal the bright colors underneath. The dish soap loosens the paint so it slides off the waxy crayon surface instead of tearing into it.
I have made this with my own kids on rainy afternoons and it holds up far better than the store-bought books, mostly because the sheets are bigger and the crayons go on thick. Here is exactly how to make scratch art paper at home, including the drying time and the mistakes that make the first attempt go wrong.
Table of Contents
- What You Need
- Step-by-Step: How to Make Scratch Art Paper at Home
- Step 1: Choose and Prepare the Paper
- Step 2: Apply the Top Layer of Paint
- Step 3: Let the Paint Dry
- Step 4: Scratch the Design
- Step 5: Finish and Display the Artwork
- Common Mistakes and Easy Fixes
- Frequently Asked Questions
- What kind of paper works best for scratch art?
- How long does scratch art paint need to dry?
- Can I use regular acrylic paint for scratch art?
- What tool can children use to scratch the paper safely?
- How do I keep scratch art paint from mixing into muddy colors?
- Can scratch art paper be made without a special scratch art kit?
- Conclusion
What You Need
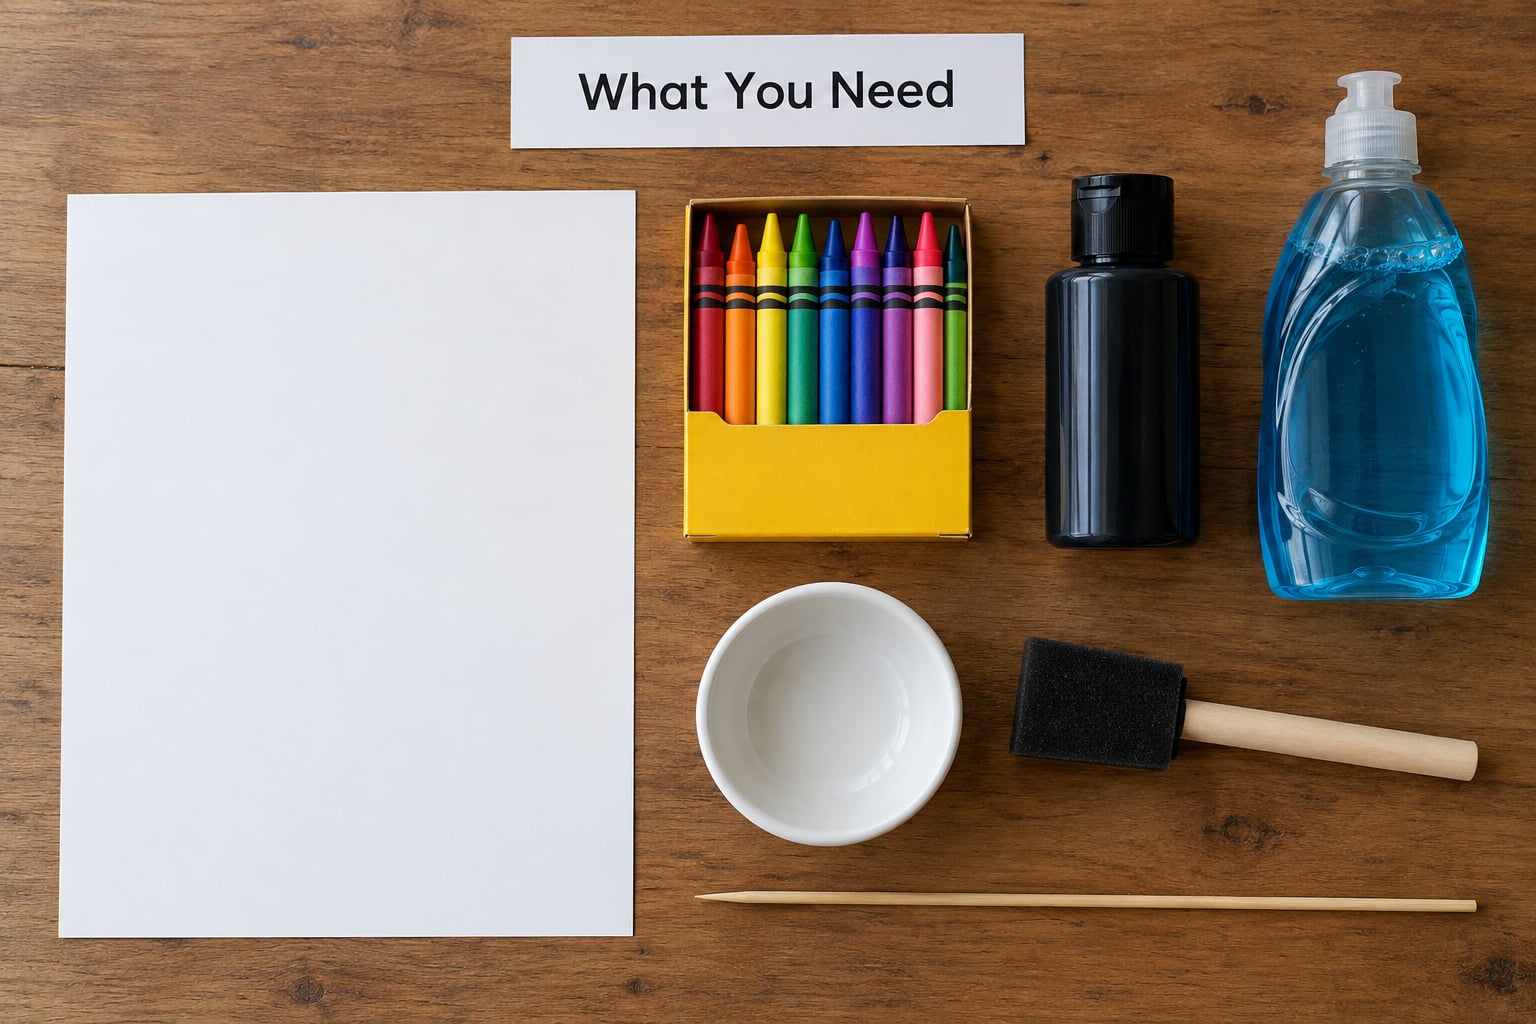
None of this is specialized. If you have crayons and dish soap, you are most of the way there.
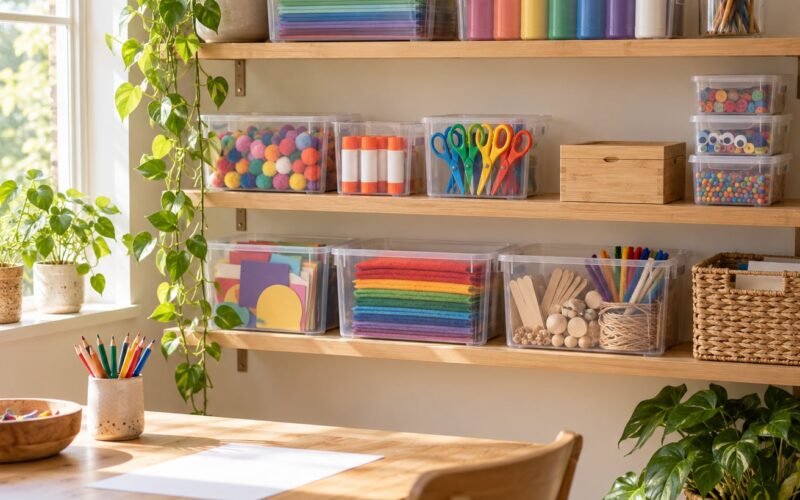
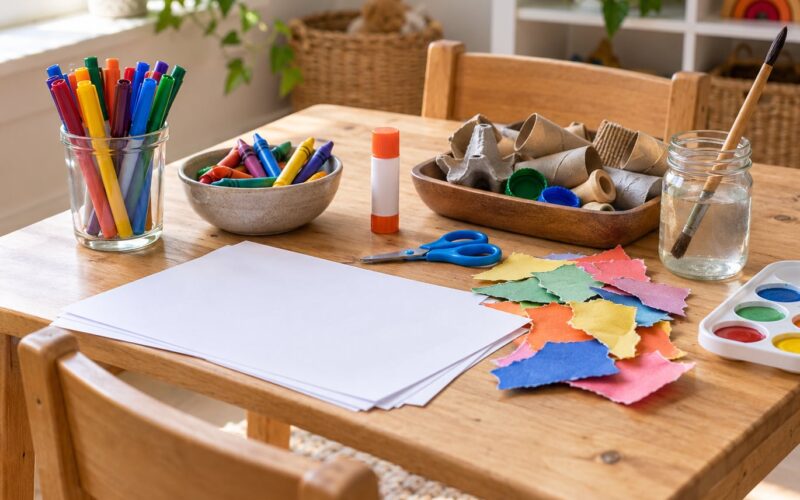
- Cardstock – one sheet per child, standard weight. Printer paper tears the moment a child gets excited.
- Wax crayons – a 16- or 24-count box gives you enough contrast. Oil pastels work too and cover faster, but they scratch harder.
- Black acrylic or craft paint – one small bottle covers several sheets.
- Dish soap – ordinary blue dish soap, the cheap kind is fine.
- A small bowl and a foam brush – a foam brush lays the coat on thin and even. A wide flat bristle brush works, it just takes more passes.
- Wooden skewers, chopsticks, or a craft stick – for scratching.
Mix the paint and soap at one part paint to one part soap, equal halves. The soap is not optional; without it the black coat grips the wax and tears the color off with it.
Two substitutions worth knowing. Tape the sheet down to a baking sheet or tablecloth if you want the project to stay low-mess. And if you are working with toddlers, use washable tempera paint instead of acrylic, which is non-toxic but not washable, and hand them a thick craft stick instead of a skewer they could swallow.
Step-by-Step: How to Make Scratch Art Paper at Home
Step 1: Choose and Prepare the Paper
Lay a sheet of cardstock on a flat surface and tape down the corners so it cannot slide while a child colors it. Heavier cardstock is worth the extra few cents here because thin paper tears and a torn sheet ends the fun about ten minutes in.
Have the child color the entire sheet edge to edge, using two or three bold colors in whatever pattern they like. Press hard, especially along the edges and corners where the paper shows through most. Rubbing the crayon sideways with the side of the wrapper lays down more wax than scribbling with the tip does.
You will know the layer is thick enough when no white paper peeks through. If bare paper remains, bare paper will not scratch, so patch those spots before moving on.
Step 2: Apply the Top Layer of Paint
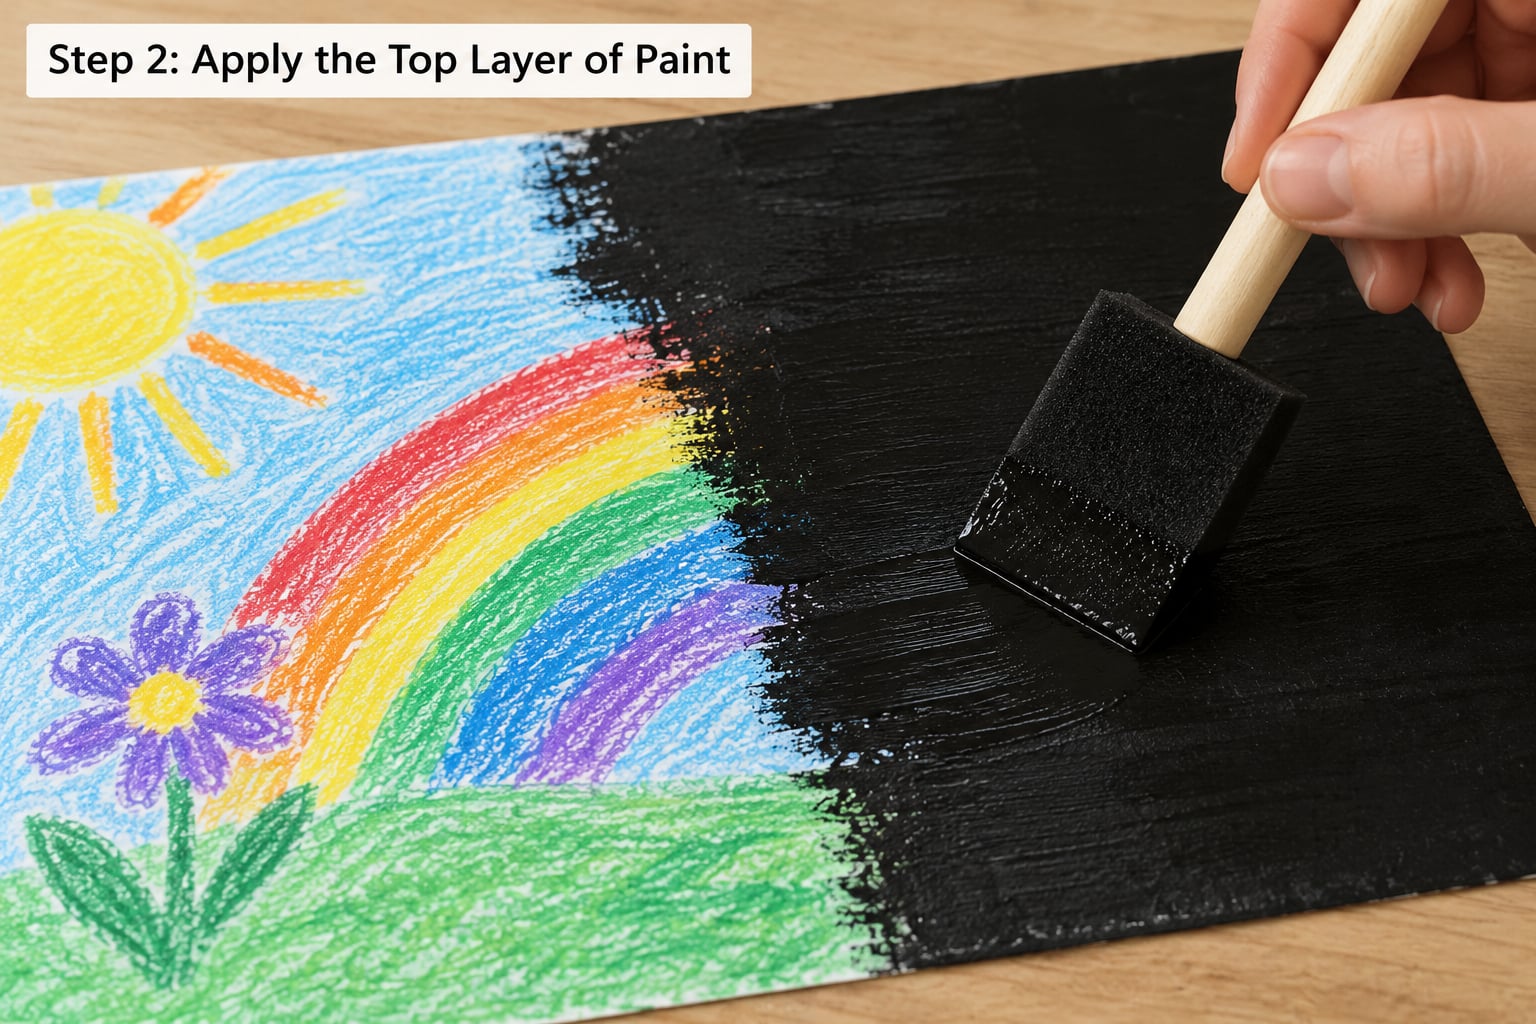
Mix equal parts black paint and dish soap in a small bowl. Stir until the mixture is uniform and slightly thinner than the paint alone, which usually takes about thirty seconds.
Dab the foam brush into the mixture and wipe off the excess against the rim of the bowl, then sweep it across the paper in long even strokes. Two thin coats beat one thick coat every time, because a thick black layer is genuinely hard to scratch and a child who cannot scratch it gets bored fast.
Let each coat dry a few minutes before adding the next, and keep the coat thin enough to still feel the crayon texture underneath. Some color showing faintly through is fine and normal. Solid black with no hint of color means you went too thick.
Step 3: Let the Paint Dry
Give the painted paper at least three hours, and longer if your house is humid or you used a heavy coat. The surface should feel completely dry and room temperature, with no tacky spots anywhere, including the edges.
To speed things up safely, set the sheet on a rack in front of a fan rather than a hairdryer. Direct heat can make the wax layer soften and smear, which is exactly the muddy result you are trying to avoid.
You can make a batch this way. Six sheets painted in one session stay scratchable for weeks if you store them flat in a folder or a single sheet of wax paper, out of direct sunlight and away from a hot car.
Step 4: Scratch the Design
Hand over a skewer, a chopstick, or a craft stick and let them go. The scratching works because the top layer slides off the wax, so short quick strokes reveal more than long heavy ones.
Start simple. Name shapes, spirals, dots, and zigzags work better for beginners than trying to scratch a full picture on the first try, and the first few marks are always the most satisfying part for a young child.
Gentler pressure and a sharper point give more control. A toothpick is fine for fine detail but bends quickly, and a skewer is sturdier but blunts faster, so keep two or three tools on the table and rotate.
Step 5: Finish and Display the Artwork
Lift the finished piece by the edges and lay it flat to settle. Do not sandwich it between anything while it is still slightly soft, and resist the urge to laminate, since plastic film traps moisture and dulls the shine of the colors.
Label the back with the date and the artist’s name if you are making a batch, because children genuinely forget which sheet is theirs a week later. Then display it on a wall, thread it onto a keyring, or cut it into card-sized pieces for a homemade greeting card.
Cut between the lines with a craft knife or a steel ruler, not scissors, so you do not lift the black layer from the card next to the cut.
Common Mistakes and Easy Fixes
The colors look muddy. That means the black coat went on too thick and dragged the wax with it. Lay on two thin coats next time, and stir the paint and soap together right before painting rather than letting the mixture sit.
White paper shows through in patches. The crayon layer was too thin in those spots and bare paper does not scratch. Press the crayon on harder, going over the same area with the side of the stick rather than the tip.
The paint will not scratch off cleanly. Usually it has not cured long enough, or the dish soap ratio was off. Give it another hour of drying, and if it still drags, a second thin coat of the soap mixture over the cured first coat helps.
A child scratched straight through to the paper. The pressure was too heavy. Coach them to use the stick almost flat and let the tip do the work, and if the sheet is damaged, frame it rather than throwing it away.
The design looks like a mess. Most frustration comes from attempting a picture. Circles, stars, and repeating patterns are far easier to scratch and look intentional, which is the point.
Oil pastels peel up with the paint. They are waxy but thicker, so they scratch harder and drag. They still make excellent scratch art, just expect more force, and go gentler than you would with a crayon surface.
One more route worth knowing: skip the paint entirely and color the bright layer first, then scribble a heavy black crayon over the whole sheet. It scratches cleanly with a fingernail, dries instantly, and travels well, though the black cover is lighter and the reveal is less dramatic.
Frequently Asked Questions
What kind of paper works best for scratch art?
Cardstock is the best choice because it holds up to repeated scratching without tearing. Any weight from 80-pound index up will work. Standard printer paper is too thin, and the first hard stroke usually rips through it. Construction paper is also weak but softer, so it is easier for very young children to scratch, at the cost of a shorter-lived sheet.
How long does scratch art paint need to dry?
At least three hours at room temperature, and up to six in humid conditions or after a thick second coat. The surface should feel dry and no longer tacky, including at the edges. A fan in front of the sheet speeds things up safely. A hairdryer is not recommended, since heat can soften the wax and make the black layer smear into the colors.
Can I use regular acrylic paint for scratch art?
Yes, and black acrylic is the most common choice. Mix it one-to-one with dish soap, and the soap is what lets the paint slide off the wax instead of tearing into it. Acrylic is non-toxic once dry but is not washable, so for toddlers use washable tempera paint instead, or keep the project on a sheet you can protect the table under.
What tool can children use to scratch the paper safely?
A wooden skewer, chopstick, or thick craft stick all work. Toothpicks give finer control for older children but bend quickly. For anyone under about three, hand over a craft stick or a plastic stylus rather than a skewer, since skewers are a choking hazard. Round the sharp end of a skewer with tape if a very young child is eager to try it.
How do I keep scratch art paint from mixing into muddy colors?
Apply two thin coats instead of one thick one, and let the first coat dry a few minutes before adding the second. A thick coat grips the wax and drags color up with it, which is what turns a black surface grey and streaked. Mix the paint and dish soap right before you use it, and let the sheet dry fully before the first scratch.
Can scratch art paper be made without a special scratch art kit?
Yes, and you never need a kit. Cardstock, wax crayons, black paint and dish soap cover every sheet you make, and most homes already have all four. The kits are just pre-coated paper in a book, so making it yourself gives you larger sheets, your own color choices, and as many pages as you want without running out.
Conclusion
Start with two contrasting colors, one thin coat of paint mixed with dish soap, and a simple pattern of circles or zigzags. Once that first sheet comes out clean, you have the hang of it, and everything after that is just picking harder designs. If you want to know how to make scratch art paper at home for a group, paint several sheets in one session while you are set up.