How to teach kids watercolor techniques is mostly a water-control problem, not an art-talent problem. Start with two brushes, a cup of water, and thick paper, then move through nine short lessons: brush control, graduated washes, wet-on-wet blending, wet-on-dry marks, salt and plastic-wrap textures, brush marks, primary color mixing, a finished picture, and a quick review. Each lesson takes about ten minutes, needs no artistic skill from you, and ends in something a child is willing to hang on the wall.
Most parents who worry they cannot teach art are really worried about two things: the child will not listen, and the kitchen table will be ruined. Both are fixable with setup. Watercolor is the most forgiving paint there is. A mistake soaks back into the paper instead of staying there as a thick smear, and a brush that has gone too dark washes back out with clean water.
The order below matters. Brush control first, because everything else depends on how the brush touches the paper. Color mixing near the end, because kids who mix too soon get mud and lose interest fast. If you only have twenty minutes today, do lesson one and one wash.
Table of Contents
- What You Need
- Step-by-Step: How to Teach Kids Watercolor Techniques
- Set Up a Relaxed Watercolor Station
- Lesson 1: Practice Holding and Washing the Brush
- Lesson 2: Make Graduated Washes
- Lesson 3: Try Wet-on-Wet Blending
- Lesson 4: Explore Wet-on-Dry Marks
- Lesson 5: Paint with Salt, Bubbles, and Other Textures
- Lesson 6: Use Different Brush Marks
- Lesson 7: Build a Simple Color-Mixing Exercise
- Lesson 8: Create a Finished Watercolor Picture
- Lesson 9: Review the Technique, Then Plan What to Teach Kids Next
- Common Mistakes
- Frequently Asked Questions
- What age can children begin learning watercolor techniques?
- What kind of paper should I use for kids’ watercolor painting?
- How long should a watercolor lesson be for young children?
- How can I stop watercolor colors from turning muddy?
- What is the easiest watercolor technique for beginners?
- How can I teach kids watercolor without taking over the painting?
- Conclusion
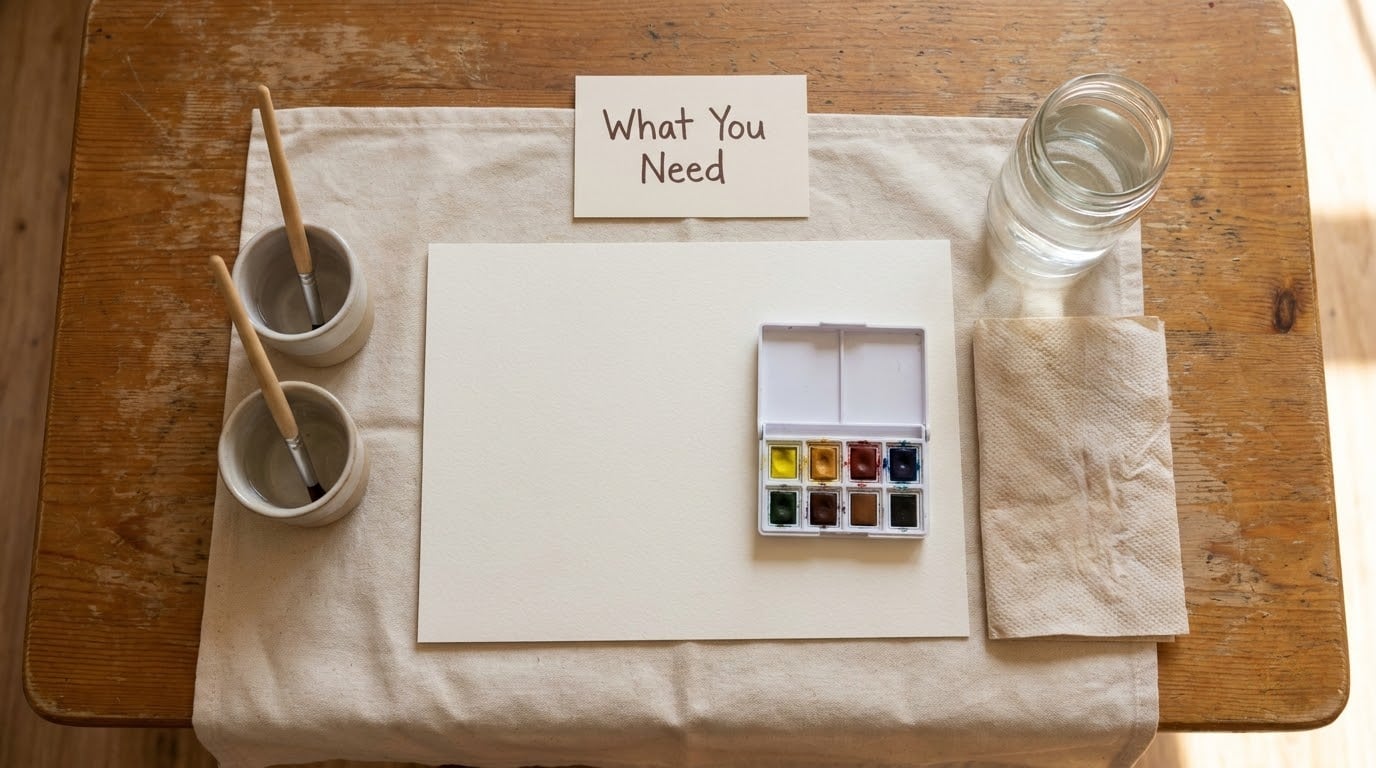
What You Need
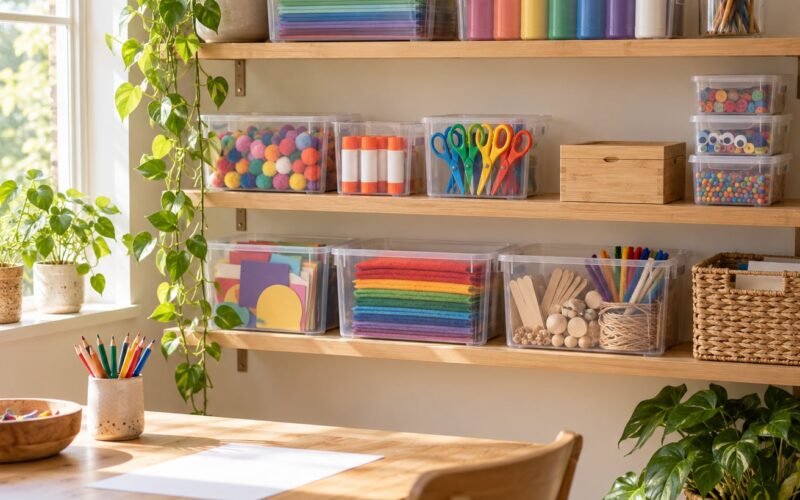
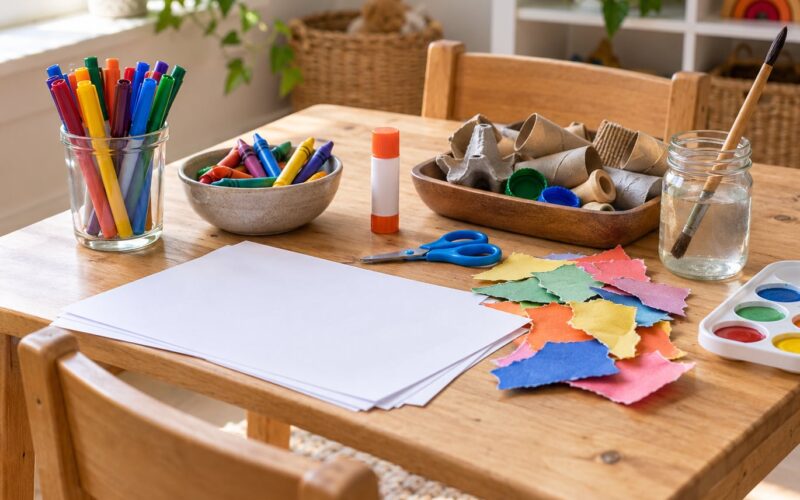
Here is the honest list. Everything on it is either a painting tool or something that protects your table.
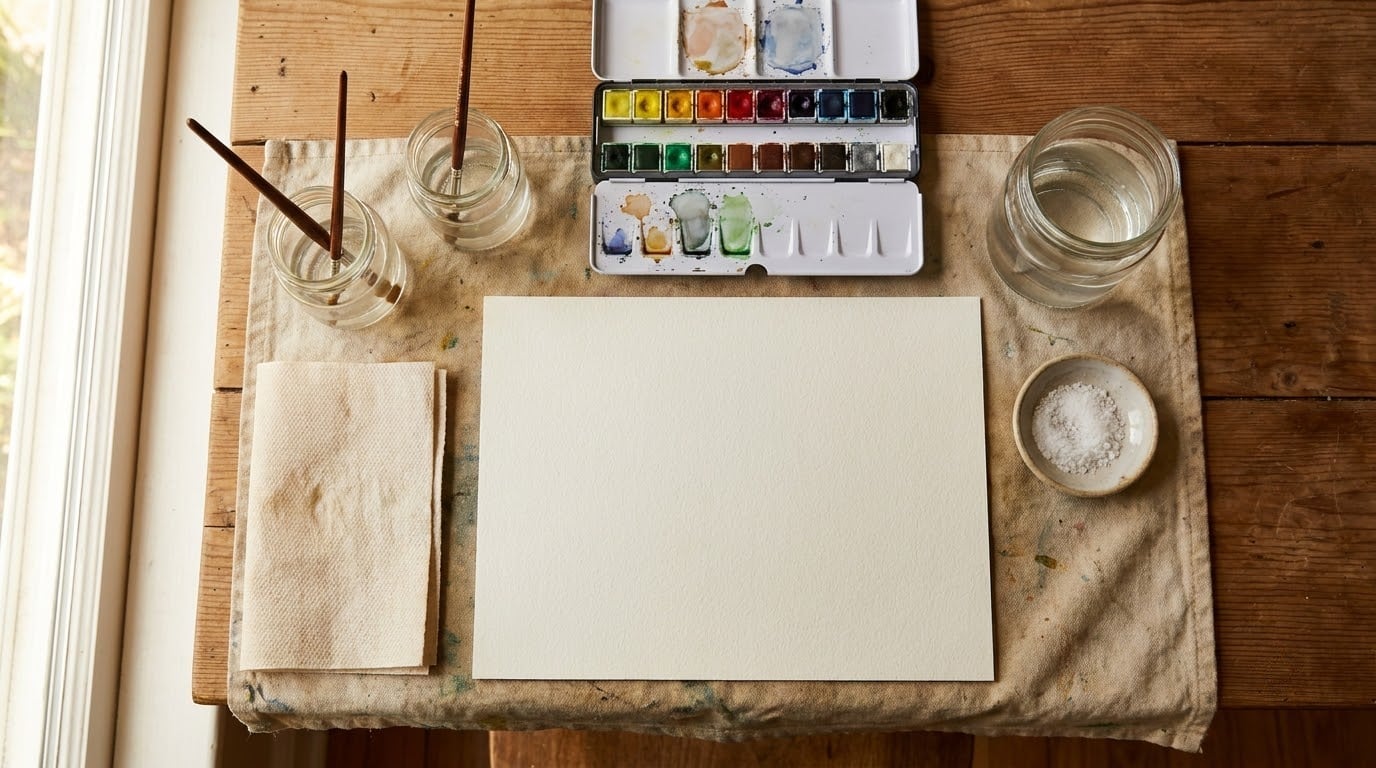
- Paper: thick watercolor paper, roughly 140 lb / 300 gsm, cut to about half a sheet of printer paper. This is the one place not to economize. Thin printer paper buckles, pills and tears the moment it gets wet, and construction paper behaves the same way.
- Paint: student-grade pan watercolors, six to twelve colors. A cake-style set with a lid costs less than a tube set and lasts longer. Washable tempera works in a pinch, though it sits on the surface instead of soaking in.
- Brushes: two round brushes, one large and one medium. Two is the number that makes a difference, because one brush should stay clean for lifting color and lifting happens constantly.
- Water: two jars or cups. One for rinsing pigment off the brush, one clean jar you dip into. Sharing one cup turns the water brown within a minute.
- Palette: a plastic lid or an old ceramic plate. A white surface shows the color better than a dark one.
- Paper towel: folded into a pad on the right-hand side. This is where the brush gets wiped, and it saves you changing the water every five minutes.
- Table protection: a plastic tablecloth, a shower curtain, or a stack of old towels. Do this before anything comes out of the cupboard.
- Optional extras: table salt, a white wax crayon, plastic wrap, a sponge, a spray bottle.
Substitutions are fine. A yogurt lid works as a palette. A jam jar works as a water cup. Kids who dislike the cold shock of a wet brush do better with a water brush, which holds its own water and needs no second jar. No matter what you swap, keep the paper thick.
Step-by-Step: How to Teach Kids Watercolor Techniques
The nine lessons below build on each other. Teach them in order and a child who could not hold a brush steady in week one will be running a full wash by week three. Jump ahead and the interesting-looking techniques stop working, because the water is wrong.
Set Up a Relaxed Watercolor Station
Clear a surface about the size of a placemat. Cover it, set the paper towel on the right, the palette in the middle, and the clean water jar on the left, so everything sits inside a small reach. Rinse, wipe, rinse again: that loop is the entire routine, and teaching it once saves you from repeating yourself all session.
Say out loud what a mistake is. A blotchy patch is water sitting too long, not a failure. Kids who hear that out loud keep going instead of stopping at the first mark.
You will know it worked when the child can reach every supply without standing up, and starts the rinse-and-wipe loop without being reminded.
Lesson 1: Practice Holding and Washing the Brush
Show a tripod grip: thumb and index finger pinch near the top of the handle, the brush rests on the middle finger. Then demonstrate loading paint, sweeping it across the palette, and releasing it. Paint should come off the brush, not be pushed off it.
Have them paint twenty horizontal strokes, then twenty vertical ones, then a row of dots with the tip. Keep it boring on purpose. This is the lesson where the hand learns to stop pushing.
You will know it worked when the strokes are smooth from side to side rather than scratchy, and the same brush makes both a hairline and a wide mark.
Lesson 2: Make Graduated Washes
One wash teaches three techniques in a single exercise, because it depends on how wet the paper is. Lay clear water down for a wet-on-wet wash, wait for it to sink in, then touch on diluted color and let it travel. For a wet-on-dry wash, let the paper dry first and paint onto the surface for a sharper edge. For a graded wash, start with a very wet brush and load less pigment with every stroke.
Ask the child which patch looks lightest and why. The answer is almost always “less paint, more water,” which is the sentence you want them to own.
You will know it worked when one patch moves gradually from light to dark, with no hard stripes and no unexpected puddles.
Lesson 3: Try Wet-on-Wet Blending
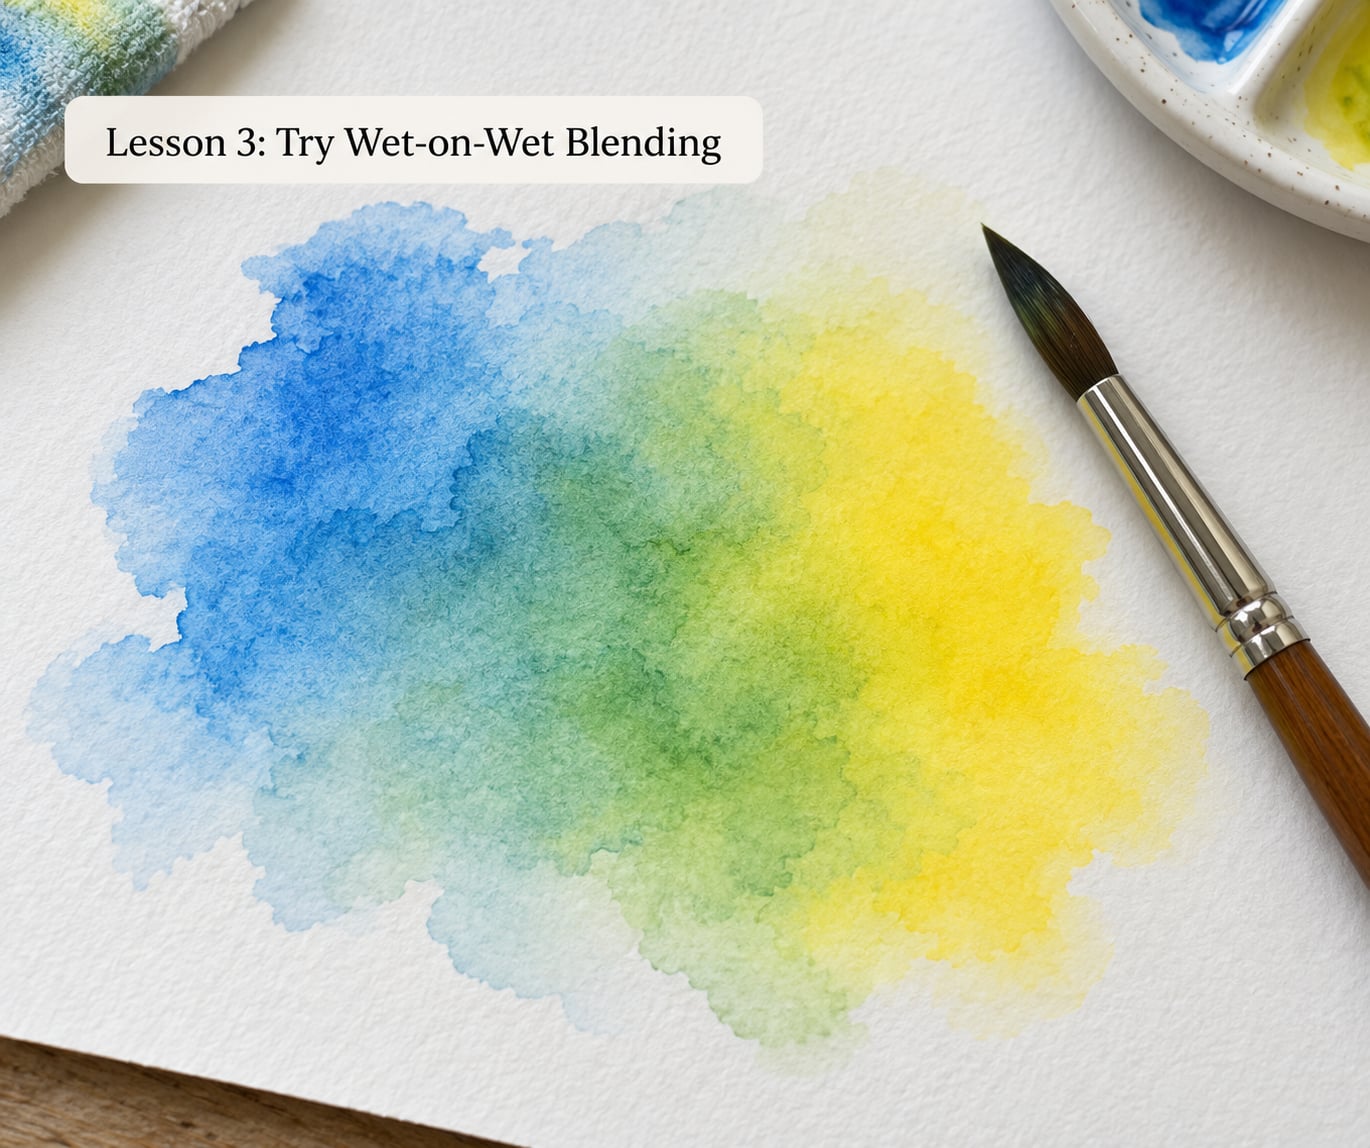
Wet-on-wet is the technique that makes watercolor look like magic, and it is the one kids ask to repeat. Brush clean water over the whole area until it shines, drop two diluted colors onto the damp surface, and let them find each other. Blue into yellow gives green without a single drop of green paint.
Three rules: diluted paint only, damp paper only, and no going back over it. The moment they touch a drying wash with a clean brush they lift color off the paper, which looks like a mistake but often isn’t.
You will know it worked when two colors meet in a soft line somewhere between them, instead of sitting as separate flat shapes.
Lesson 4: Explore Wet-on-Dry Marks
Same brush, same paint, dry paper. Now lines hold their edges, dots stay round, and a stroke keeps the width it was given. Paint a row of each mark on one sheet and let the child compare it with the wet-on-wet sheet from lesson three.
This is the lesson that makes water control visible. A child who sees the two sheets side by side learns more in two minutes than you can explain in ten.
You will know it worked when the lines and dots on the dry sheet stay exactly where they were put.
Lesson 5: Paint with Salt, Bubbles, and Other Textures
Paint a generous wash, then drop table salt onto the wet surface and leave it until the paper is bone dry. Each grain pushes pigment outward as it dries, leaving a pale starburst. Plastic wrap pressed onto a wet wash and peeled off dry leaves crinkled veins. A sponge gives a regular stipple. A dish soap bubble blown onto a wet wash leaves a lace ring.
Set expectations up front: these are experiments, not recipes. Salt grains make different marks depending on how wet the paper is, so a repeat run will not match the first one.
You will know it worked when the child can point to two clearly different textures on the same page and describe what made them differ.
Lesson 6: Use Different Brush Marks
Turn the brush over and use the side for wide strokes, the tip for lines and dots, the corner for a small angled mark. Run through dots, dashes, curls, zigzags, waves and a single confident stroke across the page.
Name each one out loud, then ask the child to copy it. Recognizing and repeating a mark is the real skill here; pretty marks that cannot be repeated teach nothing.
You will know it worked when the page reads as deliberate mark-making rather than random scribbling.
Lesson 7: Build a Simple Color-Mixing Exercise
Use plenty of water and three separate wells for red, yellow and blue. Ask for orange, green and purple, one pair at a time, with the child deciding which half of the pigment gets the drop of water. Show that equal parts make a duller, browner result and a heavier hand on one color makes it cleaner.
The rule worth drilling: always start with a clean brush and a clean well for every pair. Loading a brush with yesterday’s yellow turns green into something closer to pond water.
You will know it worked when the three secondary colors are recognizable, even if the edges are uneven and some patches are paler than others.
Lesson 8: Create a Finished Watercolor Picture
Pick a subject with two or three simple shapes: a sky, a row of flowers, a coastline, or an abstract background that uses a wash plus one texture. Have the child choose which two techniques they want to use, and let them pick. Choice is what keeps a self-directed session going when you have stopped directing.
Watercolor paintings need to dry completely before moving, which takes two to four hours on thick paper. Lay it flat on a towel somewhere it will not be walked over, and press it under a heavy book once dry if it has curled.
You will know it worked when the finished page shows at least two effects the child can name.
Lesson 9: Review the Technique, Then Plan What to Teach Kids Next
Put yesterday’s sheets side by side and let the child do the talking. Which patch was wettest? Which edge is sharp? What would they change? Finish by choosing one technique to repeat next session rather than moving on to something new.
A name for what they did is what makes it stick. “You did a graded wash” is a skill. “Nice painting” is a compliment.
You will know it worked when the child can say in their own words what they did and pick what comes next.
Common Mistakes
Almost every problem in kids’ watercolor comes down to water, and each one has a simple fix.
Paper too wet. Buckling, tearing, and colors running into each other all trace back to this. Fix: use half the water you think you need, and let a wash sit for a few seconds before adding paint.
Brush too dry. A dry brush on damp paper skips and leaves a scratchy, broken trail. Fix: rinse, load properly, and wipe on the towel rather than dabbing in midair.
Muddy color. Brown usually means two complementary colors mixed in equal measure, which is not a technique, just the middle. Fix: use less water on the second color, and give the child the choice of which half gets the heavier hand. One parent in a reader comment thread described a six-year-old who always reached for the dark colors and mixed too long. The fix that worked was diluting every color twice before it went near the palette.
Skipping the rinse. A brush that goes from blue to yellow without cleaning drags green streaks across the paper. Fix: make rinsing a fixed count, not a judgment call. Ten strokes, rinse, ten strokes.
Pressing the brush down. Pushing splays the bristles and spreads the paint into a blob that will not lift. Fix: rest the brush on the paper and pull it. If it cannot lift, the paint is too concentrated.
Expecting a repeat. Salt textures, splatter and bubble effects land differently every run. Tell the child before they start that this one is a surprise, so a disappointing result is not read as failure.
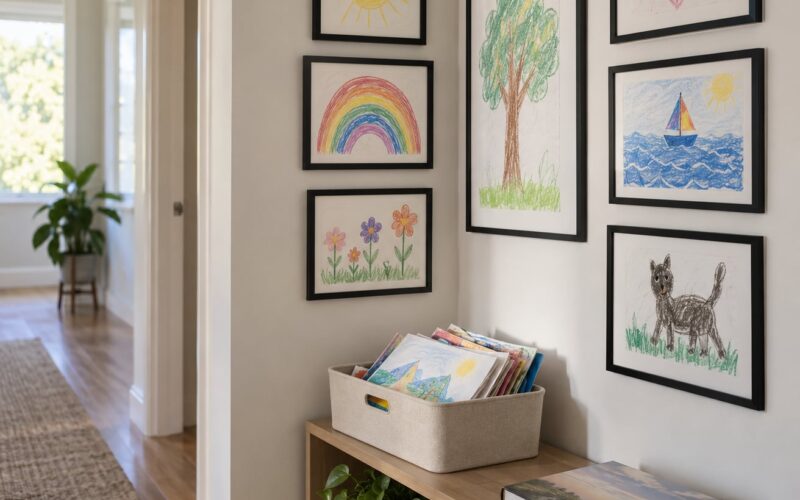
A few habits help across the whole progression. Let the child do the pouring and the water changes, since mess is the point of the medium. Keep sessions to about fifteen minutes of painting, which is roughly one lesson plus one wash, and stop while it is still fun. And put the finished work somewhere visible: parents in one reader thread framed and hung their children’s paintings with a mat behind the glass, and that display is half of what keeps a child painting.
Frequently Asked Questions
What age can children begin learning watercolor techniques?
Two- and three-year-olds can start with large sweeps and dot stamps on thick paper, using three or four colors and no rinsing discipline yet. From age four, they can manage loading a brush and rinsing it between colors. Around six, washes and wet-on-wet blending become realistic. Nine-year-olds can hold a graded wash and start experimenting with textures on their own.
What kind of paper should I use for kids’ watercolor painting?
Use thick watercolor paper, roughly 140 lb or 300 gsm, cut down to a manageable size. Anything thin will buckle, pill or tear the first time it gets properly wet, which usually ends the session early. Printer paper and construction paper both fail here. If you want a cheap test, plain card stock held flat with tape at the edges will survive one wet wash.
How long should a watercolor lesson be for young children?
Fifteen minutes of painting is plenty for most ages, and it should feel like you are stopping too early rather than too late. One technique plus one finished attempt is a full session. Preschoolers often manage eight minutes. Older kids can stay with it for half an hour if they are choosing the subject themselves. End while the child still wants more, and pick up the same thread next time.
How can I stop watercolor colors from turning muddy?
Muddy color comes from mixing two colors in equal measure or from a brush that was not rinsed. Keep three clean wells for red, yellow and blue, dilute each color with plenty of water before mixing, and give a heavier hand to whichever half the child wants to dominate. Rinse the brush between every pair. Clean color is diluted and committed to, not swirled until it turns gray.
What is the easiest watercolor technique for beginners?
The graded wash is the easiest technique for beginners because it needs no drawing skill at all and cannot really fail. Wet a clean sheet of paper, load the brush with a lot of water and a little color, and sweep it across in one stroke, adding less pigment each time. The patch goes from pale to dark by itself, and children recognize immediately that they made it.
How can I teach kids watercolor without taking over the painting?
Set up the station, demonstrate each technique once, then hand over the brush and stay quiet. Ask questions instead of correcting: what happens if we use less water, what would happen if we waited. Name what they did rather than judging the result. Children keep going on their own when the work is theirs, and they stop trying when they are being corrected stroke by stroke.
Conclusion
The nine lessons form one arc: control the brush, control the water, then use those two skills on purpose. Brush control comes first because nothing else works without it, and color mixing comes late because it is the step most likely to end in frustration.
For your first session, do three things. Have them paint twenty strokes and twenty dots, do one graded wash, and finish with a simple picture of anything they choose. Let it dry flat for a few hours, then put it on the wall. Everything else in the sequence hangs off those three things.