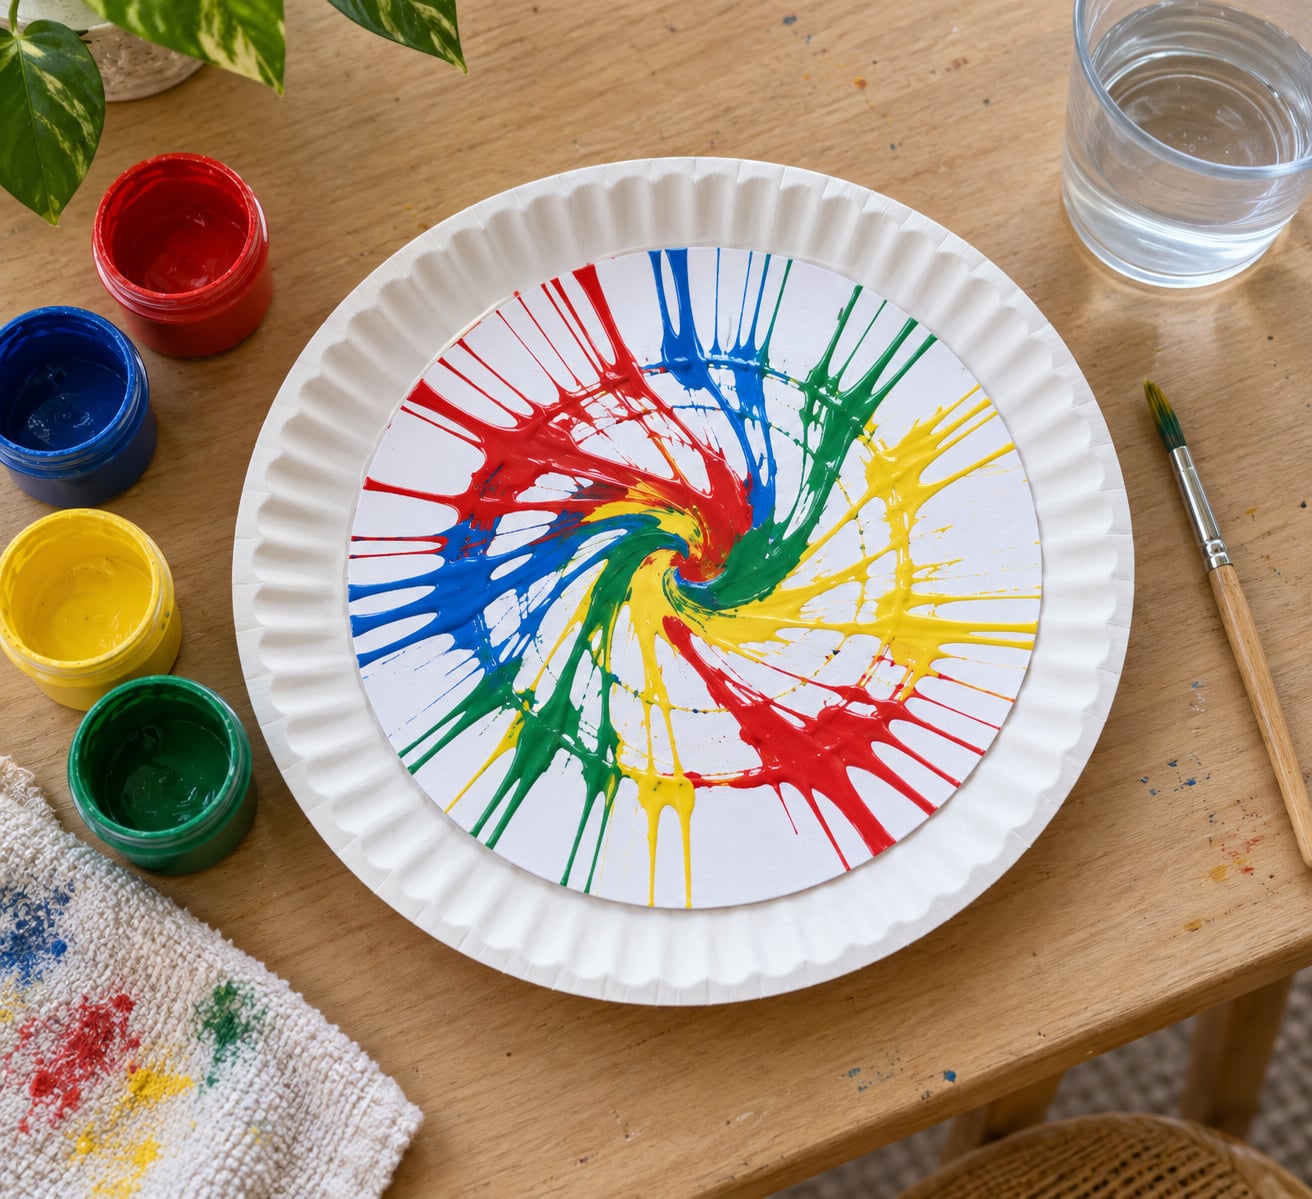
You can absolutely make spin art without a machine. All it takes is a paper plate, a circle of heavy paper, some washable paint, and your wrist. Set your paper on a plate, drip a small design in the middle, then turn the plate steadily in your hand. The paint streaks outward on its own.
The whole project takes about ten minutes of setup and two minutes of spinning, and it needs no drawing skill at all. That makes it a good fit for a rainy afternoon, an art table at a homeschool co-op, or a birthday party where half the guests are under six.
Table of Contents
- What You Need
- Step-by-Step
- 1. Set Up a Protected Work Area
- 2. Secure the Paper to a Plate
- 3. Test the Paint Consistency
- 4. Build the Spin Art Design
- 5. Make Spin Art Without a Machine
- 6. Add Layers or Make a Repeat Design
- 7. Let the Artwork Dry and Remove It
- Common Mistakes
- Frequently Asked Questions
- What kind of paint works best for spin art?
- Can a lazy Susan replace a spin art machine?
- How do you get the spin art effect with paper?
- What age is appropriate for making spin art?
- Can you reuse a plate after making spin art?
- Start with a Plate and Three Colors
What You Need
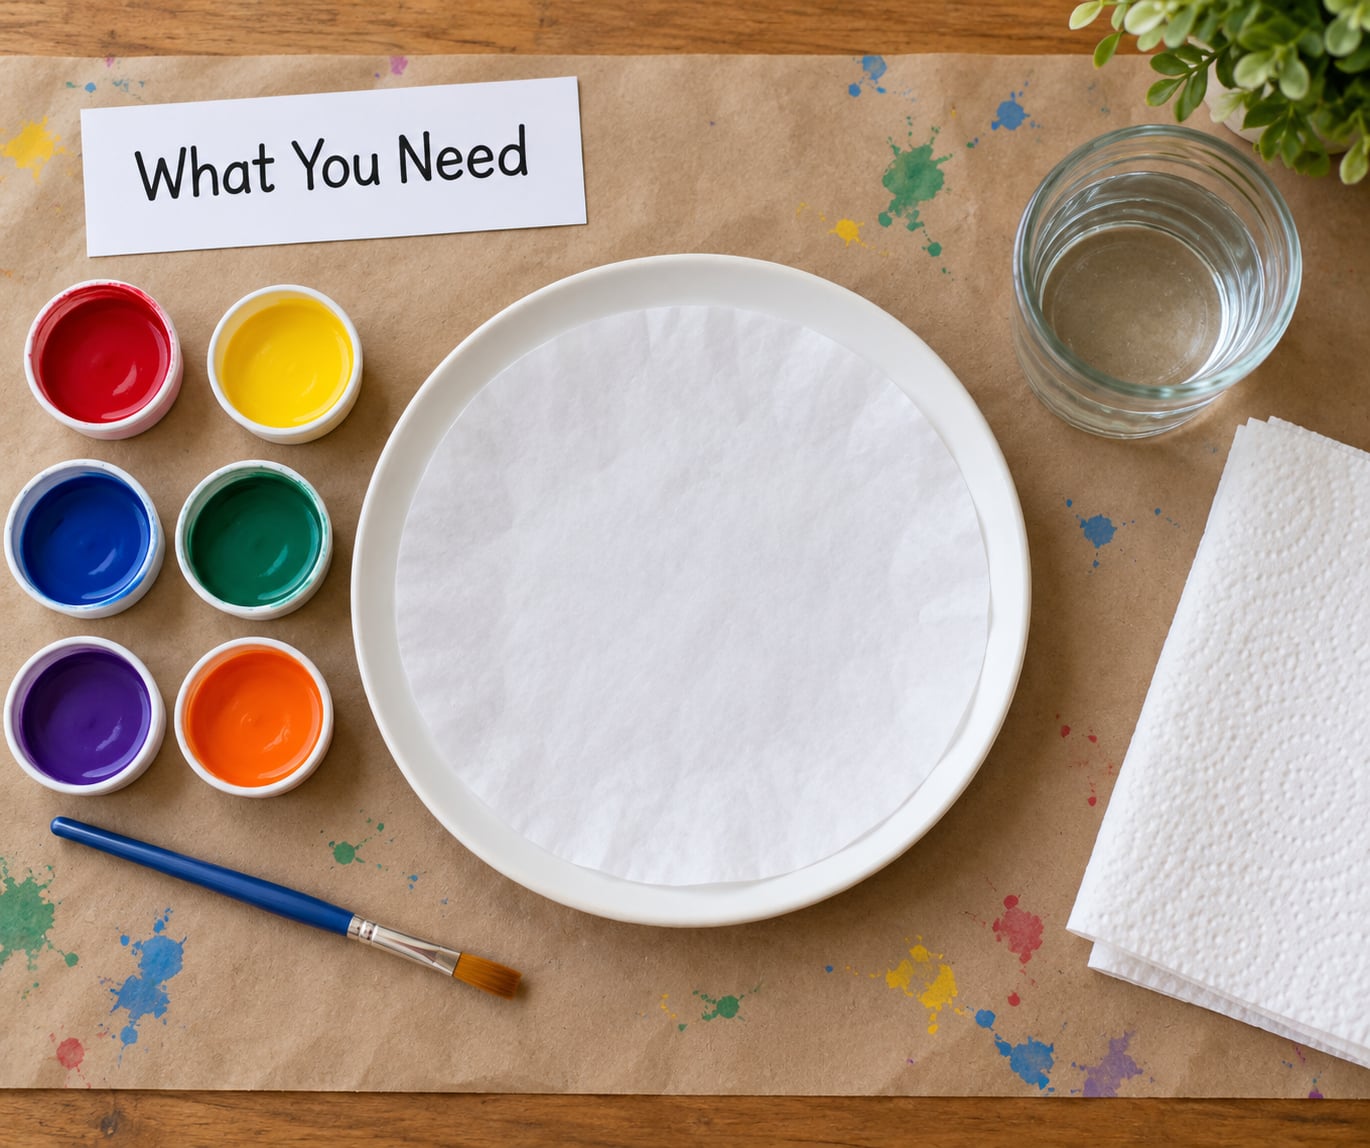
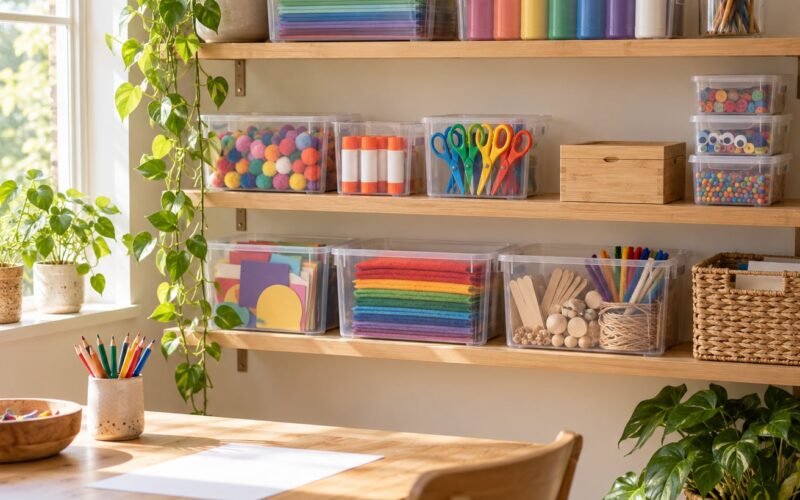
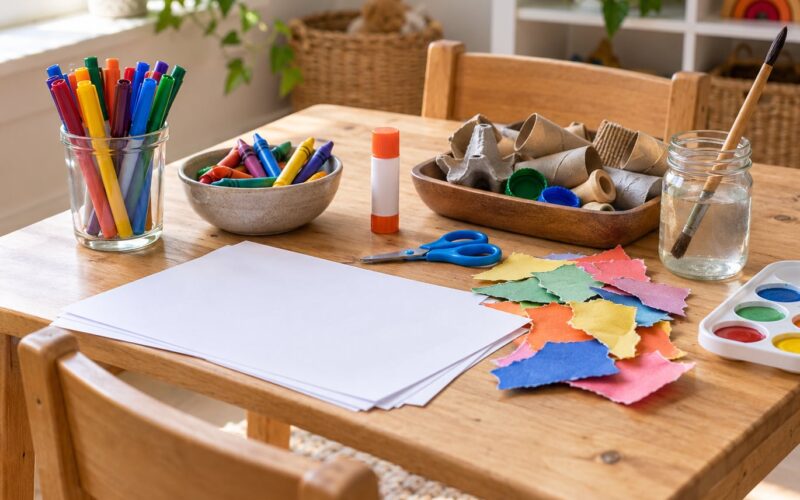
The supply list is short, and most households already have the first three items somewhere in a drawer.
- A flat plate or shallow turntable. A plain paper plate is the easiest starting point. A glass or ceramic dinner plate works too, as long as it sits flat and your fingers can grip the rim.
- Heavy white paper. Cardstock, the back of a sheet of butcher paper, or watercolor paper cut to the size of your plate. Thin printer paper soaks through and tears when you try to lift it.
- Washable poster paint or tempera paint. This is the easiest choice for kids because it rinses out of clothes and skin with warm water and a little scrubbing.
- A brush, a pipette, or a squeeze bottle. All three put a small, controlled drop where you want it.
- A cup of clean water. You will use a few drops of it to thin the paint.
- Something to mix on. A plate lid, a palette, or a scrap of cardboard.
For protecting the table, a plastic tablecloth or a sheet of cardboard under the plate handles most drips. A tray or shallow baking pan underneath catches whatever runs off the rim once the spin gets fast.
If you already own a lazy Susan, a salad spinner with a lid, or a turntable with a low-friction base, any of those swaps in for the plate. They spin more evenly than a plate held in one hand, and the result looks more deliberate.
Step-by-Step
1. Set Up a Protected Work Area
Lay down your table covering first, before any paint comes out of the bottle. Set the plate in the middle of it with enough clear space around the edge that a fast spin sends paint onto the cloth and not onto your wall.
You know the setup is right when you can turn the plate quickly with one hand and nothing shifts. Sit or stand so your forearm rests against the table edge. That support is what keeps the plate level, and a level plate is the difference between a clean spiral and a wobbling blur.
2. Secure the Paper to a Plate
Trace your plate onto the paper and cut it out. Lay the circle on the plate and run one or two drops of water across the back of the paper.
The dampening softens the paper enough to grip the plate as it dries. Press the edges down with your fingertips and work outward from the center so you push out any trapped bubbles instead of sealing them in. A small bubble under the paper becomes a dry white crater in the finished piece.
Check the fit by looking straight down. You want no raised edges, no wrinkles, and no daylight under the rim. If the paper lifts when you breathe on it, add another drop of water and press it down again.
3. Test the Paint Consistency
Put one teaspoon of paint on your palette and add water a drop at a time. Stir until it flows off the brush in a slow ribbon rather than a stiff rope.
Toothpaste-thick paint stays put in a fat blob and pushes other colors out of the way. Water-thin paint sprays off the paper. The right middle is closer to cream than to milk.
A quick test: put a dab of your thinned red next to a dab of thinned blue. Let them touch. If a thin line of clean purple forms where they meet, the consistency is right. If they turn into a brownish smear straight away, you are mixing before you spin.
4. Build the Spin Art Design
Now you are going to make spin art without a machine working against you, so keep the design small. Start with three drops of paint right at the center of the paper, each one about the size of a nickel.
Spacing matters more than quantity. Colors that touch before spinning blend together and go muddy. Colors with a finger’s width of white paper between them stay separate all the way to the rim.
You can vary the shape. A row of five drops makes parallel bands. Concentric rings of one color make a target. A short line of two colors makes a comet. All of them are ready when the paint sits on top of the paper instead of sinking into it.
5. Make Spin Art Without a Machine
This is the whole trick, and it is easier than most people expect. Grip the plate at its rim with the fingertips of one hand, thumb on top, fingers underneath.
Push forward and slightly down, then let the plate rotate while you gently resist it. Use your forearm rather than your fingers alone, because the bigger muscles give you a smoother, more even rotation. Speed up for two or three seconds, then pull your hand back in a straight line.
The pull-back is what separates a good spin art from a blurry one. Tapering the speed in the last half second lets the paint leave the paper in long, curved streaks that sweep from the center toward the rim. Stopping hard or lifting your hand suddenly cuts those streaks short and you get spots instead.
Stop the plate by pinching the rim gently between two fingers once it slows to a crawl. Then lift it straight up. Dragging the plate across the table as it stops smears the pattern.
6. Add Layers or Make a Repeat Design
Spin again over the same paper with a new color from the same center. The second layer cuts across the first and gives you the layered, woven look that makes spin art look professional.
Good second colors are complements of the first. Red over teal, yellow over purple, orange over blue. Two or three layers is plenty; by the fourth the design turns into a single blended wash and the distinct trails disappear.
There is real learning in repeating the same design on a fresh sheet. Kids who spin once and move on rarely experiment. Give them three identical sheets and three colors and see what they change first.
7. Let the Artwork Dry and Remove It
Washable tempera needs twenty to thirty minutes to dry enough to lift, and longer to harden fully. Set the plate somewhere flat where nobody will bump it.
When it feels dry to a light touch, run a fingernail along the edge of the paper to break the seal it formed against the plate. Peel from the rim toward the center, keeping the paper flat and not bending it.
If the paper tears, it was probably soaked through or dried too long. For the next one, use a thicker sheet or leave the paper damp in the center when you press it down.
Common Mistakes
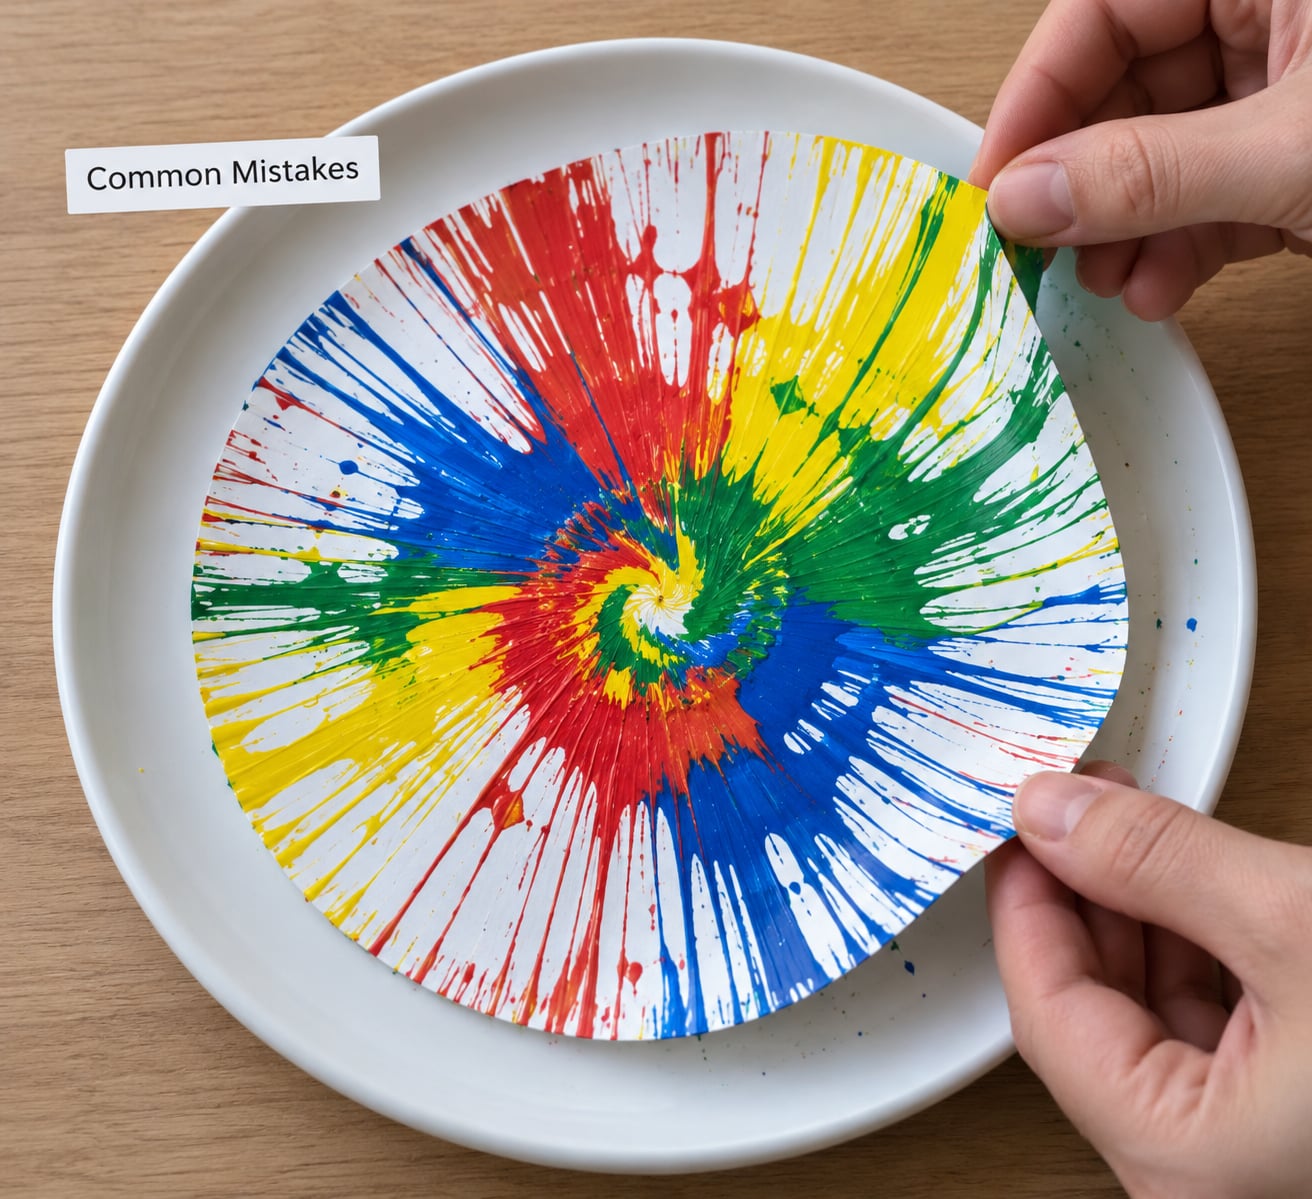
Nearly every disappointing spin art comes down to one of five things, and all five have a simple fix.
- Paint runs off the paper. It was too thin, or the plate was tilted. Thicken the paint a couple of drops and keep the plate level by resting your forearm on the table.
- The spin stalls after half a second. You were gripping the plate too tightly. Hold only the rim with a light touch and push with your forearm. If it still stalls, the surface is too rough, which means a lazy Susan or a smooth plate will go faster.
- The colors look muddy. The drops were touching before the spin, or you added too many layers. Put real white gaps between every color and stick to two layers.
- The paper tears when you lift it. Either the paper is too thin or it dried for too long. Use cardstock, and lift within about half an hour of it feeling dry.
- The paint ends up everywhere. Speed is the culprit. A fast spin throws paint past the edge of the paper every time. Start slower than you think you should, and add a sheet of cardboard under the plate to catch what comes off.
A few extra tips once the basics are working. Three colors is the sweet spot, because more than that and the eye cannot separate them. Tap water is fine for thinning, but very cold water slows the paint down and leaves lumps.
Household spinner variations are worth a try. A salad spinner with a hole in the lid lets you drip paint in mid-spin. A lazy Susan held and turned by hand gives a larger, more even circle than any plate. Whatever you use, the pattern comes from your wrist, not from the device.
Frequently Asked Questions
What kind of paint works best for spin art?
Washable tempera or poster paint is the easiest choice, especially with kids, because it rinses out of clothes and skin and cleans up with warm water. Thinned acrylic gives brighter, longer-lasting color and takes more effort to wash off. Watercolor is calm and produces soft, pale trails, while food coloring is cheap and vivid but stains almost everything it touches.
Can a lazy Susan replace a spin art machine?
Yes, and it is often better than a plate because the low-friction ball bearings keep the turntable spinning evenly with far less wobble. Turn it with a push-and-release motion from your forearm rather than gripping it hard. A lazy Susan also has a wider, flatter surface, so it holds bigger sheets of paper than a dinner plate will.
How do you get the spin art effect with paper?
The effect comes from rotation. Fasten a circle of heavy paper flat onto a plate or turntable, drip small paint drops in the center, then rotate the surface steadily and pull your hand away as it slows. The outward pull carries the paint into curved streaks. Thin the paint first with a few drops of water so it flows instead of sitting in a blob.
What age is appropriate for making spin art?
Around three years old is a good starting point, because at that age most children can hold a brush and understand the spin motion, even if the pattern ends up blobby. Younger toddlers enjoy it as a sensory activity while you control the plate. From five or six up, kids can run the whole sequence themselves, including thinning the paint and choosing colors.
Can you reuse a plate after making spin art?
Usually, yes. Lift the paper while it is still slightly damp and the plate rinses clean under warm water in under a minute. If you left the art to dry fully, soak the plate so the paint loosens before you scrub. A plastic paper plate can usually be thrown away and replaced rather than washed, which makes it the cheaper sacrificial option.
Start with a Plate and Three Colors
Learning how to make spin art without a machine comes down to the first five minutes, so keep them small. Cut a circle of paper, press it onto a plate with a couple of drops of water, and pick three washable colors.
Drip each color in the center with a finger’s width of bare paper between them. Then push the plate forward with your forearm and pull your hand away as it slows down. Go slower than feels natural. The streaks are always longer than you expect when the speed ramps up gently, and speed is what throws paint onto your table.
Expect the first one to be a muddy circle. That is normal, and the second one is better. Once the plate method clicks, the same technique works on a lazy Susan or a plate with a wider rim, and the paper gets bigger each time.