String pull painting is a paint-pulling technique: you dip a length of string into wet paint, lay it on wet paper or canvas, and slowly draw it out to leave mirrored, feathered lines behind. Learning how to do string pull painting takes about 15 minutes and no brush skill at all, and it works beautifully with washable tempera for young kids or fluid acrylic on canvas for adults.
It is a messy process, which is exactly why kids love it. Lay down a drop cloth, keep paper towels within reach, and accept that the first pull will never look like the one in a video. The abstract result is always worth the paint on your sleeves.
Table of Contents
- What You Need
- Step-by-Step
- How to Do String Pull Painting Without Tangled Lines
- How to Layer Colors in String Pull Painting
- How to Finish and Display the Painting
- Common Mistakes
- Frequently Asked Questions
- What kind of paper is best for string pull painting?
- Do I need to let the paint dry between colors?
- What string can I use for string pull painting?
- How do I keep string pull painting from becoming muddy?
- Can children do string pull painting independently?
- How long does a string pull painting take to dry?
What You Need
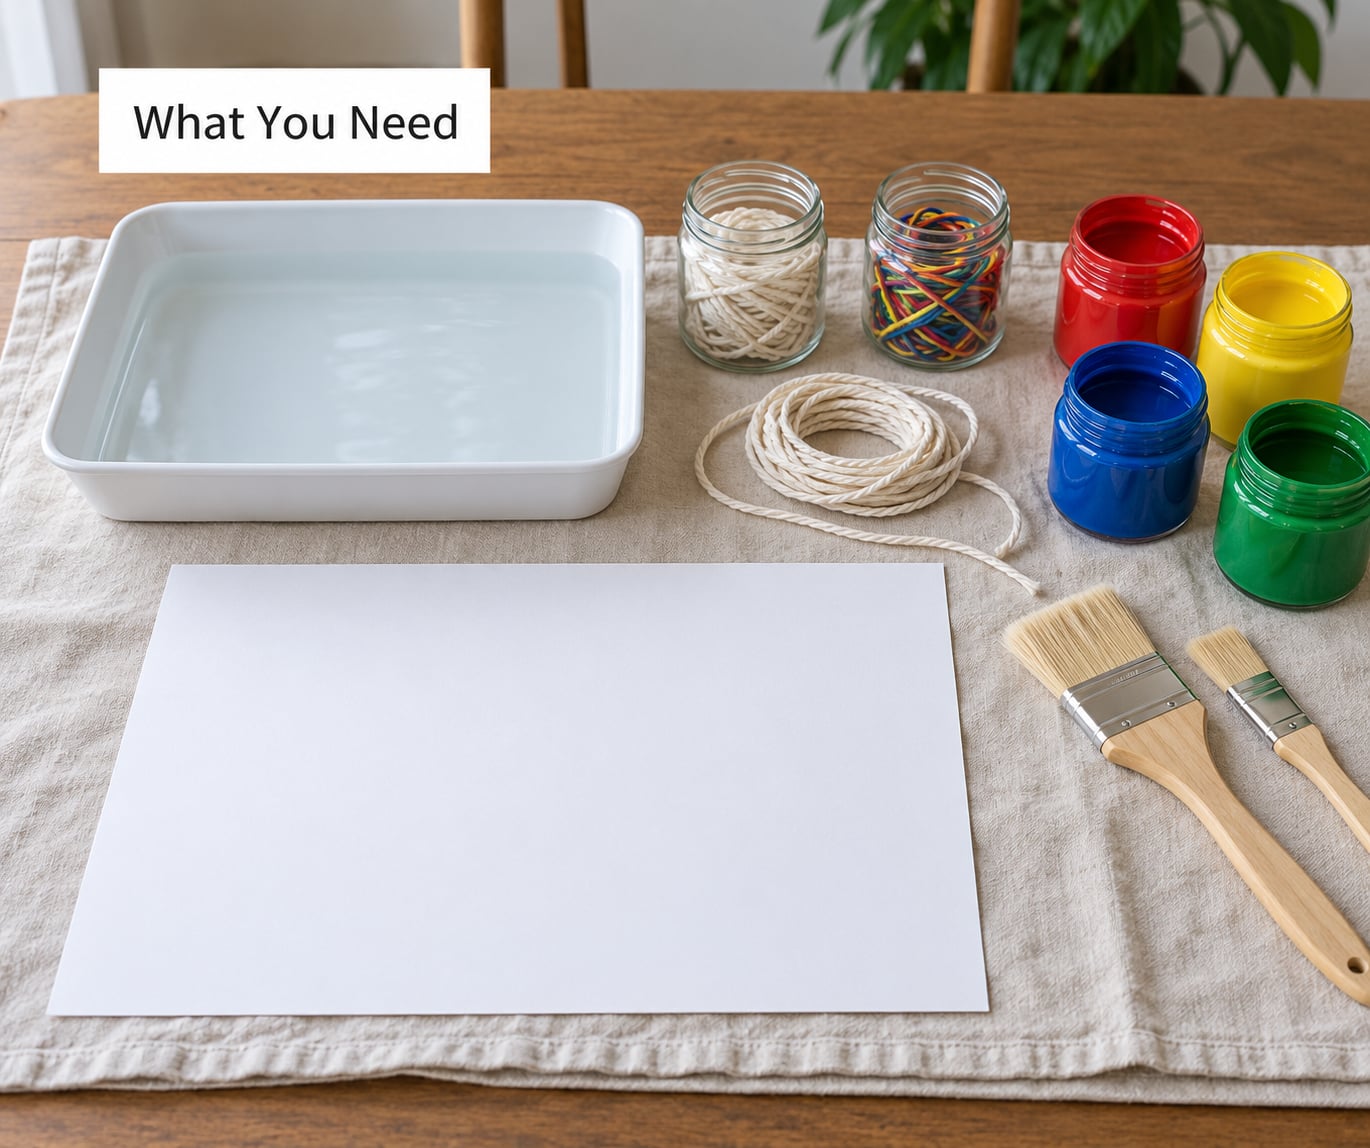
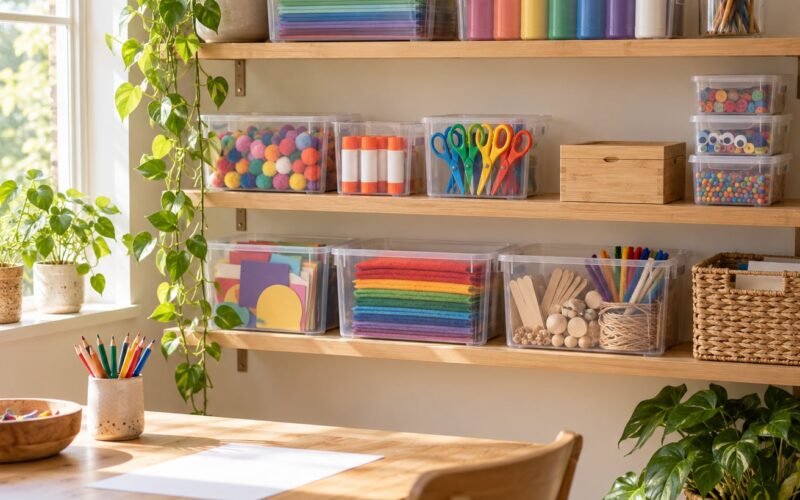
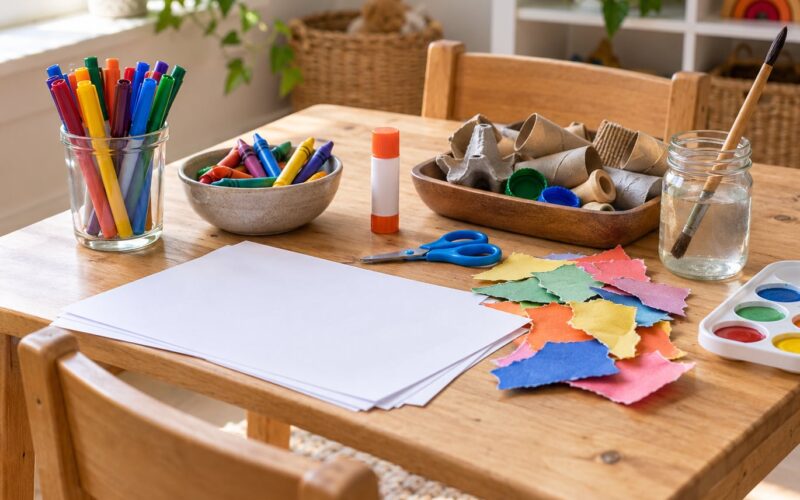
Everything for one painting fits on a tray. You can do this on heavy cardstock for the kid version, or on a small stretched canvas if you want something you can frame.
- Surface: 160 gsm or heavier cardstock, or a small stretched canvas. Regular printer paper tears during the pull.
- Paint: washable tempera or liquid watercolors for kids, acrylic for a more permanent piece. Two contrasting colors give you the cleanest first result.
- String: cotton string, twine, yarn, crochet thread or ball chain. Twelve to eighteen inches is the comfortable working length.
- Water: a shallow tray or jar for rinsing the brush and string between colors.
- Two or three small jars for holding paint, plus a paper plate or palette.
- Broad flat brush, a craft stick or toothpick, and paper towels.
- Drop cloth or newspaper covering the whole work area, not just the paper.
Washable, non-toxic tempera is the safest pick for small hands. An adult should cut the string and handle loose cord around any child under three, since it is a strangulation risk until they are old enough to sit safely and follow directions.
Step-by-Step
The steps below work for both versions of string pull painting. Follow them in order the first time; after that you will improvise most of it.
- Cover your surface. Lay the drop cloth or newspaper down first and put your paper or canvas on top of it. Everything you do next will drip.
- Prepare the paper. For the kid version, fold the cardstock in half and open it flat again, leaving a soft crease you can line the string up with. For canvas, skip the fold.
- Wet the surface. Brush a thin, even layer of clean water over the paper or canvas. You want it damp, not dripping. Water keeps the paint moving while you pull.
- Pour your colors. Squeeze one color into each jar and dilute it until it flows off the brush in a ribbon rather than a thick rope. Tempera usually needs equal parts water; acrylic usually needs nothing.
- Dip the string. Run the string through paint in one jar, then into the second jar for a two-tone string. Leave a dry gap of about two inches at each end to hold.
- Wipe off the excess. Pull the string between two fingers as it leaves the jar. Paint that drips off here would land as a blob instead of a line.
- Lay the string down. Set it along the fold line, directly on the damp surface, without letting the painted part touch itself. Loosely curved lines look organic; tight loops tangle.
- Pull slowly. Press lightly with the craft stick along the top of the string, then draw one end out at a steady, even pace over about three seconds. You should see two mirrored lines appear.
- Repeat and dry. Work in bands, rinsing the string and brush between each one. Leave the painting flat and undisturbed until it is fully dry.
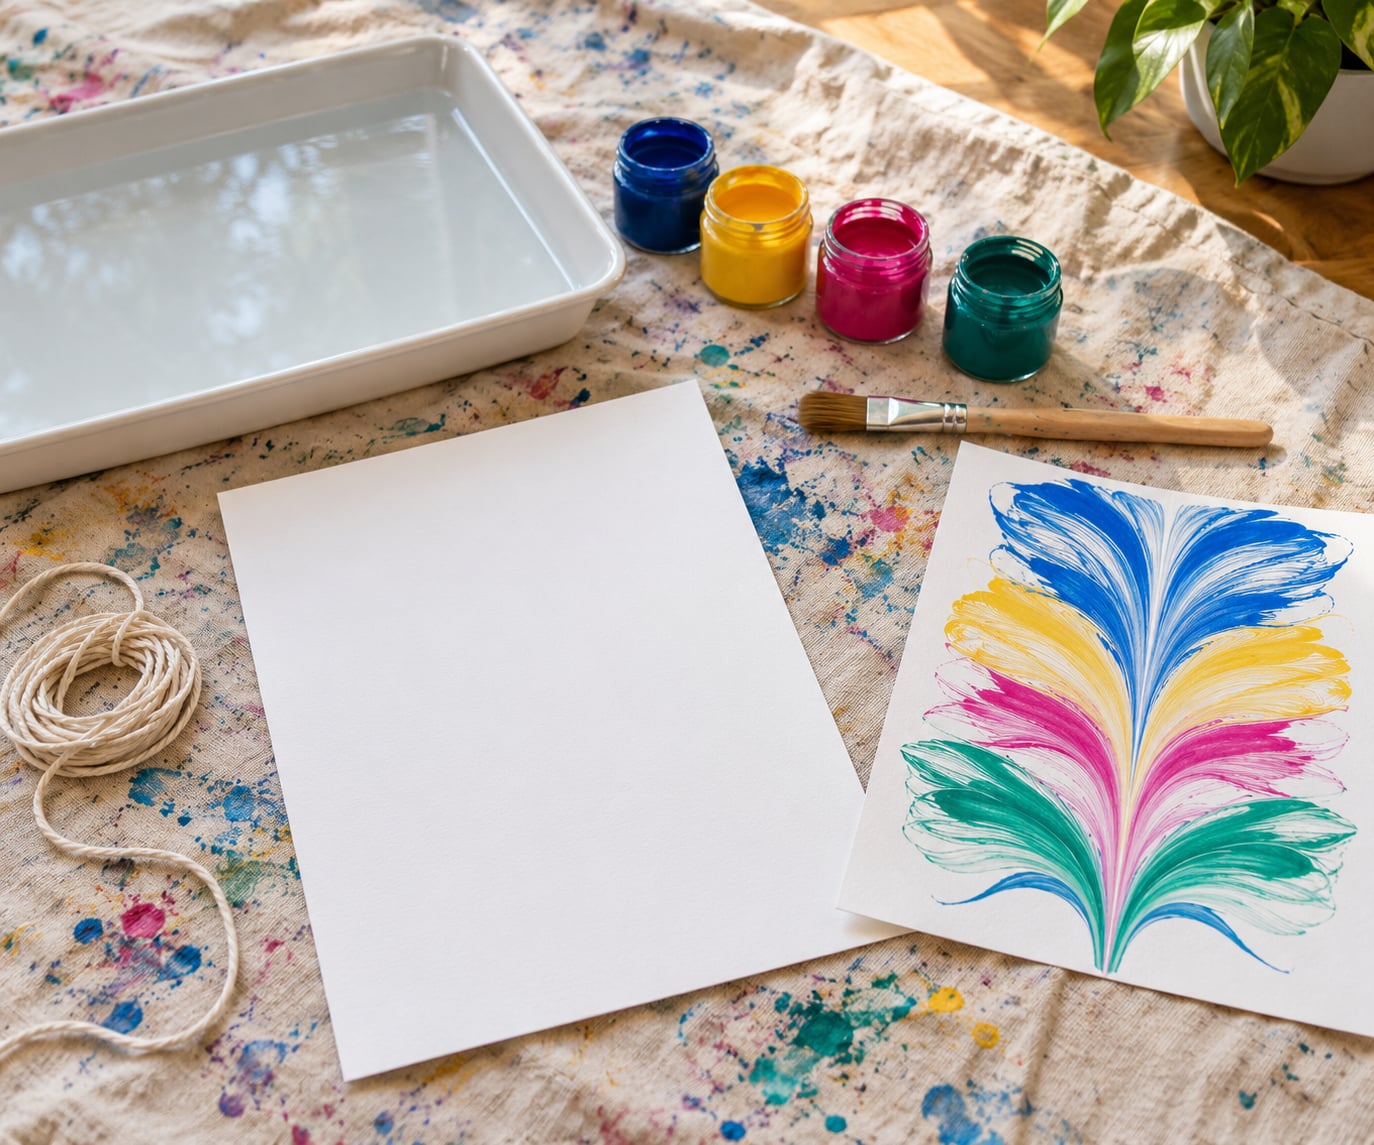
A clean pull leaves a continuous ribbon of color with no bare gaps. If you see a dotted trail instead, you pulled too fast; if you see a thick blob, you loaded too much paint.
How to Do String Pull Painting Without Tangled Lines
The mirror lines only look crisp when the string leaves the surface in one unbroken movement. Lay it down gently with the painted section in a single open curve, never a figure-eight or a loop back on itself, because overlapping string deposits paint on top of paint and turns into a muddy patch.
Keep the string parallel to the edge of the paper for your first try. Once you have three clean bands, you can angle it, change direction, or bunch the string into a loose zigzag for feathery fans. Beginners who pull too quickly get broken lines, so count slowly: one, two, three.
Rinse the string under the tray after every pull. Paint dried on the fibers makes the next pass stiff, and a stiff string snags on the paper instead of gliding off it.
How to Layer Colors in String Pull Painting
Add a second color by redipping the same string or using a second length in the other jar. Lay the new band within about half an inch of the wet one and the two edges will feather into each other naturally.
For a sharper boundary, let each band settle for a minute before the next. A workable rule is one to two colors per string; dip the ends into two colors only, since carrying three or more on one length is the fastest route to mud.
You know a band is ready for the next pass when the shine on the surface turns matte at the edges and stops creeping outward. Then use the flat brush to pull a few strokes of clean water through the middle of a band if you want a soft blended vein instead of twin lines.
How to Finish and Display the Painting
Lift the string off the last band by pulling straight back rather than upward, so no wet paint smears sideways. Then leave the piece flat, dust-free and out of the sun for 24 to 48 hours before you touch it again.
Once dry, add details with a fine brush: dots of white for flower centers, a stem of green for leaves, or thin white accents on a feather shape. Details stick best to tempera the day after it dries and to acrylic after a full cure.
Cardstock pieces can be trimmed and mounted as greeting cards. Canvas pieces want a sealer once fully cured, and a frame afterwards, since acrylic keeps moving for weeks.
Common Mistakes
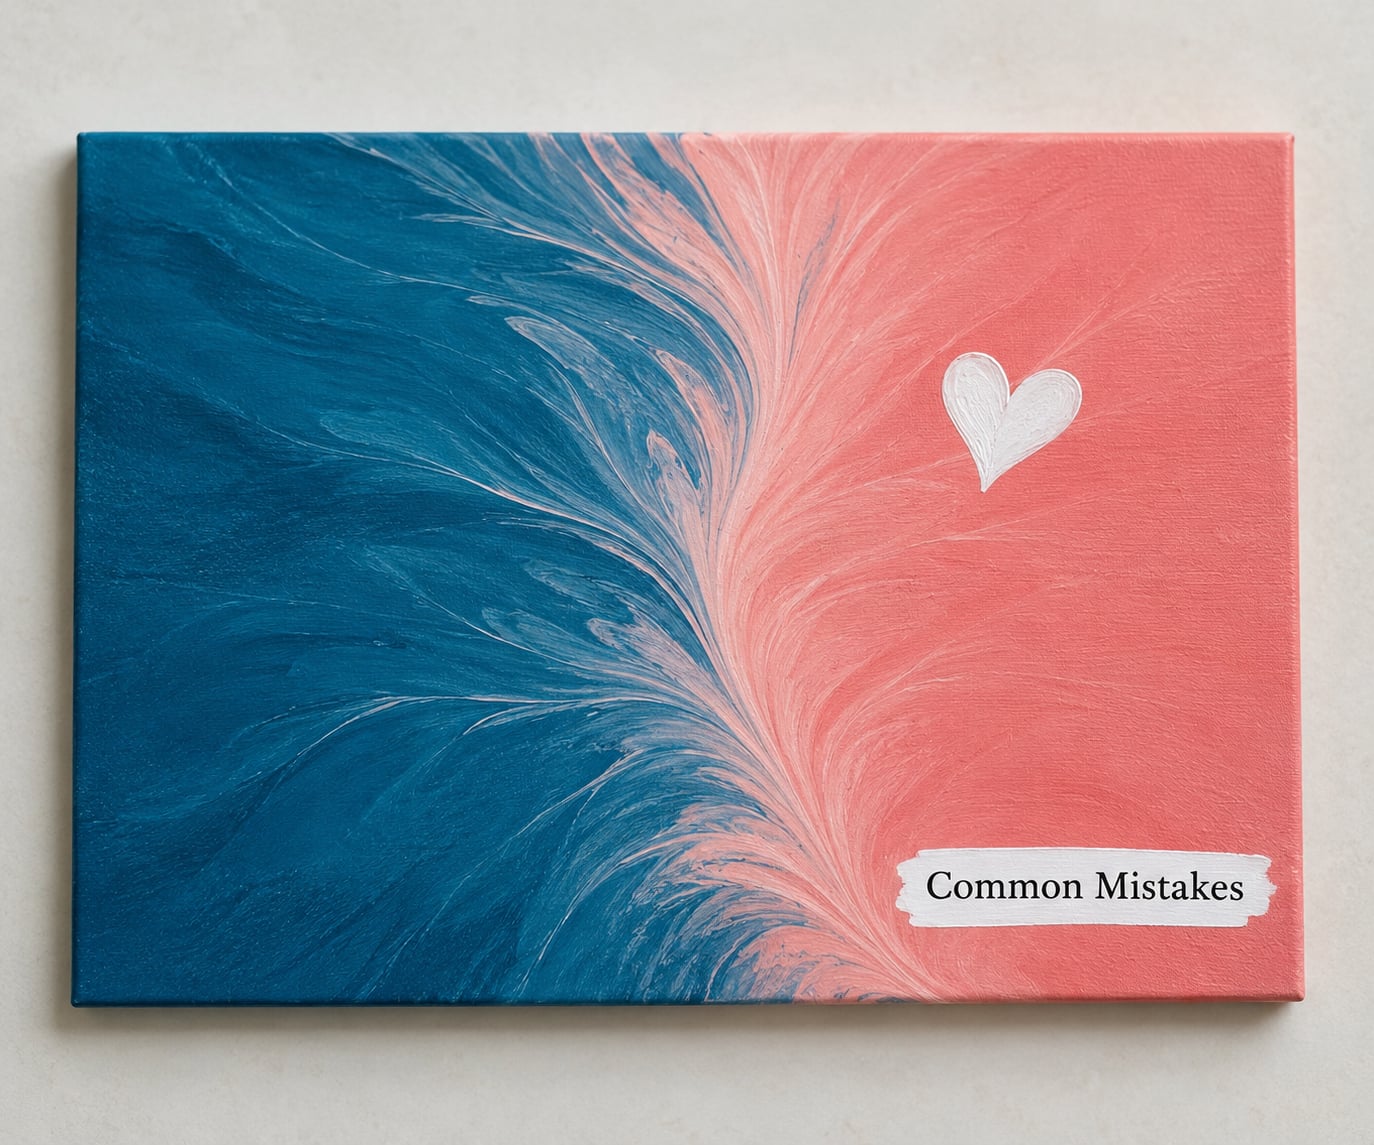
Almost every disappointing pull has one of a handful of causes. Find the symptom below and fix it on the next attempt.
- Dull, chalky color. You thinned the paint with plain water instead of a pouring medium, which dilutes the pigment. For fluid acrylic work, mix paint with pouring medium or Floetrol at roughly equal parts and add water only a drop at a time.
- Blobs instead of lines. Too much paint on the string. Wipe it between two fingers as it leaves the jar, and hold the end above the tray for a second before laying it down.
- Muddy, brownish areas. Too many colors on one string, or two wet bands placed too close together. Use fewer colors per pass and give each band a moment to settle.
- Broken or dotted lines. You pulled too quickly or the paper was dry. Keep the surface damp and count to three as you draw the string out.
- The string snapped. Old string, or too many passes without rinsing. Swap for a fresh length and rinse under the tray after every pull.
- Torn paper. Printer-weight stock is too thin. Move to cardstock or canvas.
- Paint running off the edges. Too much water in the jars or on the paper. Sponge up the excess and keep the border of the sheet a little drier than the middle.
- Paint still tacky a day later. The layer is too thick. Thin the mix, since thick coats take far longer to cure.
A hairdryer on the cool setting, held about a foot away, moves paint into organic cells after the pull. Keep it moving and use it while the paint is still wet, not as a way to hurry up drying.
For varied designs, try one string dipped in three colors for a marbled look, two different lengths side by side for variety, or a deliberate zigzag to make feather and leaf shapes. When the session ends, rinse string and brushes in the sink, wipe the tray, and roll up the drop cloth before the paint sets.
Frequently Asked Questions
What kind of paper is best for string pull painting?
Heavy cardstock, around 160 gsm or thicker, gives the most reliable pull for beginners. Regular printer paper is too thin and usually tears as you draw the string out. Stretched canvas works well too and gives you a piece you can seal and frame. Whichever you choose, put it on a flat, protected surface and keep it damp while you work.
Do I need to let the paint dry between colors?
No, not between layers. String pull painting is a wet-on-wet technique, and the colors feather together because the surface is still damp. Let each band sit for a minute or two before adding the next one, otherwise fresh paint can flood your clean lines. You do need to wait before the final stage: let the finished painting dry flat for 24 to 48 hours before sealing, varnishing or framing it.
What string can I use for string pull painting?
Almost anything absorbent works. Cotton string and twine give medium, soft lines that forgive beginner mistakes. Yarn gives thicker, fluffier bands. Crochet thread or embroidery floss give fine, sharp lines but carry less paint. Ball chain, the kind used for a lamp pull, lays down repeated dotted lines. Use twelve to eighteen inches of whatever you have and rinse it between colors.
How do I keep string pull painting from becoming muddy?
Limit each pass to one or two colors. Overloading a single string with three or more colors is what turns a pull brown, and the same happens when two wet bands are placed directly on top of each other. Leave a small gap of about half an inch between bands, let each one settle until the edges go matte, and keep a jar of clean water ready to rinse the string between dips.
Can children do string pull painting independently?
Preschoolers can, with an adult nearby. The steps are simple enough: dip, lay, pull. Keep an adult in the room to handle the string and sharp tools, and skip loose cord entirely for children under three. Choose washable non-toxic tempera or liquid watercolors, cover the table, and expect the painting to be finished in about 15 minutes with cleanup taking longer than the art.
How long does a string pull painting take to dry?
Tempera and liquid watercolors feel dry to the touch in two to four hours but need 24 to 48 hours before you varnish or frame them. Fluid acrylic takes longer still, and a thick pour can stay tacky for several days. Dry the painting flat, dust-free and out of direct sunlight, and wait until the whole surface is matte rather than just the edges.
Start simple: cover the table, cut a foot of string, dilute two contrasting colors in water, and lay your first band along a fold line on cardstock. Pull it out slowly over three counts. Once you have three clean mirrored lines, try a curve, then a second color, and the rest of the technique writes itself.