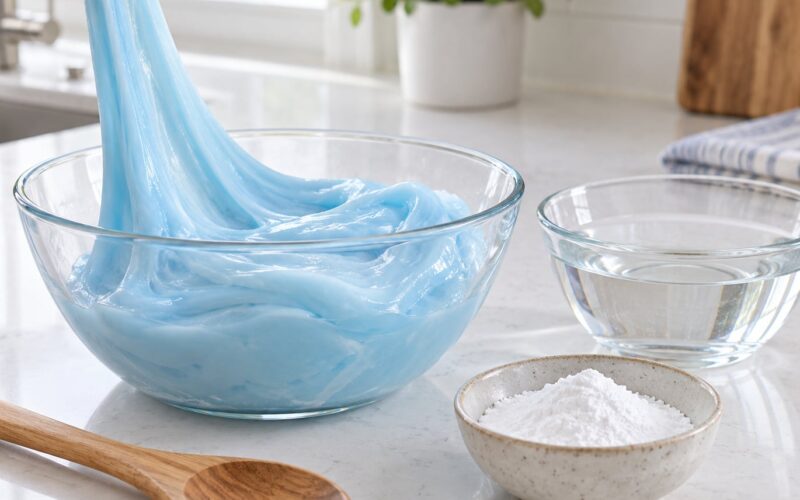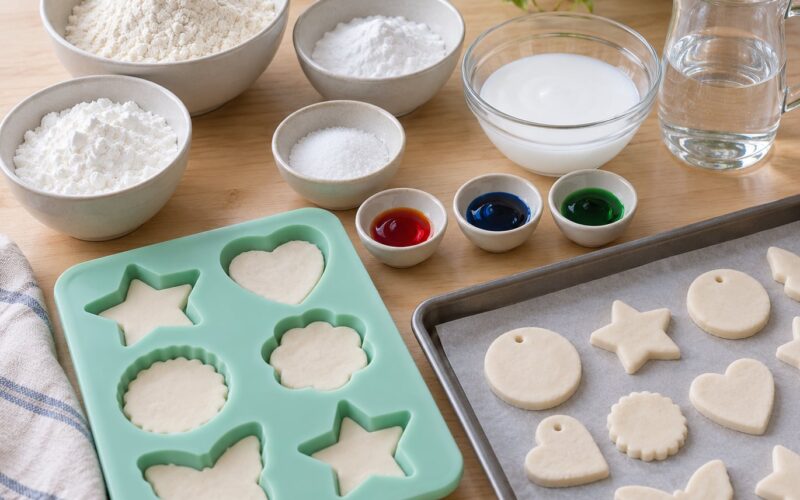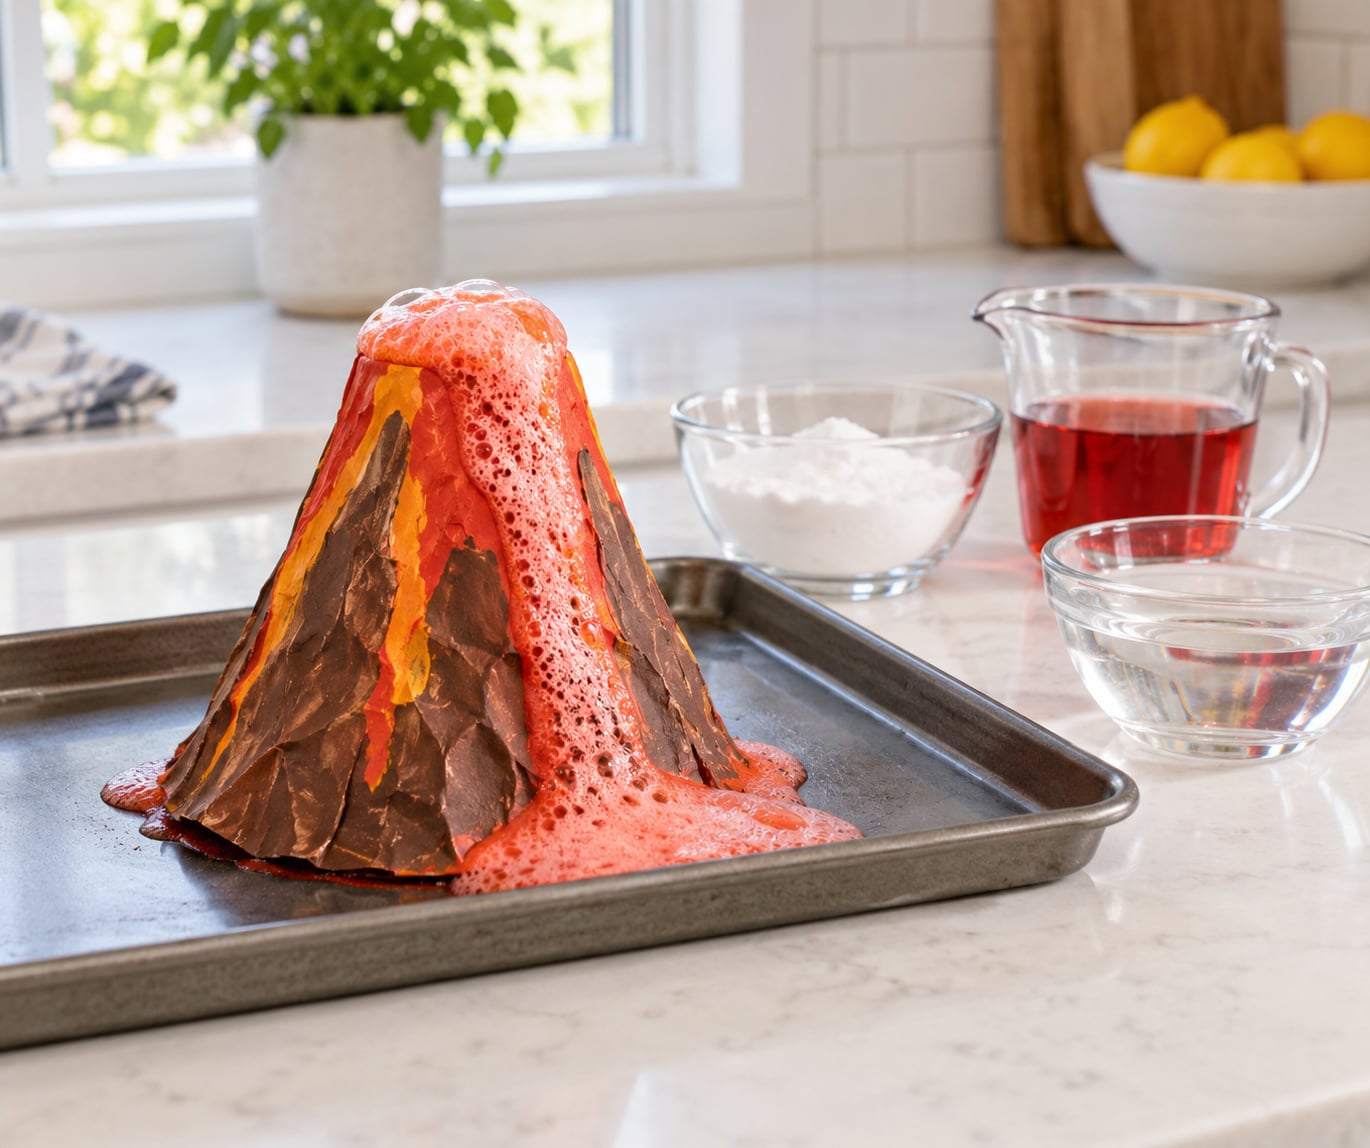
A baking soda volcano is a cone of flour-and-salt dough with a paper cup crater, filled with a slurry of baking soda, warm water, and dish soap. Pour vinegar in at the last second and it erupts in foamy, colored lava within seconds, with no fire and nothing that needs cooking. Build one in about 30 minutes, then let it dry overnight if you want it to hold its shape for days.
This is how to make a volcano with baking soda that actually erupts instead of producing a sad puddle. The three things that decide whether it works are the dough consistency, a narrow container, and keeping the baking soda and vinegar apart until the moment of the pour. Get those right and the whole thing is over before the kids lose interest.
I have run this experiment with three kids across a kitchen table, a bathtub, and once a sheet of plywood on the driveway, and the failures were almost always the same three. What follows is the version that works, plus the fixes for the ways it goes wrong and a few ways to turn it into an actual science project rather than a one-off surprise.
Table of Contents
- What You Need
- Step-by-Step
- How to Make a Volcano with Baking Soda: Mix the Dough
- Shape the Volcano
- Prepare the Lava Mixture
- Trigger the Volcano Eruption
- Common Mistakes
- Tips for a Fun Family Experiment
- Frequently Asked Questions
- Can I use red food coloring for a more realistic volcano?
- Can I make the volcano ahead of time?
- Why is my baking soda volcano not foaming?
- Can I replace vinegar with lemon juice?
- How can I make the eruption last longer?
- Is baking soda volcano foam safe to touch or play with?
- Conclusion
What You Need
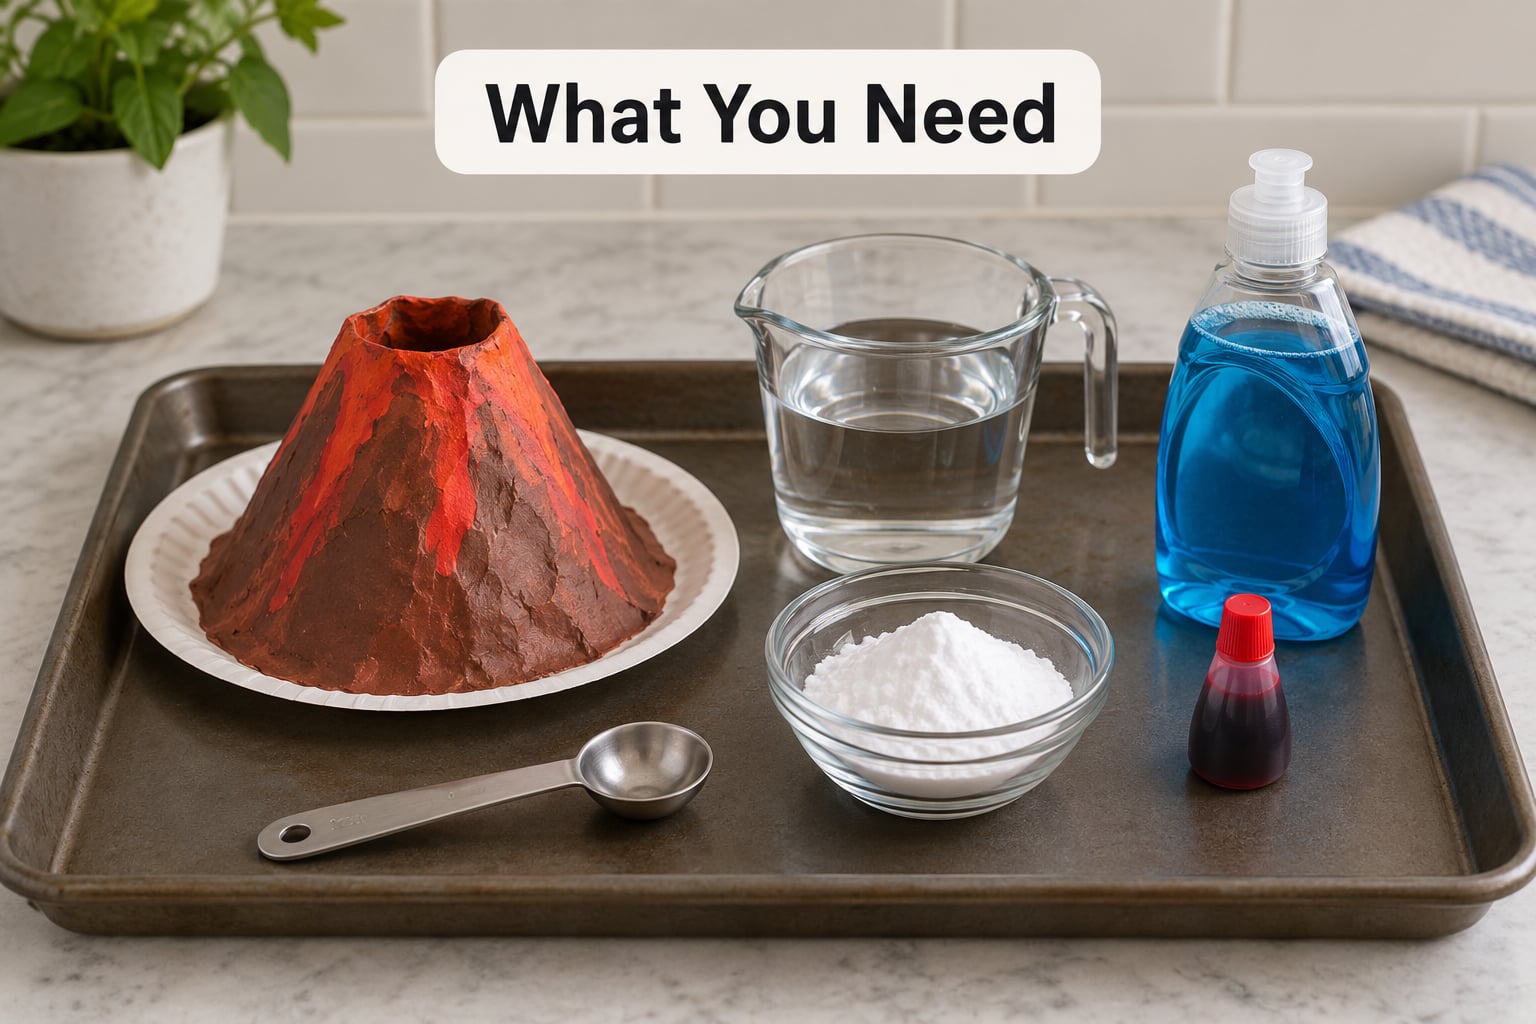
Everything comes from a standard pantry, and the total is small enough that you can make two or three without a second thought. Group projects go faster if you measure everything into small cups before anyone starts, since the pour is the exciting part and nobody should be doing arithmetic at that moment.
For the volcano structure
- 1 cup all-purpose flour
- 1/2 cup table salt
- 2/3 cup water, plus a little extra if the dough feels dry
- 1 small paper cup or a narrow-neck plastic bottle
- 1 baking sheet, baking pan, or rimmed tray
- Optional: food coloring, washable markers or paint for decorating the cone
For the eruption
- 2 tablespoons baking soda
- 1/4 cup dish soap, clear or unscented
- 1/2 cup warm water
- A few drops of red, orange, or yellow food coloring
- 1/2 cup white vinegar
Baking powder is not a substitute for baking soda. The reaction depends on sodium bicarbonate reacting with acid, and baking powder already contains its own acid, so the chemistry never gets going. If you want a stiffer cone, add an extra tablespoon of salt.
For the container, height matters more than anything else in the structure. A paper cup gives a compact crater that throws lava a few inches. A narrow-neck bottle or a trimmed plastic cup produces a taller column because the foam has less room to spread out. A wide yogurt tub is the flattest option and the least dramatic.
Lemon juice works in a pinch, though it is weaker and reacts more slowly. The dough also takes longer to reuse after lemon juice because the acid weakens it.
Step-by-Step
How to Make a Volcano with Baking Soda: Mix the Dough
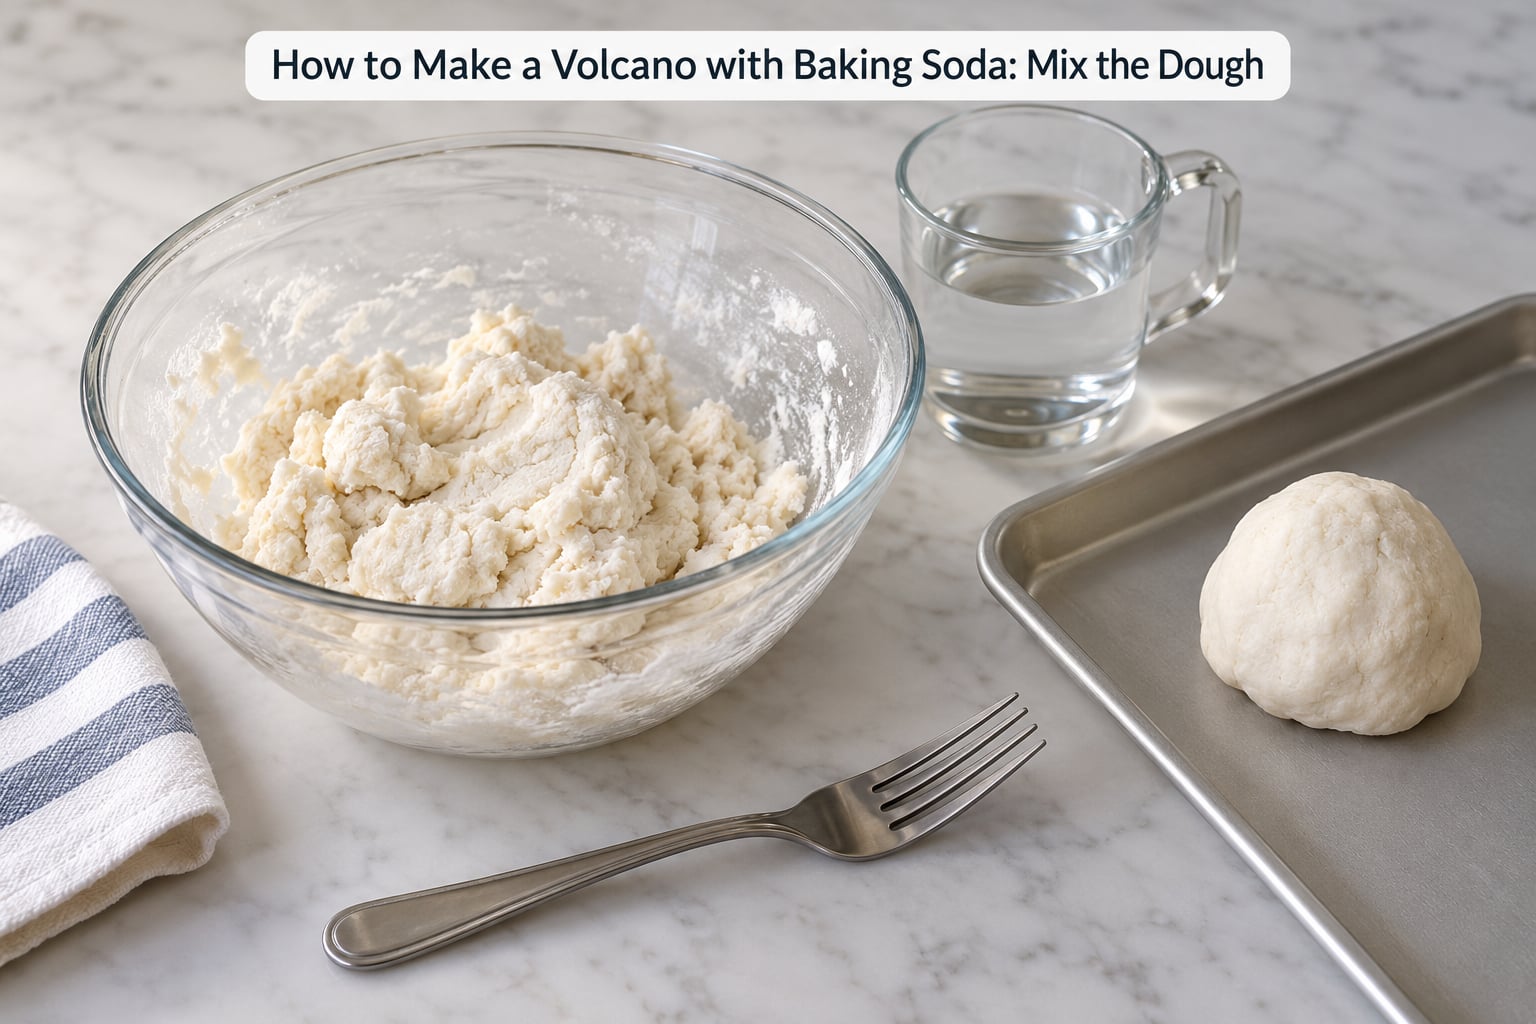
Stir the flour and salt together in a wide bowl, then add the water a spoonful at a time. The dough is ready when it holds together as a ball when you squeeze it but still breaks apart under a light thumb press, roughly the texture of soft play dough. A wet dough slumps and spreads; a dry one cracks at the edges.
Knead for two or three minutes, then leave the ball to rest. Twenty minutes of rest is enough for a same-day project, and overnight rest gives you a cone that holds its slopes much better. A rested dough also sticks to itself rather than to your fingers, which is worth the wait.
If the dough tears instead of bending, work in a teaspoon of water at a time. If it clings to the counter, dust in a teaspoon of flour. Neither correction takes more than a minute, and getting it right now saves you from a puddle later.
Shape the Volcano
Flatten the dough into a patty about an inch thick and six inches across on your tray. Set the paper cup in the center and push it down slightly so the dough grips the rim, which keeps the lava from escaping through the sides during the eruption.
Build the cone in rings around the cup, pressing each layer onto the one below so there are no loose seams. Walls thicker than you think you need are the safer choice, since a thin cone slumps under its own weight once the lava is moving.
Leave the top third of the cup empty, since that is where the foam will rise. Then use a finger to carve a shallow trough from the crater down one side, and poke a pinhole in the bottom of the cup. When the cup fills, the foam will run down the trough like a lava flow instead of pooling around the base.
Prepare the Lava Mixture
In the cup, stir together 1/2 cup warm water, 1/4 cup dish soap, and a few drops of food coloring. Add the 2 tablespoons of baking soda last and stir just until the water looks slightly cloudy and no dry powder is sitting on the bottom.
Dish soap is the ingredient most people leave out, and it is the one that turns thin fizzing liquid into thick, slow-moving foam that holds a shape for a few seconds before it flattens out. More soap makes the eruption taller and longer; less makes it fast and splashy.
Keep the vinegar in its own cup until the very last second. Baking soda starts reacting the moment it touches anything acidic, so anything mixed in advance will foam on your counter instead of in the crater.
Trigger the Volcano Eruption
Pour 1/2 cup of vinegar into the crater in one steady stream and step back about three feet. Foam starts climbing almost immediately, hits the rim within five seconds, and spills into the trough you carved.
You will see fizzing at the surface, foam rising past the cup, and colored lava moving down the side. If the foam is pale and colorless, the food coloring was added to the water before the baking soda, which is slower to take color than the soap layer.
For a taller eruption, use room-temperature vinegar rather than cold, and pour it all at once instead of in a slow trickle. For a longer one, add an extra tablespoon of dish soap. For a bigger blast, drop the baking soda in as a powder rather than pre-mixed with water, and give the container a moment to rest between pours.
Common Mistakes
Almost every disappointing volcano traces back to one of these five. The fix is usually small and takes under a minute.
The eruption is weak or barely visible. Check the ratio first: 2 tablespoons of baking soda to 1/2 cup of vinegar is the ratio that reliably fills a cup and spills over. Cold vinegar also underperforms, so let it sit at room temperature. A wide crater gives a full cup of foam nowhere to go.
The cone crumbles before it erupts. That is a dough problem, not a chemistry problem. Dough that was not rested cracks at the base, and a tall steep cone leans. Flatten the base wider, keep the slope gradual, and press the layers together firmly.
The dough is sticky and slumping. You went past the sweet spot on water. Work in flour one tablespoon at a time and knead again. A dough that still sticks after that is usually too warm to handle, so let it rest fifteen minutes before kneading further.
It started foaming before you poured anything. The baking soda was in contact with the vinegar too early, either because everything was combined in the cup or because the cone leaked during setup. Pour the vinegar last, into the crater and not onto the dough, and check the base of the cup for damp spots before the big moment.
The cleanup is worse than the experiment. Always use a tray with a rim, and put an old towel under it. Blot food coloring immediately rather than rubbing, since dye sets into fabric and counters within a minute or two. Open a window first, because the vinegar smell lingers for hours in a closed room and the smell is usually what parents complain about, not the mess.
Tips for a Fun Family Experiment
Once the basic version works, the same materials turn into a handful of variations that keep it interesting for repeat runs. Pick one or two rather than trying them all in one session.
- Color variations. Make three craters and use red, yellow, and a mixed orange. Ask kids to predict which color will spread fastest before pouring. Red dye usually moves quickest because it disperses more readily in water.
- Test the container. Run the same mixture through a paper cup, a narrow bottle, and a wide tub, then measure the height with a ruler. This is the easiest variable for a young child to test and one of the most satisfying to graph.
- Keep a science log. Have them write the prediction before pouring and the result after. Three lines per run is plenty, and it turns a sensory moment into a real observation.
- Test vinegar temperature. Warm vinegar in a microwave-safe cup for twenty seconds and cool vinegar in the fridge, then compare. Warm vinegar reacts noticeably faster.
- Adjust for age. Toddlers can skip the dough entirely and use a halved apple with a hole scooped out, which needs no kneading and breaks apart safely. Older kids can measure ratios precisely and calculate how much extra baking soda five more tablespoons of vinegar would need.
- Make it reusable. Build the cone around a plastic cup in a shallow tub and let it dry fully. It survives several runs if you rinse it after each eruption.
A few safety points worth saying out loud. The mixture is non-toxic but not food, so keep it away from little mouths and off tables where anyone eats. Do it on the floor or outdoors, not on a counter, since the foam travels further than you expect. Keep vinegar low and pour slowly if anyone is helping, and expect a splash in the direction of the pour.
Frequently Asked Questions
Can I use red food coloring for a more realistic volcano?
Yes, and red is the classic choice. Add four to six drops of red coloring to the warm water and dish soap before stirring in the baking soda, or mix a little red with a drop of yellow to get orange. If the foam comes out pale, the color dispersed too slowly, so try adding it a little thicker next time.
Can I make the volcano ahead of time?
Yes. The dough cone and the un-mixed dry ingredients can be built a day or two ahead and kept covered at cool room temperature. Do not combine the baking soda with water or vinegar in advance, since the reaction starts immediately and the lava will sit foamed and flat by the time you want it. Bring the vinegar to room temperature before the pour.
Why is my baking soda volcano not foaming?
Check four things in order: that you used baking soda and not baking powder, that the baking soda was still dry when the vinegar hit, that the vinegar was not already mixed into the water, and that the cup was not already wet. A damp cup or a pre-wet dough surface neutralizes the base locally and eats the reaction before it can build.
Can I replace vinegar with lemon juice?
You can, and the result still works. Lemon juice contains the same acetic acid, so it produces carbon dioxide gas, but it is more dilute and the sugar in it can make the foam smell and feel different. Expect a gentler, longer eruption rather than a sharp burst, and expect the dough to be a little more fragile afterwards.
How can I make the eruption last longer?
Add more dish soap. Going from 1/4 cup to 1/2 cup thickens the foam so it holds its shape as it slows down, and a narrow-neck container slows the flow further. Warm vinegar speeds the reaction up while cool vinegar slows it down, which also stretches the show if you want a long, lazy flow rather than a quick blast.
Is baking soda volcano foam safe to touch or play with?
The foam is made from baking soda, soap, water, and food coloring, so it is fine to touch with bare hands and will not burn skin. Wash hands afterward since the dye and soap can irritate eyes if rubbed in. Keep it away from mouths, since the soap and coloring are not meant to be swallowed, and rinse any skin contact with plain water.
Conclusion
Start by mixing 1 cup of flour with 1/2 cup of salt and 2/3 cup of water, then knead it until a squeezed ball holds together. Let it rest while you build everything else. Shape the cone around a paper cup on a rimmed tray, fill the cup with warm water, dish soap, coloring, and 2 tablespoons of baking soda, and keep the vinegar separate until the kids are ready.
Pour the vinegar in, then take a step back and let the foam do the rest. Once you have the base version down, the container test and the color comparison are the two variations worth keeping around, since they turn a fun afternoon into something closer to real science.