A hot glue gun is safe for a child only under three conditions: a low-temperature model, a cleared work station, and an adult within arm’s reach for every squeeze of the trigger. Here is how to teach a kid to use a hot glue gun safely, one stage at a time, so the first session ends with a finished craft instead of a red palm.
Most household guns run between 350 and 430 degrees Fahrenheit. That is hot enough to burn skin on contact and, worse, molten glue sticks to skin instead of sliding off like boiling water does. The danger is not the tool being forbidden. It is a loose setup, a distracted adult, and a child who does not yet know which end of the gun is the hot one.
Classroom teachers routinely skip glue guns because they cannot stand beside every child for the whole lesson. A family craft table is a different situation. You have one child, one gun and full attention, so the lesson is realistic to teach at home.
Table of Contents
- What You Need
- Step-by-Step: How to Teach a Kid to Use a Hot Glue Gun Safely
- 1. Choose the right glue gun
- 2. Prepare a cool, clear work area
- 3. Practice the safe hand position
- 4. Aim before squeezing the trigger
- 5. Set the gun down safely
- 6. Finish one small supervised project
- What to do if a child gets burned
- Common Mistakes
- Frequently Asked Questions
- What age is safe for a child to use a hot glue gun?
- Can a child use a hot glue gun without an adult nearby?
- How do I prevent hot glue burns at home?
- Is cool-melt glue safer than a regular hot glue gun?
- How should I clean up after a child uses a hot glue gun?
- Start With a Supervised Practice Run
What You Need
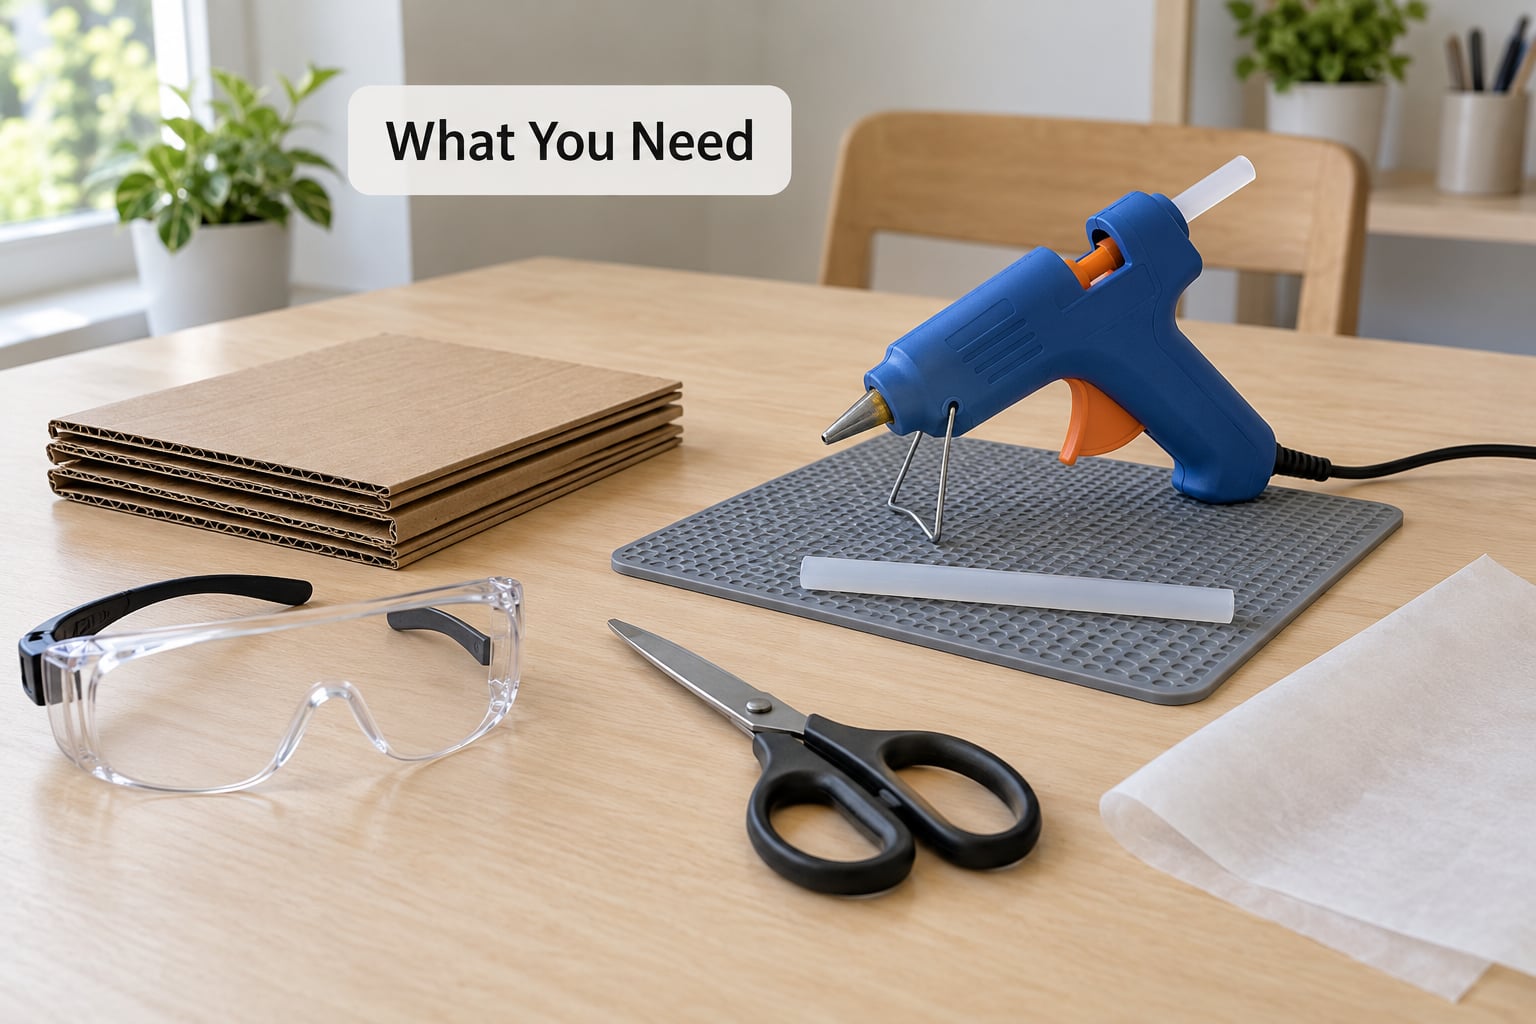
Gather everything before the gun comes out of the drawer. Rushing the setup is how most near-misses happen.
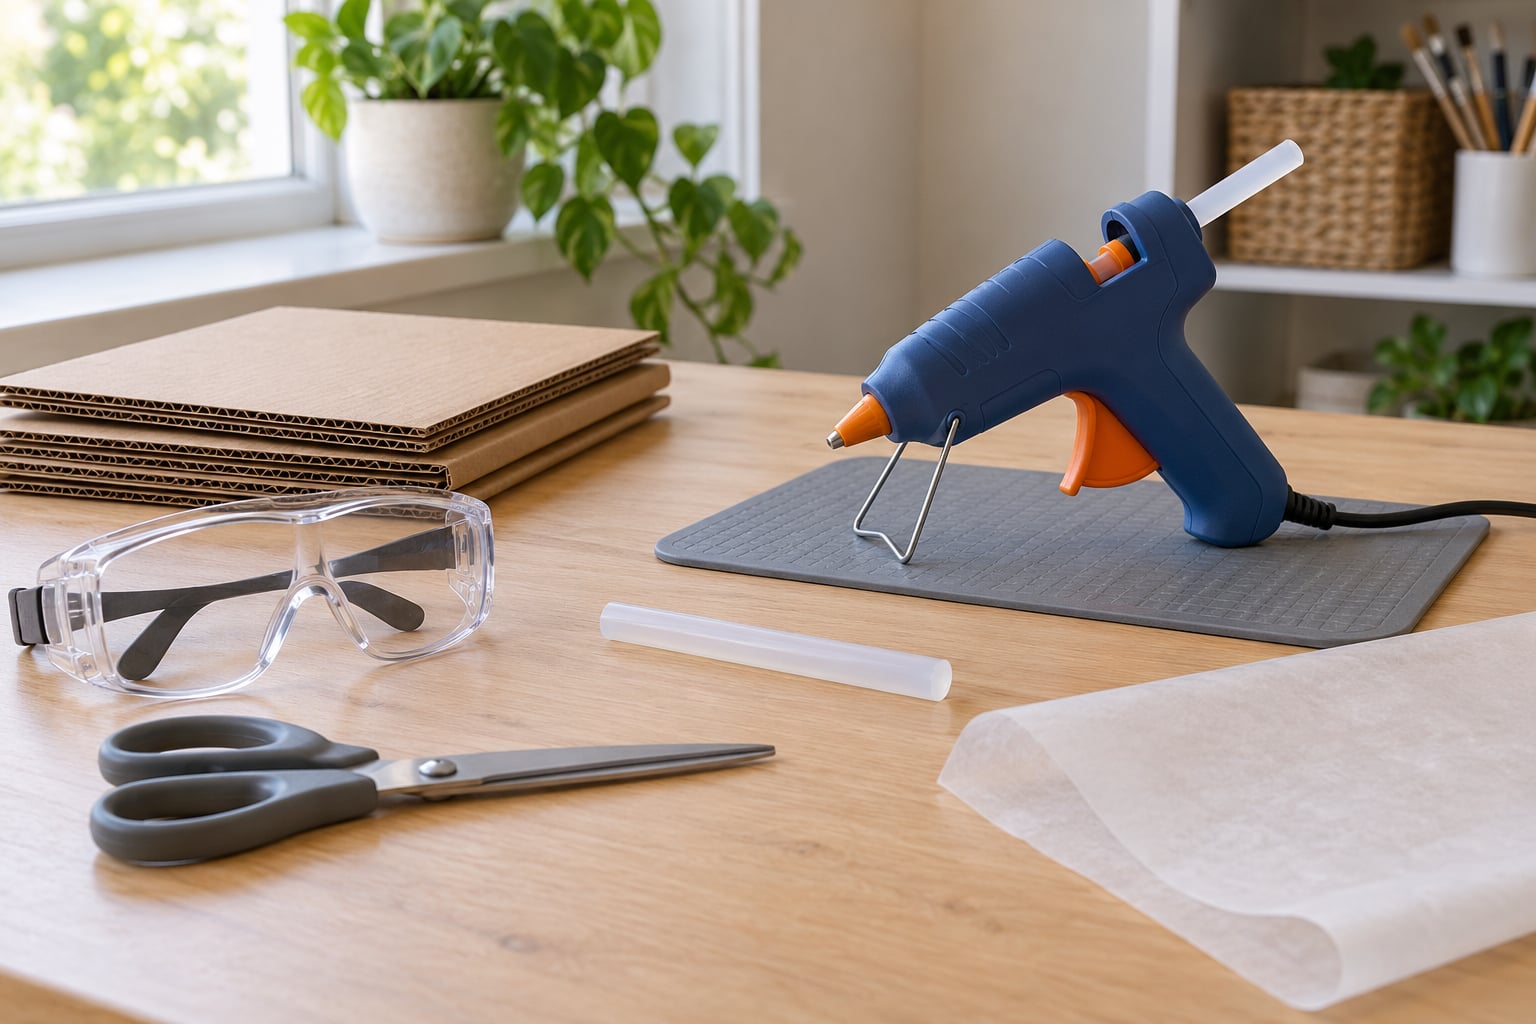
- A low-temperature or cool-melt glue gun intended for craft use, with its fold-out stand, not a full-size construction gun.
- The manufacturer’s instructions, read by an adult the same day, including the stated age guidance and warm-up time.
- A heat-resistant work surface: a metal tray, a silicone mat, a tile counter, or a piece of scrap wood. Never bare plastic or a wooden table directly.
- Cardboard, paper or scrap fabric for the practice run, plus a couple of spare glue sticks.
- Cool running water within reach, and a clean towel. Know where it is before you start, not after someone needs it.
- A timer or kitchen timer for the warm-up and for the cool-down.
Safety goggles are optional for most craft work but worth having if your child has long hair, glasses that slide, or a habit of leaning in close. Keep hair ties, loose sleeves, and any hoodie strings out of the way. Glue melts straight through fabric, so a sweatshirt sleeve is not protection.
Step-by-Step: How to Teach a Kid to Use a Hot Glue Gun Safely
1. Choose the right glue gun
Pick a gun labelled low-temperature, cool-melt, or specifically for kids and crafts. These run cooler than general-purpose guns, and the difference matters on small hands. Check the box for the stated age guidance and honour it even if the child is older than the number suggests.
Before the first lesson, inspect the cord, the trigger and the stand. A frayed cord, a trigger that sticks, or a stand that does not hold the gun upright means the tool goes back in the drawer. Old or inherited guns are worth checking carefully, because parents report that older models run hotter than current low-temperature ones.
2. Prepare a cool, clear work area
Clear the table completely. No paper, no fabric offcuts, no cardboard scraps, no curtains within reach, no candles, no hot plate. Move anything the child might grab, put on, or knock over, because the nozzle does not discriminate between craft paper and a loose sleeve.
Route the cord so it runs behind the table and cannot be stepped on. Set the gun up at the far end from your child’s chair so the cord never crosses their working space. Good lighting helps too. Most accidental nozzle touches happen in a dim corner where nobody sees clearly.
3. Practice the safe hand position
Start with the gun cold and unplugged, which is the single best practice idea out there. Let the child hold it, feel the cool grip, find the trigger, and point it at a scrap of cardboard. Nothing melts, so nothing can burn, and they learn the shape of the tool without any stakes.
Teach the non-negotiable hand rule at this stage: the hand that holds the project never touches the gun, and the gun never crosses over or rests against the hand holding the craft. Both hands belong on the work. Keep the nozzle pointed away from the body and away from anyone walking past the table.
Stay within arm’s reach for the entire session. One child, constant contact, no exceptions, however long the craft takes to finish.
4. Aim before squeezing the trigger
Once you have practised cold, plug the gun in on the heat-resistant surface and set the timer. Let it warm up for the manufacturer’s stated time instead of guessing. Once the glue flows, unplug it, let it cool, and store it before continuing.
Show the aiming motion before you show the squeezing motion. Place the nozzle over the exact spot where the glue is going, hold it there without touching the surface, squeeze briefly, then release the trigger before the hand moves. A small bead is enough. Big beads are how molten glue ends up on sleeves, fingers and hair.
Teach the drip reflex early. When a small pool forms at the nozzle, the safe response is to lift the gun, not to sweep sideways across the project. Wiping sideways drags molten glue across the table and across hands.
5. Set the gun down safely
The stand is not optional. After each glue line, squeeze the trigger briefly to stop the flow, then return the gun to its stand immediately. Never lay it on its side, never leave it standing on the barrel, never prop it on the edge of the table.
Change glue sticks, adjust anything, or clear a string while the gun is hot and you should unplug it first. The same goes for every break in the project. When you finish, unplug at the wall, not by yanking the plug out of the socket.
6. Finish one small supervised project
Keep the first project to one or two glue points on thick cardboard: a cut-out shape with a small tab, a paper label on a cardboard box, a simple stand for a card. Thick cardboard is forgiving, needs little glue, and gives the glue time to cool before anyone squeezes the pieces together.
Then hand over the closing sequence, because this is the habit that sticks. Child unplugs, adult confirms the plug is out. Gun goes in its stand or a designated heat-resistant spot until fully cool. Glue gun goes back in its drawer. Table gets wiped once the gun is cool enough. Hands get washed with soap and water.
What to do if a child gets burned
Put the affected skin under cool running water for 20 minutes straight. Do not pull the glue off, even when it looks like it is peeling away on its own, because tearing at a stuck bond can take skin with it. Cool the water over the glue rather than soaking it off.
Seek medical care rather than guessing if the burn covers more than the size of a coin, looks white or charred, sits on the face, hands, feet or a joint, or if the child is in pain that is not settling. Molten adhesive burns are the kind that look small at first and turn serious with time, so when in doubt, call a doctor. No home craft advice replaces a clinician’s view of an actual injury.
Common Mistakes
These are the same problems parents describe over and over, and each one has a simple fix.
- Leaving the gun unattended, even for a minute. A toddler can reach a table in seconds. Fix: unplug before you step away, every time, and treat the gun as hot until it is cool to the touch at the barrel.
- Leaving it plugged in overnight or between craft sessions. Many parents admit to this out of habit, and it is the one habit that puts a whole house at risk. Fix: unplug at the wall when the project ends, and buy a gun with an automatic shut-off if you know you forget.
- Touching the nozzle to check for heat. Fix: never test heat with skin. Use the indicator light or the instructions.
- Using a standard 350 degree gun for a young child. Fix: buy the low-temperature model and follow its age guidance.
- Pulling the gun across the table by the cord. Fix: carry the gun by its handle, and route the cord behind the work area.
- Glue near eyes, hair or loose clothing. Molten glue goes through fabric. Fix: tie back hair, push up sleeves, keep the nozzle pointed down at the work and away from faces.
- Letting the child carry the hot gun around. Fix: the gun lives in its stand while hot. If it is not in the stand, it is plugged out.
- Skipping the manufacturer’s instructions. Fix: read the manual once before the first lesson, then teach warm-up and cool-down times as fixed parts of the session.
One more that gets less attention: the stringy glue webs. They are harmless and easy to remove once cool with a hair dryer on low or a stiff brush, but parents who hate cleanup often decide the gun is not worth it. Pick projects that use one small bead rather than long glue lines, and the strings mostly disappear.
Frequently Asked Questions
What age is safe for a child to use a hot glue gun?
Most craft sources point to about age 8 as a sensible floor, and some manufacturers state 10 or older. Start younger if you use a low-temperature cool-melt gun and stay within arm’s reach for every squeeze. Under 5, most families are better off with a craft glue stick or tape, since the tool is more about dexterity than enthusiasm.
Can a child use a hot glue gun without an adult nearby?
No. Hot glue gun safety for kids depends on an adult being close enough to intervene before a mistake, not close enough to hear a cry. Stay within arm’s reach for the whole session, unplug before you step away for anything, and expect to hold the gun yourself for the first several projects.
How do I prevent hot glue burns at home?
Clear the table of paper, fabric and anything flammable, set the gun in its stand on a heat-resistant surface, tie back hair and sleeves, keep both hands on the project rather than the gun, and teach the child to lift the nozzle away instead of wiping sideways. Cool running water within reach turns a burn into a nuisance instead of a trip to urgent care.
Is cool-melt glue safer than a regular hot glue gun?
Cool-melt, low-temperature guns run well below the 350 to 430 degree range of standard household models and are the safer choice for a child. They still burn, and they still need the same stand, cord and supervision rules. The lower temperature mainly buys you a longer reaction time when something goes wrong.
How should I clean up after a child uses a hot glue gun?
Unplug it at the wall, leave the gun in its stand until the barrel is cool, then wipe hardened glue off the table with a plastic scraper and a damp cloth. Store the gun away from children once cooled, wash hands with soap and water, and pick up glue strings off the floor before they find a foot or a pet.
Start With a Supervised Practice Run
Start with the setup, not the gun. Read the manufacturer’s instructions for a low-temperature model, clear the table down to the bare work surface, set up the stand on a heat-resistant mat, and check where the cool running water is. Then run one short practice on thick cardboard with your child doing the aiming and pressing while you hold the trigger.
Keep that arrangement for the first three or four projects. When the child finishes every session with the same closing routine, unplug, stand, store, wipe, wash, and stops asking when they can use it alone, that is when the supervision starts to loosen. Until then, your hand on the gun is the whole safety system.