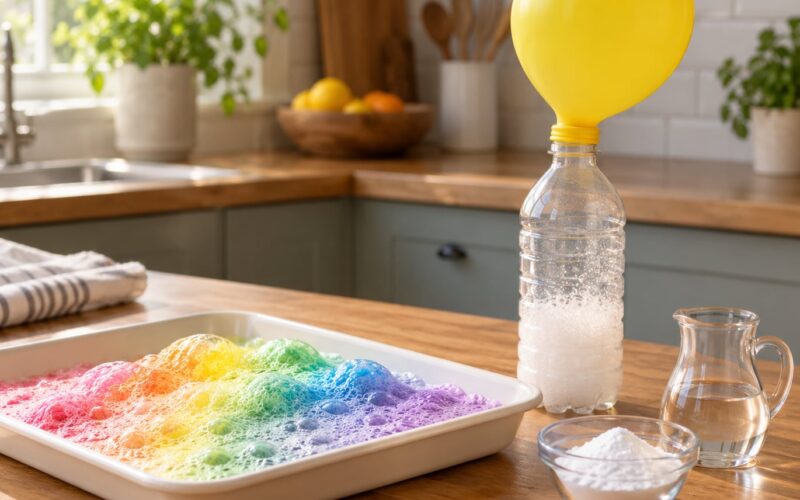
Backyard science experiments for kids are hands-on activities you run outside with things you already own: water and ice, baking soda and vinegar, leaves, seeds, sunlight, dirt. Each one gives a child a question to test rather than a toy to play with, which is why a bubble-and-soda experiment gets five minutes of attention while a shadow-tracking station keeps them busy for a whole afternoon. All twelve below cost nothing or nearly nothing, take under ten minutes to set up, and work with close adult supervision.
I’ve pulled these from the projects our own kids actually finish. The pattern I keep coming back to is build, then test, then write down what happened. Children lose interest in one-shot reactions fast; they stay with anything that asks them to predict, measure, and check again tomorrow. Where an activity runs longer than a single session, I’ve noted it.
Table of Contents
- Backyard Science Experiments for Kids at a Glance
- 1. Make a Leaf Print Chromatography Art Project
- 2. Build a Simple Water Cycle in a Bag
- 3. Make a Shadow Trackers Science Station
- 4. Test Which Materials Make a Better Umbrella
- 5. Create a Layered Density Tower
- 6. Make a Solar Oven from a Cardboard Box
- 7. Investigate Which Seed Travels Farthest
- 8. Test Plant Growth With Light and Shade
- 9. Explore Static Electricity with a Balloon
- 10. Make a Backyard Sound Map
- 11. Identify Trees with a Magnifying Glass
- 12. Build a Homemade Weather Station
- Frequently Asked Questions
- What supplies do I need for backyard science experiments?
- What age are backyard science experiments appropriate for?
- How do I keep kids engaged outdoors without screens?
- How messy are these experiments, and how do I protect surfaces?
- What can I do when the weather ruins the plan?
- Which backyard science experiments work in winter?
- Conclusion
- How to pick your first backyard science experiment
Backyard Science Experiments for Kids at a Glance
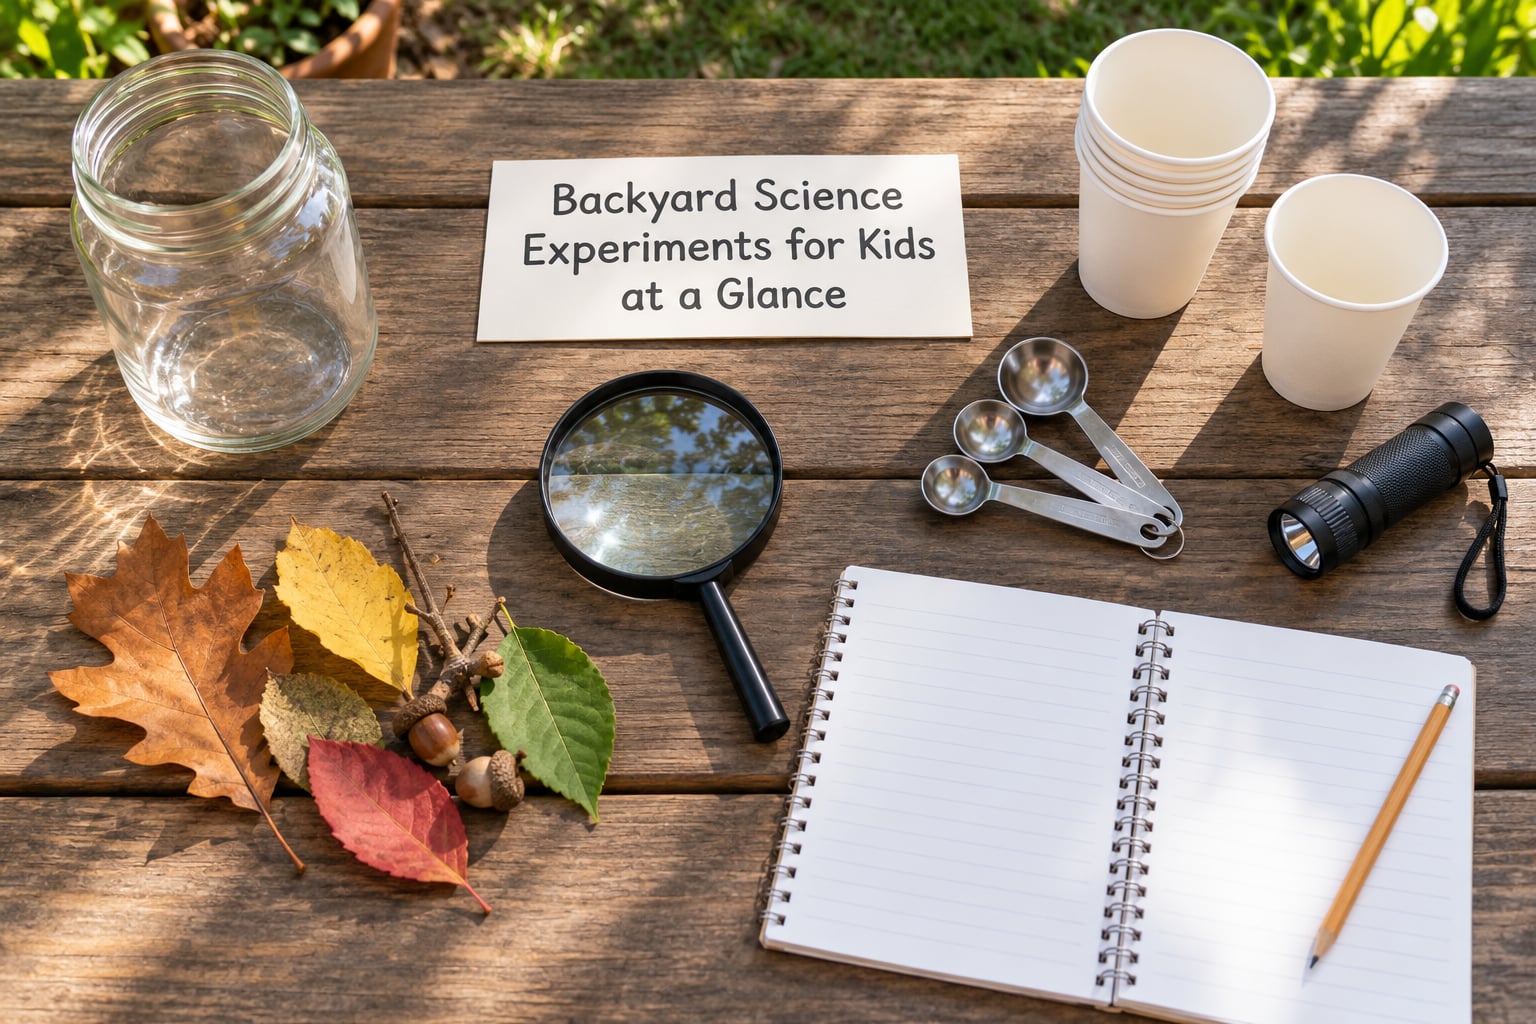
Every project on this list targets a different idea, so pick by the concept that hooks your kid rather than by the mess level. The short notes below cover the science, the setup time, the age range that tends to work best, and what you should see when it runs right.
- 1. Leaf print chromatography — how liquid carries pigment apart. Setup 5 minutes plus drying time. Ages 6-12. Needs a coffee filter, a washable marker and a cup of water. You should see separated color bands.
- 2. Water cycle in a bag — evaporation and condensation. Setup 3 minutes, then a week of waiting. Ages 4-12. Needs a zip bag, a paper towel and water. You should see droplets form on the plastic.
- 3. Shadow trackers — sun position and shadow length. Setup 5 minutes, then an hour of checking back. Ages 5-12. Needs chalk, a ruler and a small object. You should see a growing fan of shadows.
- 4. Umbrella material test — water resistance. Setup 5 minutes. Ages 5-10. Needs fabric, foil, plastic and paper squares. You should see water bead or soak through.
- 5. Layered density tower — mass versus volume. Setup 5 minutes. Ages 6-12. Needs a clear jar and several safe liquids. You should see layers that hold their shape.
- 6. Solar oven — sunlight as a heat source. Setup 20 minutes. Ages 7-12. Needs a cardboard box, foil and plastic wrap. You should see warmer air inside the box.
- 7. Seed travel test — how shape and weight affect movement. Setup 10 minutes. Ages 6-12. Needs fallen seeds, tape and a ramp. You should see distance records to compare.
- 8. Light versus shade plants — controlled comparison. Setup 5 minutes, two weeks of data. Ages 6-12. Needs sprouting beans and two pots. You should see measurable height differences.
- 9. Balloon static — charged particles. Setup 3 minutes. Ages 4-12. Needs a balloon, wool and tissue paper. You should see hair lifting and paper leaping.
- 10. Sound map — measuring sound with your own ears. Setup 10 minutes. Ages 5-12. Needs paper and a pencil. You should see a marked map of the yard.
- 11. Tree detective work — observation and classification. Ongoing, no fixed setup. Ages 4-12. Needs a magnifying glass and a notebook. You should see sketched bark and leaf details.
- 12. Weather station — recording measurements over time. Setup 30 minutes, then two minutes a day. Ages 7-12. Needs a thermometer, a jar and a pinwheel. You should see a weekly record fill up.
1. Make a Leaf Print Chromatography Art Project
A dot of green marker separates into a yellow and blue band when water climbs a paper towel, which is the simplest way to show a child that color isn’t one thing.
You’ll need a coffee filter or paper towel cut into a circle, washable markers in two or three colors, a clear cup, and a pencil. Tape the circle to the bottom of the cup so the point of the paper just touches the water without the marker bleeding into it.
Draw a small dark dot an inch above the edge, let it dry, then add water a few drops at a time. Check every ten minutes and watch the color climb and split as the paper fills. A sandwich bag laid over the cup keeps the ink from smelling all week.
The science is diffusion plus solubility. Water moves up the paper through tiny gaps by capillary action, and each pigment travels a different distance depending on whether it dissolves in water or grabs onto the paper fibers instead. Swapping the coffee filter for plain printer paper, or the water for milk, gives you a real variable to test.
2. Build a Simple Water Cycle in a Bag
Sealed bag of water and sunshine gives you clouds in miniature, and kids check it daily for about a week.
Pour two tablespoons of water into a zip bag, add a folded paper towel so one end touches the water and the rest stands up inside the bag, then seal it. Tape it to a sunny window with the top corner slightly lower so any heavy droplets run back down to the water rather than pooling in the corner.
Have your child label the parts before they seal it: water at the bottom is the ocean or lake, the wet paper is the ground, the empty plastic space is the sky. Ask them to predict which part will feel dampest after a sunny hour.
Heat from the sun turns liquid water into water vapor, which is evaporation. The vapor cools against the cooler plastic above and turns back into liquid droplets, which is condensation. Rain in a cloud works the same way, just at a much bigger scale.
3. Make a Shadow Trackers Science Station
Shadows get longer as the sun drops, and a single afternoon of measurements proves it better than any picture in a book.
Find a flat patch of concrete or driveway that gets sun all afternoon, tape a key or a small toy to the ground, and trace its shadow with chalk. Don’t move anything. Come back at intervals, mark each new shadow, and measure its length from the base of the object to the tip.
Record the time next to each mark and connect the points in order. The drawing looks like a long fan spreading out from the object, and children usually spot the pattern before you point it out.
Light travels in straight lines, and a shadow is just the block of space where those lines are blocked. When the sun is high the rays arrive steeply and the shadow stays short; low sun means long, stretched rays and a long shadow. Marking one hour after sunrise the next morning gives you a second data set at the other end of the day.
4. Test Which Materials Make a Better Umbrella
Same drops of water, same toy underneath, six different surfaces: the winner is usually the fabric you already own, and the loser is always paper.
Cut equal squares of cotton, paper towel, plastic bag, aluminum foil, a sandwich bag, and a scrap of an old shower curtain. Tack or tape each one over an upside-down plastic cup on a dry surface. Weight the cup with a Lego or a pen so the fabric doesn’t sag into a bowl and hold a puddle.
Use a pipette, a medicine dropper, or the cap of a bottle to place exactly ten drops in the center of each square. Count how many soak through in sixty seconds, then tip the cup gently to see whether water runs off or hangs on.
A good umbrella surface has low absorption and low adhesion. Paper is porous, so it wicks water straight through instead of blocking it. Fabric wicks a little at the fibers but the weave slows it down, and a coated or slick surface sheds entirely. Recording which samples dried first on the grass adds a real absorption test.
5. Create a Layered Density Tower
Pour several liquids into one jar and they refuse to mix, stacking by how tightly their mass packs into the same space.
Pour equal amounts of each liquid into separate clear cups first, so a mistake costs you an ounce instead of the whole bottle. Layer slowly down the side of a tall jar with a spoon held against the rim. Good starting stacks, heaviest at the bottom: dish soap, dish soap plus a little water, colored water, corn syrup, honey.
Skip food dyes in anything a child might get in their mouth, and use washable tempera paint for color instead. If anyone has a food allergy, keep honey out of it entirely; dish soap is not an appealing snack either way, so treat this as a look-don’t-lift experiment.
Density is mass divided by volume. A spoonful of honey has more mass packed into the same space than a spoonful of water, so it sinks and holds its layer. The same pour happens in every bottle of salad dressing, which you can shake and then let settle as a live demonstration.
6. Make a Solar Oven from a Cardboard Box
A foil-lined box sitting in full sun reaches a temperature noticeably above the shade beside it, and an indoor thermometer proves it in about half an hour.
Cut a window in the lid of a small shipping box, line every inside surface with aluminum foil, and cover the cut edges with clear plastic wrap. Set a dark-colored muffin pan or a dark card on the floor inside; dark surfaces absorb light rather than bouncing it back.
Prop a food thermometer inside with the tip at box height, and put a second thermometer in a shaded box or shaded corner nearby. Check both after thirty minutes and again at two hours, then again at sunset. Watch for wind and shade, since a tree or a fence will flatten the result faster than you’d think.
You’re measuring radiant energy turning into heat, not cooking anything. The foil reflects sunlight back into the box instead of letting it escape, the plastic window keeps heat from carrying off, and the dark floor absorbs the light that comes through. Keep it as a thermometer experiment rather than a cooking project: an adult handles any box that gets hot enough to hold food, and metal edges get sharp as the foil warms.
7. Investigate Which Seed Travels Farthest
Maple seeds, elm seeds, pinecones and dry leaves rolled down the same ramp usually produce four very different numbers, which is a clean entry into aerodynamics.
Lay a strip of tape on the ground and mark it in ten-centimeter intervals, or measure a hallway floor if the ground is uneven. Use a cut cardboard box as a ramp at one fixed height and let each object go three times. Record every trial, not just the best one.
Bar graph the averages. A wide flat seed like a maple samara generates lift and comes down slowly near the middle; a small round seed like a pinecone barely lifts at all. Ask what shape would travel farthest if you added a paper wing, then tape one on and re-test.
Plants spread their seeds by wind, water, and animals, and the shape of a seed is a record of which one it evolved for. Angles of attack, surface area, and drag all show up in how far each object travels down the ramp. Keep seeds to what has already fallen; most yards have plenty, and picking them removes food the birds expect.
8. Test Plant Growth With Light and Shade
Two identical pots, two different windows, and one variable changed: this is the cleanest controlled experiment most families will ever run.
Sprout the same bean seeds in two cups with the same soil, same water, and same watering schedule for three days. When roots show, transplant one pot into a sunny window and the other onto a shelf or a porch away from direct sun. Measure height every three or four days with the same ruler, same side of the room, same time of day.
Keep everything except light identical, and write that down. If the sunny pot is taller and paler at the top, that’s normal for many plants growing in strong light. A bent stem reaching toward a window is phototropism, and the bending is growth, not movement.
A plant makes sugars through photosynthesis using light, water, and carbon dioxide. With less light it grows taller and thinner, stretching for light instead of making wide leaves. Over two weeks this turns into a record you can compare to weather, because cloudy stretches slow both pots down at once.
9. Explore Static Electricity with a Balloon
A balloon rubbed on a wool sweater picks up bits of tissue paper and a bad case of bedhead, and both are the same phenomenon.
Inflate a balloon, tie it, and rub it briskly against a wool sweater, a dry hairbrush, or a piece of nylon for twenty seconds. Hold it near small torn pieces of tissue paper and watch them jump. Lift it toward a child’s hair while it’s still charged.
Then let the balloon rest for a minute and touch it again to see if it’s lost its charge. Flip the fabric too, since a cotton shirt charges far less than wool. Balloons can leave an oily film on some surfaces, so do this outside or over an old towel.
Rubbing transfers electrons between materials, and the balloon ends up with an excess or deficit of them. Objects with the same charge push away, different charges pull together, which is why the paper leaps up and then sticks. Small balloons are a choking hazard for children under three, so hand those children torn tissue pieces to hover instead.
10. Make a Backyard Sound Map
Ten quiet minutes of listening and drawing produces a map of your own yard that no child finds boring, because they are the ones doing the measuring.
Make a simple sketch of the yard with the house, fence, and main features marked. Sit in three or four spots for two minutes each, recording every sound you hear with a short mark or first letter. Use different symbols for loud, soft, continuous, and one-off sounds.
Walking the yard afterward, have your child mark where each symbol was found and note how the map changes between morning and evening. Insects usually dominate at dusk; many birds are quietest in the middle of a hot afternoon.
Sound is a vibration traveling through a material, and volume corresponds to how large those vibrations are. Distance weakens them, which is why the neighbor’s fence blocks what you hear clearly at the property line. There’s real science content here about waves, materials, and sound traveling at different speeds through air, water, and wood.
11. Identify Trees with a Magnifying Glass
Not every tree needs a name attached to it. Bark pattern, leaf edge, buds, and seeds are enough to make two trees obviously different from each other.
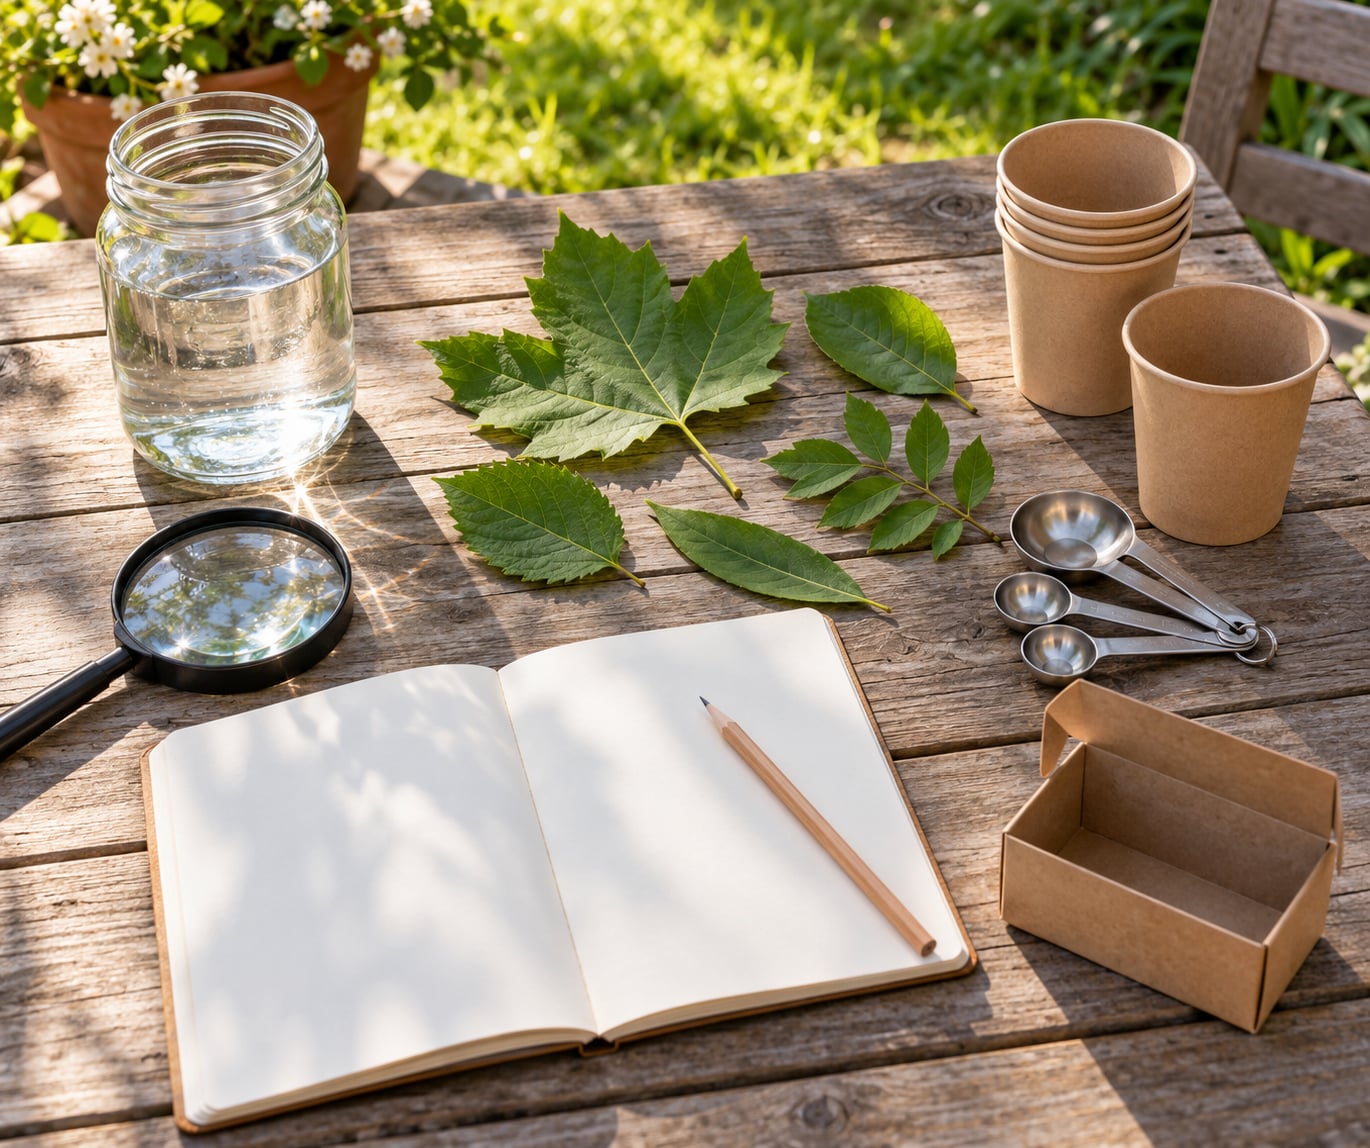
Give each child a small field notebook or folded sheet of paper, a magnifying glass, and a pencil. Start with one tree and draw its bark, then a leaf, then a bud or seed. Include a date on the page and move to a second tree with the same four categories so the comparison is real.
Look at leaf edges first, because they’re visible from a distance and hold up best in a drawing. Rounded or toothed or smooth, opposite or alternate, lobed or whole: those few features separate most trees without anyone needing to memorize Latin names.
Collect only what has already fallen, and put it back afterward. Teachers working with loose parts, pebbles, pine cones, and sticks recommend exactly this approach: sort by what kids notice, then look up names later if curiosity asks for one. Backyard counts that get logged and confirmed by an adult later run popular for the same reason.
12. Build a Homemade Weather Station
A thermometer, a cut-out pinwheel, and a wide-mouth jar on a fence give a child a daily job that takes two minutes and produces a month of real data.
Mount a rain gauge made from a straight-sided jar with a ruler taped inside at a fixed height, away from trees and roof drips. Hang a pinwheel where it gets full sun and wind. Keep the outdoor thermometer in a shaded spot, since a thermometer in direct sun reads higher than the actual air.
Set one time each day to check everything and write it in the same notebook: temperature, wind as calm, breezy, or gusty, sky as clear, partly cloudy, overcast, and rain amount in millimeters if the gauge caught any. Mark highs and lows for the week and compare them with a calendar.
Each measurement is a different process. Temperature reads the motion of air particles, wind spin is driven by uneven heating of the ground, and cloud cover tracks how much moisture sits in the air. Recording on a schedule is the real lesson, and it’s how a tween starts thinking about patterns instead of single days.
Frequently Asked Questions
What supplies do I need for backyard science experiments?
A short caddy covers almost everything on this list: a magnifying glass, a ruler, a notebook and pencils, washable markers, a pipette or medicine dropper, a spray bottle, a tray or baking sheet to catch spills, a zip bag or two, a clear jar, and a pair of child-sized safety goggles. Add whatever you already have from the kitchen and the garden, and most experiments then need nothing else.
What age are backyard science experiments appropriate for?
Most of these work from about age 4 upward, with the expectation that an adult stays nearby. For ages 2 to 3, skip anything with small loose parts, such as seed travel tests, and stick to water, ice, leaves, and shadows. Ages 9 and up can run the same activities as recorded trials with controls, timing, and graphs.
How do I keep kids engaged outdoors without screens?
The pattern that works best is build, test, then observe, because a one-shot reaction ends in under two minutes and children ask for more. Several experiments here keep running for days: the water cycle bag, the light and shade plants, the weather station, and the tree sketches. Give them the job of recording results in a notebook and the activity keeps them.
How messy are these experiments, and how do I protect surfaces?
The messy ones are the density tower, the umbrella test, and anything with soil. Set them on a tray, an old towel, or a plastic sheet, and move them off wood decking and grass where you can. Skip food coloring near grass and skip honey anywhere a child might put a finger in their mouth.
What can I do when the weather ruins the plan?
Four of these work indoors without a yard: the water cycle bag on a windowsill, the density tower in a hallway, the balloon static demo, and the leaf chromatography art. For a yard-free option, the sound map works anywhere quiet, including a porch or a fire escape, since the science is listening rather than space.
Which backyard science experiments work in winter?
Winter favors observation and weather experiments: the weather station, the shadow trackers at a low sun angle, the sound map, and the tree bark sketches where snow has not covered the ground. Seed travel, leaf chromatography, and plant growth all need fall or spring materials, so save them for when leaves and seeds are available.
Conclusion
Across these twelve projects the same handful of ideas keeps coming back: water moves and changes state, sunlight does measurable work, mass falls into layers, surfaces resist or absorb, and charge and sound can be observed rather than imagined. Each one runs on a notebook and a few minutes of setup.
How to pick your first backyard science experiment
Choose the one that matches today: shadows need sun, seeds need something already on the ground, the water cycle bag needs a window. Gather only the materials for that single activity, then let your child’s questions decide whether a second one happens that week. Set up a tray, keep the goggles within reach, and stay close enough to answer the questions that come up.