A homemade piñata is a hollow paper shell you hang up, fill with candy and small toys, and let a blindfolded player break open with a stick. The fastest way to make one at home uses a cardboard box shape covered in fringed crepe paper, takes about an hour, and needs no drying time at all. The classic method layers papier-mâché over an inflated balloon for a smooth, round shell, but it takes two days because the shell has to dry completely before you decorate it.
Both work. Pick the cardboard version when you are short on time or working with kids in the room, and pick the balloon version when you want a traditional rounded shape you can hang for several hours without worrying about it bending.
| Cardboard box shell | Papier-mache balloon shell | Which one to pick |
|---|---|---|
| About an hour of hands-on work | Two or three short sessions across two days | Time first: cardboard |
| No drying, usable the same day | 24 to 48 hours of drying between layers | Two days available: papier-mache |
| Almost no mess, no paste bowl | Flour paste water and newspaper strips everywhere | Young kids around: cardboard |
| Breaks on the first solid hit from most kids | You control hardness by layer count | Adult hitters: fewer layers |
| Flat faces, easy to letter or number | Rounded, classic look | Star, cupcake, animal: cardboard |
Table of Contents
- What You Need
- Step-by-Step: How to Make a Homemade Pinata
- 1. Plan the size and prepare the base
- 2. Build the papier-mache shell of your homemade pinata
- 3. Add the filling opening and dry the pinata
- 4. Decorate the finished shell
- 5. Fill and hang the pinata safely
- Common Mistakes
- Frequently Asked Questions
- How long does a homemade paper piñata need to dry?
- Can children help make a papier-mache piñata?
- What size homemade piñata is best for a small party?
- How do I fill a piñata without breaking it?
- What can I use instead of papier-mache to make a piñata?
- Conclusion
What You Need
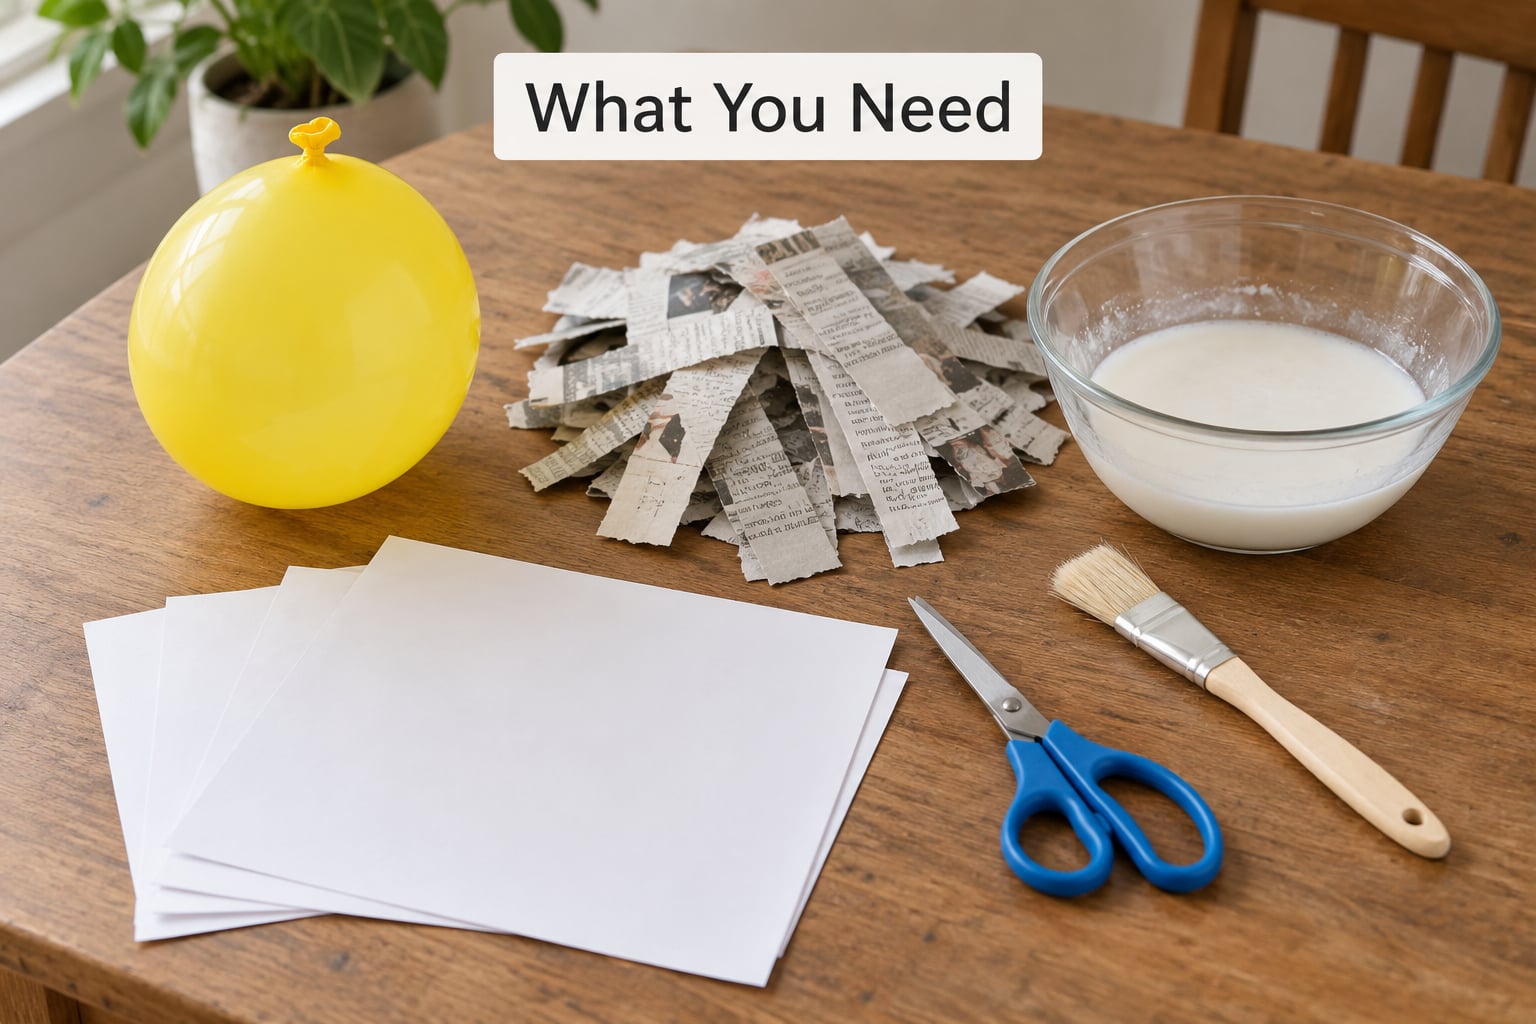
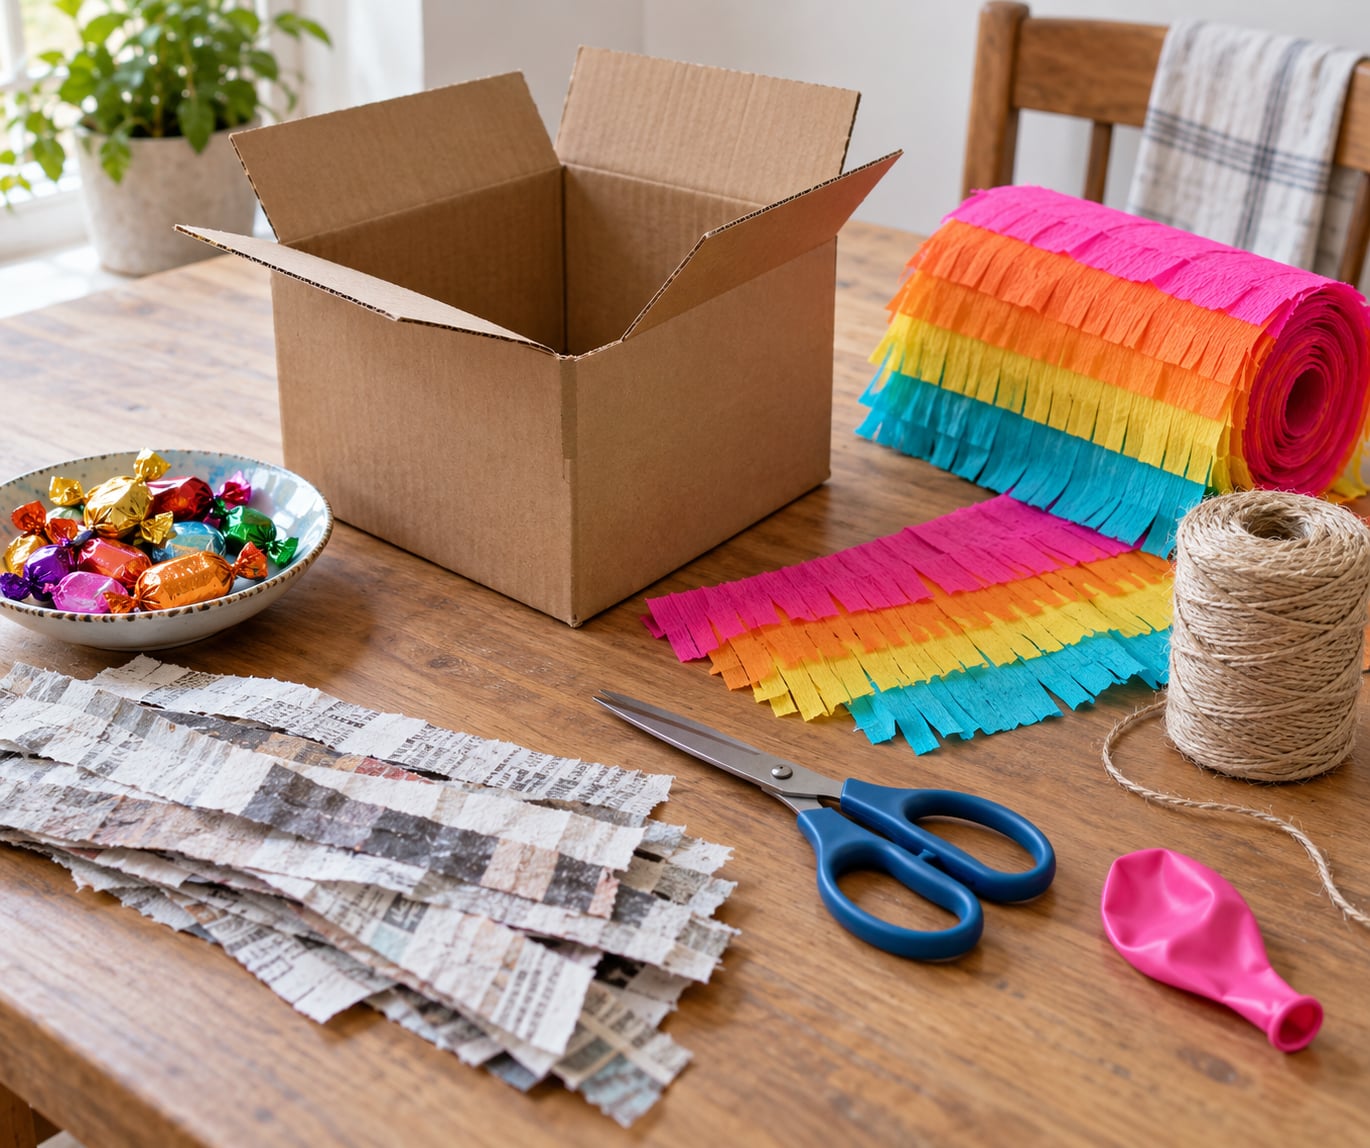
For a medium piñata, roughly the size of a large melon, the cardboard method needs two flat cardboard panels, four strips of cardboard 3 to 4 inches wide for the sides, packing tape or masking tape, a box cutter, a glue stick, crepe paper in two or three colors, scissors, and 10 feet of twine or thin rope. Add one small box or a paper cup if you want an animal shape with a head.
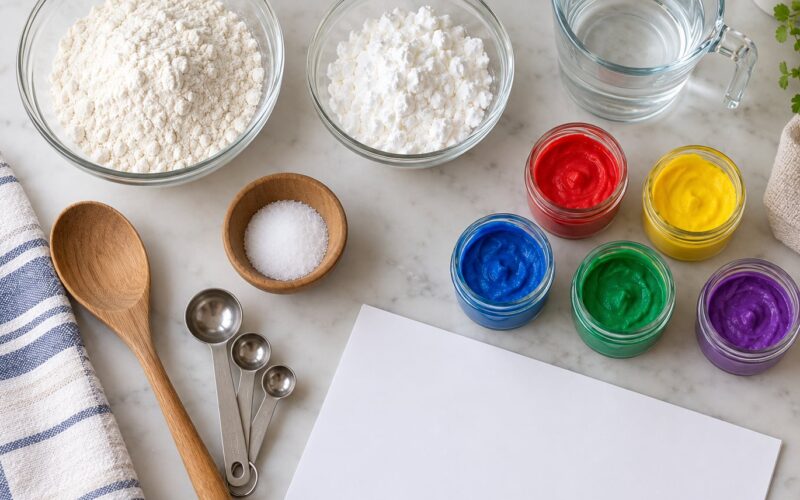
The papier-mache method needs a balloon large enough to hit the size you want, 8 to 10 sheets of newspaper, 1 cup of flour, 1.5 cups of water, a teaspoon of salt, a wide flat brush or foam brush, and a sheet of paper for the top opening. You also need a low table or box set up on a work surface, because a wet balloon is slippery and rolls.
A couple of tools save real time. A craft knife cuts the fill opening in one clean pass instead of a scissor death march, and a small step stool means you can wrap strips on the upper half of the balloon without stretching. If you have neither, a butter knife and a chair work fine.
Step-by-Step: How to Make a Homemade Pinata
1. Plan the size and prepare the base
Size the shell to the hitters, not to your decorating ambition. For a group of children under about seven, a shell 10 to 12 inches across with 3 or 4 layers of papier-mache breaks easily. Older kids and adults need a harder shell, which means more layers rather than a bigger shape.
For the cardboard version, cut two matching panels and four side strips, then tape them into a shallow open box. Trace the panels onto a second cardboard box to get the star, letter, or cupcake shapes you want.
For the balloon version, inflate the balloon to roughly the size of a beach ball and tie it to the neck of a bottle so it stays put. Adults handle the box cutter, the craft knife, and any hot glue in this project.
2. Build the papier-mache shell of your homemade pinata
Mix 1 cup of flour with 1.5 cups of water and a teaspoon of salt, then stir until smooth with no lumps. It should drip slowly off the spoon. Tear the newspaper into strips about 2 inches wide and 6 inches long, tearing with the grain rather than cutting so the edges feather instead of leaving hard lines.
Brush paste over the balloon and lay the first layer of strips on in any direction, overlapping each row slightly. Wipe off excess paste with your finger, and keep the strips flat against the surface. A smooth shell takes more layers than a lumpy one, so spend an extra minute on this coat.
Change direction on every layer. Vertical strips, then horizontal, then diagonal, then vertical again. Cross-grain layering is what stops a tear from running the whole length of the shell.
Three layers is the minimum for a children’s party. Four layers holds up to older kids, and stopping at two means the whole thing collapses in one swing and dumps everything on the floor. Before the final layer, sand or smooth the bumps and fill small holes with tiny wads of pasted newspaper, the way crafters on r/papermache do, because those patches are what a stick finds first.
3. Add the filling opening and dry the pinata
Cut a circle 3 to 4 inches wide in the top of the balloon shell, straight down into the crown, and pull the paper disc out. Keep the cut round and even. A ragged opening tears further when kids grab it.
Reinforce the rim with a strip of paper about 4 inches long, folded into a ring and glued around the hole. On a cardboard shell, cut the opening in one panel before you decorate, then tape a strip of cardboard around the inside edge so the corner does not crush.
Dry the shell somewhere with airflow and no direct heat. A fan on low, a dehumidifier, or a sunny spot on a covered porch all work. Turn the balloon every hour or so so the bottom dries at the same rate as the top. It is ready when the shell feels firm and cool rather than cool and damp, and it makes a hollow sound when you tap it. Two to three layers usually need 24 hours; four layers can take 48.
If you are worried about wasted materials, make one small test shell on a scrap piece first. An hour on a practice shape teaches you the paste consistency and strip handling far cheaper than a soggy full-size one.
4. Decorate the finished shell
Glue tissue paper flowers, paper fringe, or streamers to the outside once the shell is dry to the touch. If you went the cardboard route, cut crepe paper into 2 to 3 inch wide strips, fold each strip in half, and snip fringe cuts every half inch along the folded edge. Leave the fringe tips free of glue and only run glue along the flat top edge.
Work in overlapping rows from the bottom up, and press each row down before adding the next. Fringe that is glued flat or glued at the tips clumps and tears, which is the single most common decorating complaint.
Paint works well on a papier-mache shell and less well on raw cardboard, which drinks the paint and shows every streak. Kids can glue tissue flowers, add stickers, or paint small panels while an adult handles the shell. Keep everything clear of the filling opening so the rim stays grabbable.
5. Fill and hang the pinata safely
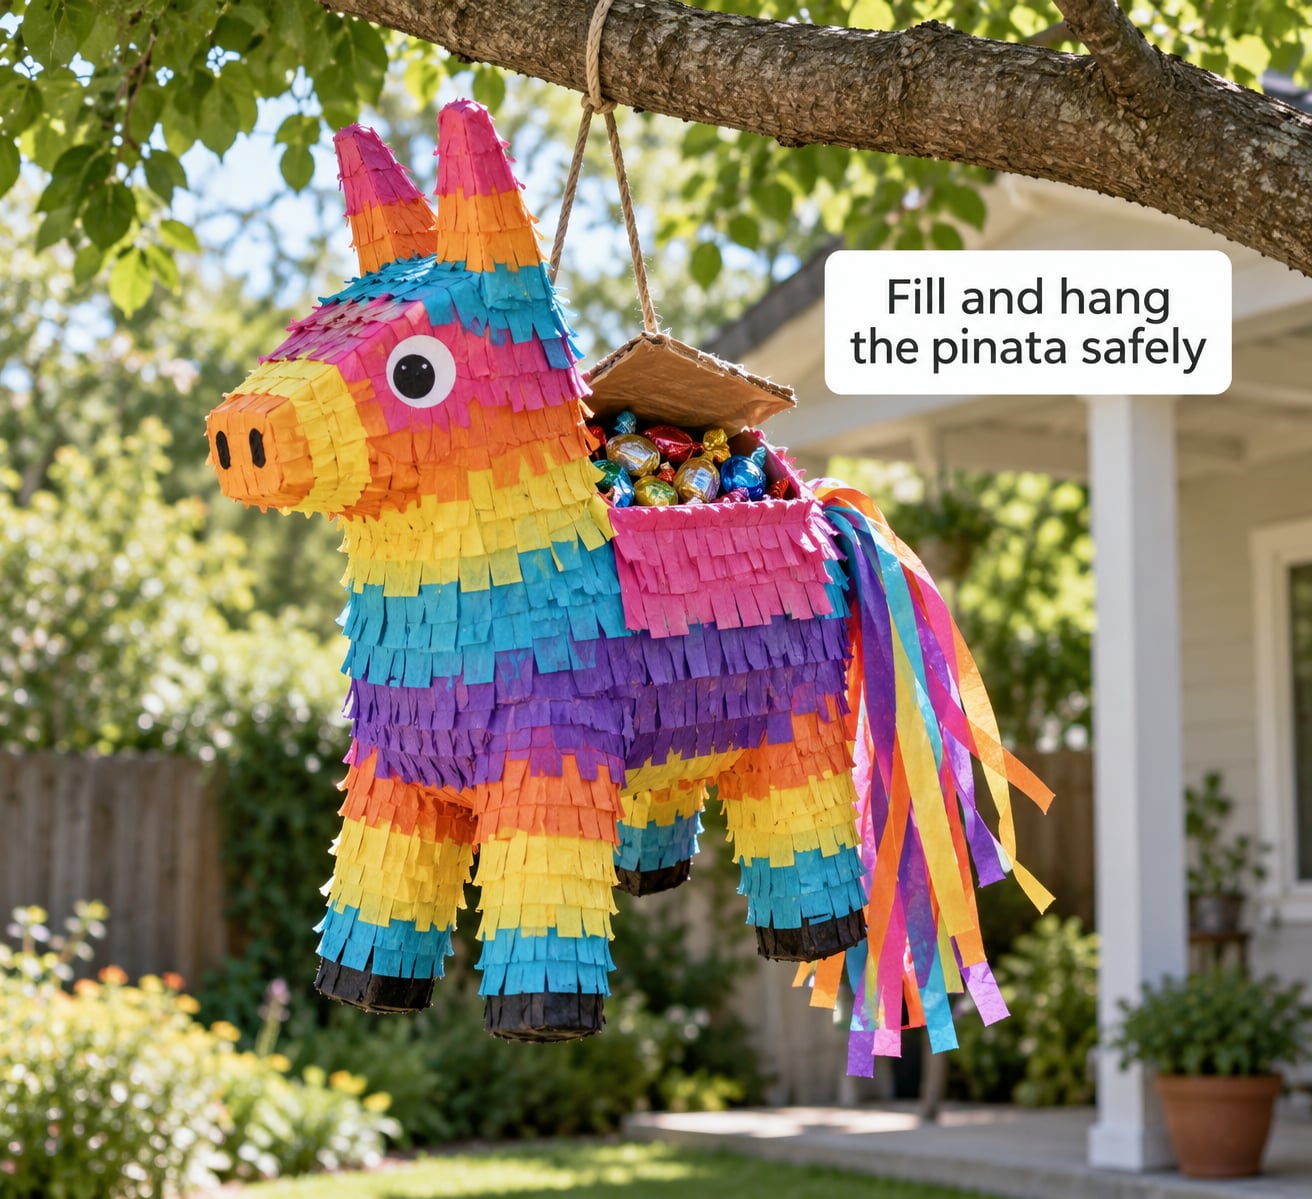
Separate the filling into two piles. Wrapped candy and small prizes only, nothing heavier than a juice box. Put the candy in first, then work the prizes between the candy rather than dropping them all on top, so a small prize wedged near the rim does not block everything.
For a 12 inch shell, one to two pounds of small wrapped candy is right. More than that and the bottom sags, the shell tears at the seam, and the whole thing comes down in one blow with a child standing underneath it.
Pull the balloon neck out through the opening, then cover the hole with a circle of tissue paper tied with a piece of twine, or tape a paper disc over it. Thread your hanging rope through the shell and tie it with a knot that will not slip under load, a bowline if you know it, or two wraps of tape around the cardboard rim. Tie the other end to a solid overhead support away from anything breakable.
An adult checks the knot, and the rope stays away from fixtures, doorways, and low ceilings. If the piñata is outdoors, weigh the knot with tape and never hang it from a branch that bends easily.
Common Mistakes
Torn strips happen when people cut newspaper instead of tearing it, or cut against the grain. Tear lengthwise with the fibers so the edges feather and overlap instead of lifting.
Exposed patches of balloon or cardboard come from skipping spots with the brush. If the balloon shows through, the shell will tear at that exact point on impact, so patch bare areas with a small extra piece before adding the next layer.
A shell that collapses mid-swing is almost always too few layers or a too-watery paste. Add a fourth layer, or stir in more flour until the paste runs slowly. Related: layers added before the previous one is dry will trap moisture, turn the shell grey, and eventually grow mould in warm weather. Let each coat reach the firm stage before the next one goes on.
An uneven or too-small opening is frustrating for the kids waiting to reach in. Make it 3 to 4 inches across and cut it in one clean pass with a sharp blade held by an adult.
Peeling fringe comes from glue on the tips and from rushing the rows. Glue only the flat edge, overlap each row, and press each one down.
Candy that stays stuck at the bottom happens when the fill is too heavy or too tightly packed. Use small wrapped pieces, layer rather than compact, and follow the weight guidance above.
An unsafe hanging point is the mistake that actually matters. Test the knot with a push, keep the area under the shell clear, and let an adult attach it to something that will hold it.
Frequently Asked Questions
How long does a homemade paper piñata need to dry?
Plan on 24 hours for a shell with three layers of papier-mache and 48 hours for four layers, drying in a warm room with airflow between coats. A fan on low speeds things up without hardening the outside faster than the inside. Turn the balloon every hour or so the bottom dries at the same rate as the top. Wait until the shell feels firm and slightly warm before you decorate or fill it.
Can children help make a papier-mache piñata?
Yes, and they usually love it. Kids can tear the newspaper strips, brush paste on, and press strips down, which takes longer than an adult doing it but keeps them involved. Keep cutting tools, hot glue, and the hanging rope for adults. The messiest part is the paste, so put a sheet under the balloon and expect to wipe the table afterwards.
What size homemade piñata is best for a small party?
For a group of about six children, a shell 10 to 12 inches across is the sweet spot. That holds one to two pounds of small wrapped candy and still breaks on a solid hit from a six-year-old. Bigger shells need more layers to stay sturdy, and small ones run out of candy before anyone gets a turn. Cardboard shells can be slightly larger since they hold their shape on their own.
How do I fill a piñata without breaking it?
Use only wrapped candy and prizes lighter than a juice box, and stay under two pounds for a 12 inch shell. Add candy first and tuck prizes between pieces instead of piling them at the top, since one wedged prize can block the opening. Pull the balloon neck out, then cover the hole with tissue paper and twine before you hang it.
What can I use instead of papier-mache to make a piñata?
Use the cardboard method: two flat panels and four side strips taped into a shallow open box, then covered in fringed crepe paper. It takes about an hour, needs no drying time, and creates almost no mess. You can also paper-mache straight onto cardboard, but seal the cardboard first so it does not soak up moisture and delaminate. PVA glue works if you thin it with water, though it makes a slightly softer shell than flour paste.
Conclusion
Start by counting your guests and picking a shell size that suits their age, then gather the materials for that method. The cardboard route gets you a finished piñata in an afternoon; the balloon route needs two days of drying before you can decorate it.
Keep the project simple. Three or four layers, a 3 to 4 inch opening, lightweight candy, and an adult handling every cut, every bit of hot glue, and the knot that holds it up.